|
Laying out the page
With UltraDev, you have at your disposal all the features of Dreamweaver, the industry-leading, professional Web-page design tool. As such, UltraDev gives you a number of ways to lay out your pages. You decide to use layers, which give you the ability to drag page elements around the page and position them with pin-point accuracy.
To lay out your page using layers:
| 1 |
You create a new blank page (File > New). |
| 2 |
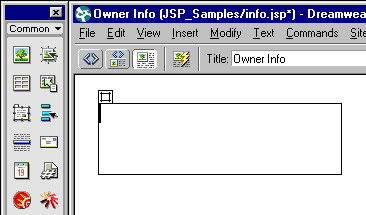
You click the Draw Layer button on the Objects panel (Window > Objects) and draw the layer on the page. |
|
The Draw Layer button in the Objects panel looks as follows:
 |
|
The layer on the page looks as follows:
 |
|
If the Invisible Elements option is turned on, a small yellow marker also appears on the page. The marker represents the layer in the HTML code. To hide the marker, choose View > Visual Aids > Invisible Elements. |
| 3 |
You draw all the other layers that will hold your page content. |
|
To draw more than one layer at a time, you hold down the Control (Windows) or Command (Macintosh) key while drawing the layers. |
| 4 |
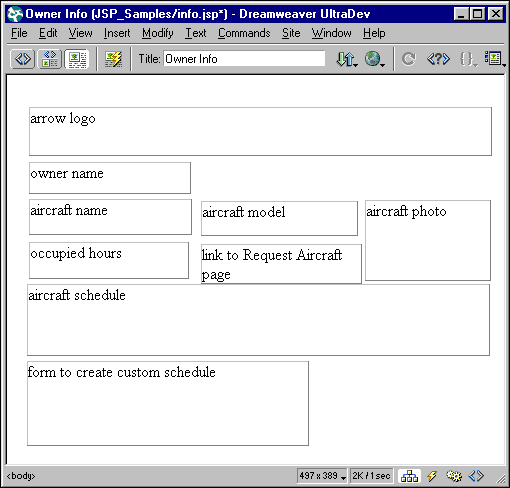
You enter text in each layer to indicate what content will be placed there. |
|
To enter text in a layer, you click inside the layer and type. After you're done, the page looks like this:
|
|


