VIDEO
Add J cuts and L cuts to your filmmaking toolkit.
Shape the sound of your scene transitions with these useful video editing techniques.
What are J cuts and L cuts?
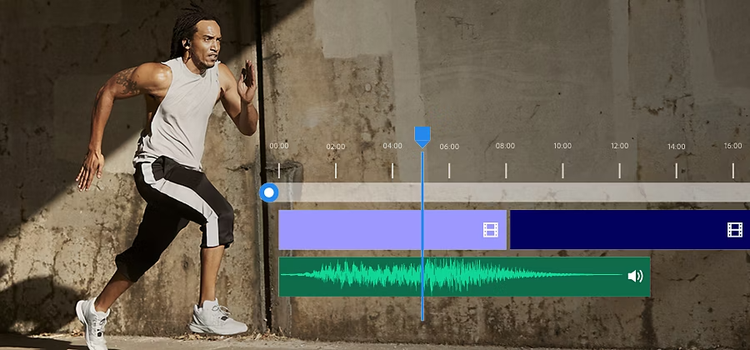
J cuts and L cuts are simple yet effective film editing options that can help keep your audience engaged in the midst of a scene change. Both are a type of split edit, or a scene transition from one shot to another, where the audio and visuals shift at different times.
J cuts and L cuts are generally used as transitions between footage within scenes instead of traditional transition effects, like a fade or cross dissolve, because they help the viewer keep visual continuity. “It gives people a buffer — a cushion to get to the next place,” says videographer Nainoa Langer.
While similar, J cuts and L cuts have some key differences. In a J cut, the next scene’s audio plays before the image changes. With L cuts, the audio from the preceding scene carries over, and then the visuals shift.
“Both of these styles of edits are designed around flow,” says editor Cody Liesinger. “If your editing is very visible, the story can feel very staccato. L cuts and J cuts can manipulate the flow of your edit in a way that can complement the story.”

How J cut and L cut video transitions take shape.
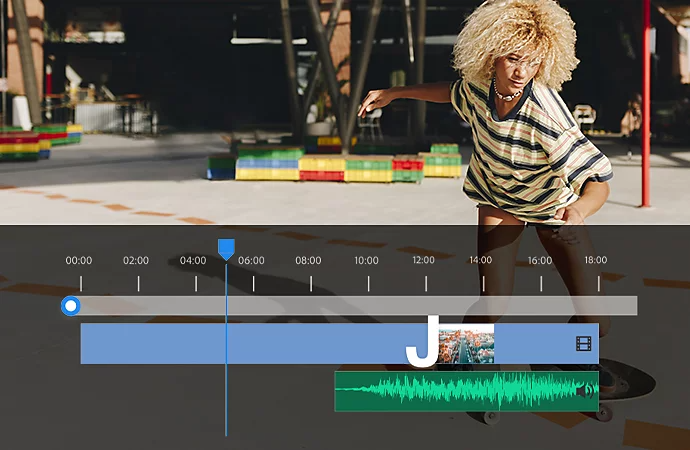
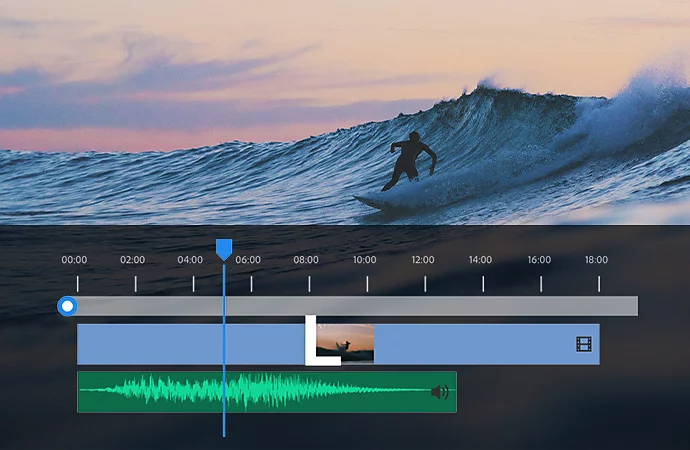
J cuts and L cuts get their respective names from the shapes they create on your post-production timeline. When the audio comes in before the following scene’s imagery, it forms a J shape. Conversely, when the visuals change but the audio clip remains the same, it looks like an L.
J cuts and L cuts are used to some degree in most filmmaking types, though they may not be obvious. A good example of a J cut in recent cinema is in The Wolf of Wall Street. The audience witnesses Leonardo DiCaprio’s admiration for his first sale on the stock market floor. Simultaneously, the background music is an audio advance of the “Money Chant” that Matthew McConaughey does in the following scene.
L cuts are more commonly used in dialogue scenes, as it allows editors to create a more natural flow between the characters and the opportunity for reaction shots.
When to use J cuts and L cuts.
Like many aspects of filmmaking, when to use a J cut or an L cut comes down to stylistic choice. But there are some situations where one may be more powerful than the other.
In suspense.
As an intro, a J cut is a perfect method to create intrigue for your viewer before the first shot. Bring in the sound early to pique your audience’s interest. J cuts can generate a sense of urgency too. They can give the viewer the feeling that a scene is being cut short.
Drag it out.
To give the feeling that the story doesn’t end after the credits roll or to make one scene affect your view of the next, L cuts work well.
L cuts can be useful in dialogue scenes too. They can establish the setting and visual information that comprises the overarching story during a scene transition. Use L cuts as opportunities to showcase the actions, expressions, and reactions of your characters to the dialogue. If your video clip has a dream or flashback sequence, an L cut is a great way to signify the start.
Pass the time.
If you need to find a way to show the passage of time, try a montage. A montage is a continuous series of short shots, used to condense information for the audience. They intertwine multiple narratives in a nonlinear fashion, and juxtapose different types of shots without the use of a hard cut. While both J and L cuts can work well for this editing technique, use L cuts to turn narration into a montage to powerfully pair images with words.
Risk and reward.
Mix and match cuts to finesse and focus your story. Both types of cut can create a new layer of symbolism that was missing before. Experiment with both types and see what works best for your project. Depending on what your video clip is, take risks: You can try both within the same scene to break up the transition styles. “It’s a learning process. So if you try and fail, it’s better than not trying at all. Just do as much as you can because that’s how you learn,” Liesinger adds.
How to do J cut and L cut transitions.
Once in post-production, whether you’re a beginner or a professional video editor, Adobe Premiere Pro has the tools you need to make all your video cuts. To make a J cut or an L cut, you need primary video footage, primary audio footage, B-roll, or another video clip with its own accompanying audio.

Insert a J cut.
1. Add primary footage and B-roll (with their corresponding audio) to your timeline.
2. Use the Ripple Edit tool to remove space between the clips.
3. Click and drag the second clip to where you want its audio to overlap with the primary video footage.
4. Select the Rolling Edit tool and hold the Alt or Option key as you click the primary video and overlap as much as you want with the B-roll footage.
5. Smooth out the audio transition with the Audio Effects menu in the Effects panel for a more natural cut.

Add an L cut.
L cuts involve a similar process. The main difference between the two is that with an L cut, the video gets rolled back with the Edit tool instead of the audio.
1. Add your primary video footage, audio, and B-roll to your timeline.
2. Use the Ripple Edit tool to remove space between the clips.
3. Use the Rolling Edit tool to stretch your primary video footage over the audio track associated with the B-roll.
4. Even out the transition between the video footage and the audio track with an effect from the Audio Transitions menu.
Do more with Adobe.
J cuts and L cuts are just the beginning. You can adjust and customize your settings to let Adobe Premiere Pro, the industry-leading video editing software, help refine your footage into film-like quality. Or use the Trim tool to further polish your video transitions to quickly extend or shorten your video clips.
If you need B-roll footage, search Adobe Stock to find your fit. In the Essential Sound panel, you can find options to edit or sync your audio, add sound effects, and automatically duck music during dialogue scenes.
