![]()
PHOTOGRAPHY
How to use product photography props
Discover how the right props can enhance your product photos.
PHOTOGRAPHY
Discover how the right props can enhance your product photos.
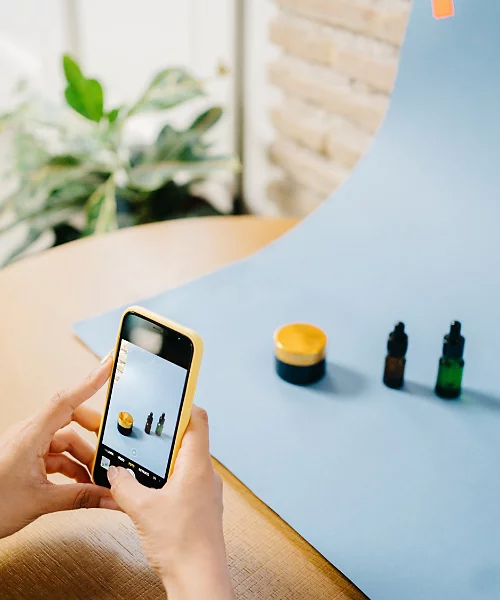
There’s more to product photography than just snapping a picture of the item you’re trying to sell. Depending on the product and the campaign, you may want to include props in your photoshoot to help accentuate some of its features and functions.
Whether you’re doing food photography to promote a new restaurant or just taking pictures of items you want to sell on Amazon or Etsy, knowing which props to use and how to use them can make or break your product shoot.
Product photography props come in all sorts of shapes and sizes—and they don’t have to be expensive. Sometimes the best props are DIY photo props, like everyday objects painted with a pop of color or wildflowers and moss gathered from outside. Keep your photography studio stocked with a variety of props so you’ve always got the supplies you need to make any product look its best.
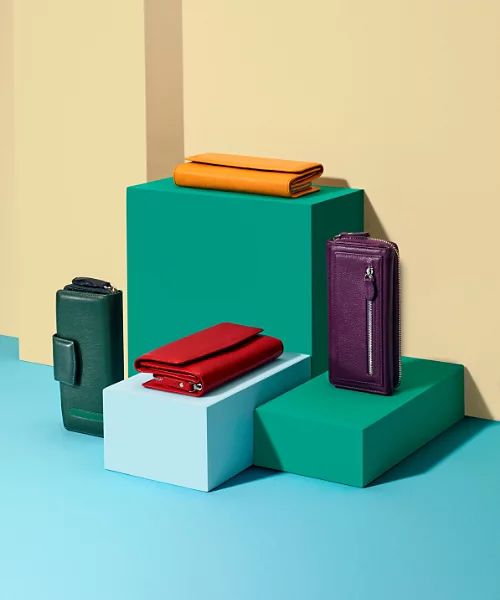
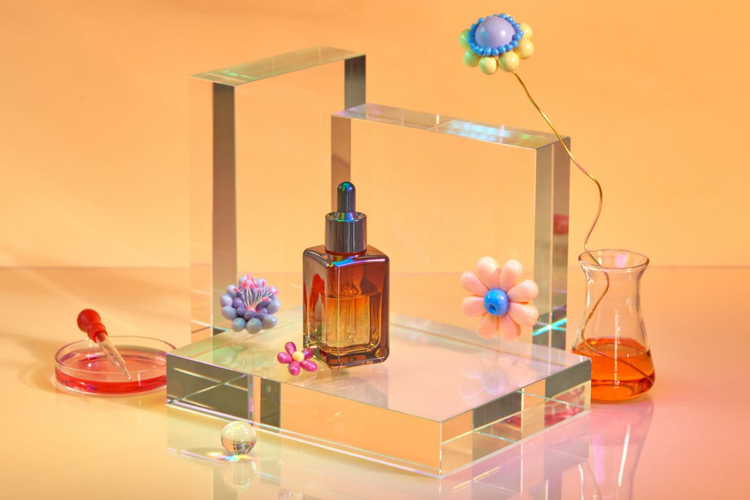
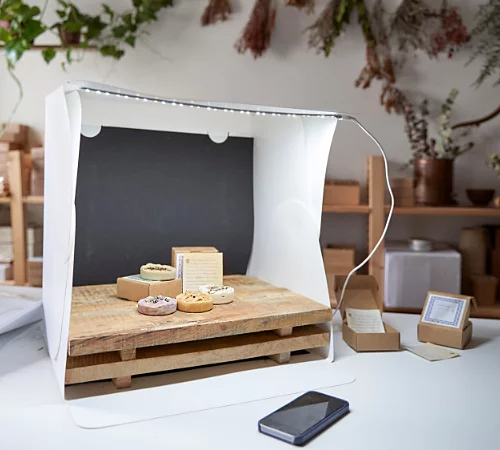
Some of the simplest props you’ll use on a product photoshoot are risers, which display your product at an appealing elevation and angle.
“I love using risers to create different depths for the subject and the image,” says professional brand photographer Deidre Schlabs. “They can be different shapes — like cylinders, squares, or rectangles — and can be painted to match the scene you’re shooting, so you can reuse them again and again.”
Another simple prop that can make a big difference is the right photography backdrop. While a white background creates a clean and pristine image, don’t be afraid to experiment with different colors and patterns.
Experiment with linens and other fabrics to lend texture to your photo backdrop. You can replicate the look of marble or wood-grained backgrounds with patterned vinyl rollout sheets. These sheets are a versatile addition to any photographer’s toolkit: They can hang vertically against a wall for photos shot from the side, or be rolled out on a table or countertop for flat lay photos.
“Props are really important to the context of your photo,” Schlabs says. “If a brand wants a lifestyle photo, I’ll use home decor props to create a natural feeling like this isn’t being shot in a studio.” But when it comes to adding decorative props to your image, sometimes less is more. “You always want the product to be the main focal point of your picture.”
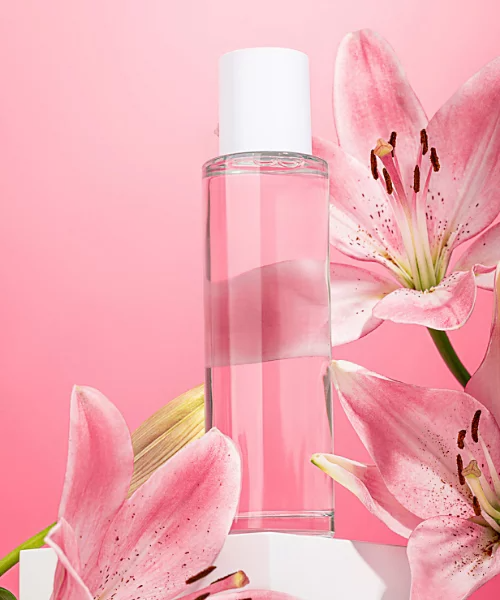
If you’re shooting product photos for a new brand of kitchen knife, a cutting board and some minced up vegetables can help audiences picture the knife in their own home. If the subject of your photoshoot is a botanical shampoo, you could surround the bottle with colorful tropical flowers to convey the product’s floral fragrance.
Because they’re not meant to be seen in photos, lightboxes don’t necessarily count as props. However, these pieces of lighting equipment are a valuable addition to any photo studio because they can cast even, perfectly diffused light that lends an air of professionalism to every photo you take. Best of all, it’s simple and inexpensive to make your own DIY lightbox out of easily accessible household materials.
Product photography starts with a camera, but the job isn’t done after you take the photos. With photo editing applications like Lightroom and Photoshop you can make sure the product and the props all look perfect.
Lightroom is perfect for enhancing images and refining specific parts of your pictures. If one of your props looks more prominent than the product, you can use Lightroom to make it less noticeable by reducing the hue, saturation, or luminance of its color.
Another way to highlight the product and make it stand out from the rest of the image is by using the sharpen image tools to add definition.
To make the same set of adjustments to every picture you took, use the batch processing function in Lightroom to apply tweaks to all of your photos.

Photoshop is the app of choice for product photographers who need to make bigger changes to their shots. If you look at your pictures and realize that one of your photo props is completely out of place, you can use the Content-Aware Move tool to remove it from the image.
If the color of your photo background clashes with the product and props, you can use Photoshop to select the background and change the color to whatever best suits your image.
Once your image looks just right, take advantage of a versatile array of text editing options in Photoshop to add branding and price information to your pictures.

With the right props and photo editing applications, it’s easy to create high-quality product shots that’ll make your merchandise stand out from the crowd.
