
Photography
See the light with a DIY lightbox.
Instead of an expensive lighting setup, create a homemade lightbox with this step-by-step tutorial and household items like a cardboard box, desk lamps, and tissue paper.
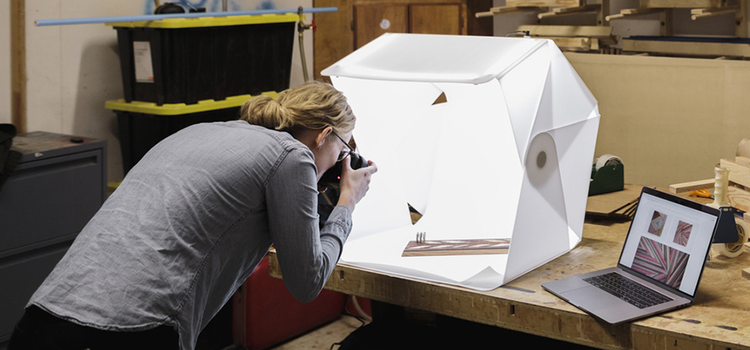
Light your way.
Proper lighting is the key to better photos. When you don’t have time to shoot in natural light or the money to invest in lighting equipment, a DIY photography lightbox might be the solution you’re looking for. A lightbox, also called a light tent, is a space that diffuses light on smaller objects and leaves no glare or shadows.
Typically used for product photos and still life photography, a homemade lightbox is inexpensive and also provides the consistent lighting you see in pictures taken in photo studios by professional photographers. “It provides space to have a really clean white background with the most consistent lighting possible,” says photographer and small business owner Melissa Nocero.
If you need clearer, brighter photos, like in food photography, learn how to forge your own lightbox with our expert advice.

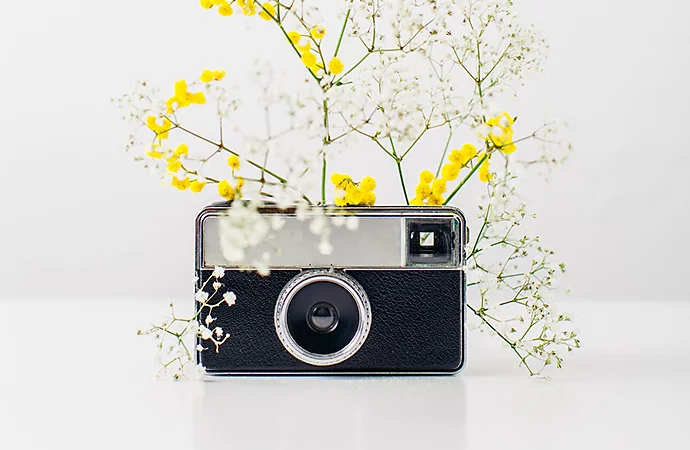
Things you need for a lightbox.
Before you start to make one, make sure that you have all the proper materials.
- A cardboard box
Your box will house the white background for your photos. Use the biggest box you can find, as this allows you to photograph objects of different sizes. If you don’t have a cardboard box handy, you can also use other sturdy materials to make your space. “I use foam core poster boards as the frame for the box, but you can use any sort of cardboard that you can put a white surface on,” Nocero states.
- White paper
Line the inside of your box to create the white background. White poster board is recommended over paper, as it won’t crease when placed within the box. The white background will make the object appear as if it’s sitting in an empty space, which is great for product shots. Anything you choose must have a matte surface, so the light is absorbed and not reflected.
- Tracing paper
Tracing paper will diffuse your photos’ light and give your images consistent lighting. A smooth white fabric of any kind will do here, like parchment paper; just be sure the material is nonreflective and allows only some light to shine through, not all.
- Clear tape
Tape holds everything together without being too messy. “Use clear packing tape to build it; then you’re not worried about it. You’re not trying to glue sides together, which is hard. The packing tape holds quickly, and you don’t see it,” Nocero says.
- Scissors
You’ll need to cut a fair number of items, including the box and paper, so keep these nearby. You could also use a box cutter.
- Lamps
You’ll need a light source to diffuse within the box to get that consistent lighting. You can purchase affordable LED lights or bright desk lamps from online stores or physical retailers.
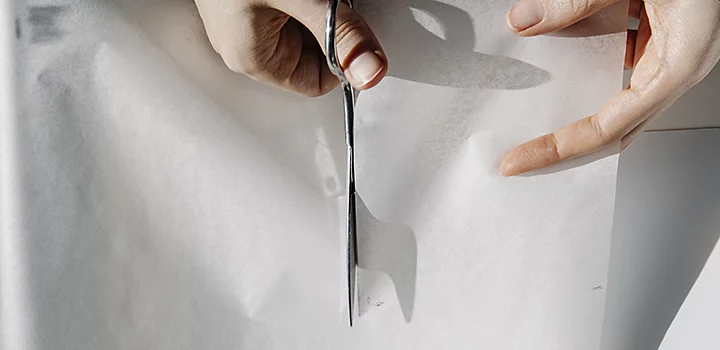
How to make your own lightbox.
Once you’ve gathered all the materials you need to create a photo lightbox, it’s time to put it all together.
1. Cut your door.
Take your cardboard box and remove one of its sides completely — usually one of the sides that opens. “That’s the opening where you shoot into the lightbox,” photographer Laura Murray says. Be sure that you don’t cut the side across from the opening, as that is the backside of your entrance.
2. Add some windows.
Measure and cut out windows into the other sides of the box. Use a ruler and mark a point that’s approximately 2 inches from each edge on one side of the box, and connect the ends using a pencil. This will give you a rectangle-shaped area with space near each edge that you cut out with either a box cutter or a sharp pair of scissors. Repeat on the opposite side. These windows will be where the primary light source shines through.
3. Line it in white.
Trim either a white poster board or thick white paper to fit inside of the box. Place the paper over the top of the box and use your scissors or box cutters to cut away the excess edges. The paper should be the width of the box and about twice as long on the top side, so it covers the entire interior without creases. “You want to have a clean sheet of paper, and depending on the scale of your lightbox, you want just one sheet that can reach the top of the back and come to the front of your lightbox,” Nocero says.
Be careful not to wrinkle it while you tape it to the top edge and bottom of the box. Note: Clear packing tape is a good option. If you use duct tape, ensure it is only on the back side of the paper to keep the interior of your lightbox bright and white.
4. Hang the curtains.
Cut out pieces of whatever fabric you chose to cover your windows. This acts as a diffuser of the light that will shine into the box. These coverings should be about one inch bigger than the windows you cut. Use the piece of cardboard that you cut as a guide in how big the “drapes” should be. “White tissue paper brightens the image and diffuses the light coming in, and it works perfectly,” says Murray. Once you’ve figured out how big they should be, tape or glue them to the sides of the cardboard.
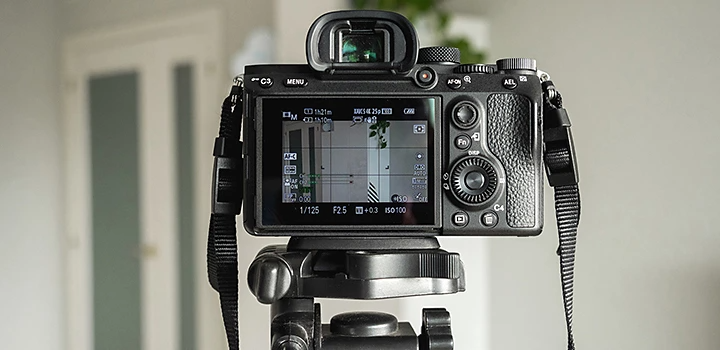
At first light.
Once all these steps are completed, pat yourself on the back: You made your own lightbox. When you have a photoshoot, place your lightbox on a flat surface and the subject in the middle of your box for better photos. Use the viewfinder on your camera to help position your object so that you can get a shot with no cardboard showing.
Set up your lamps with cooler-colored light bulbs about five inches away on either side of your box to provide directional, even lighting and avoid a yellowish tint. Experiment with the distance of each light for different effects.
Since it’s rare to shoot an image so brightly and clearly lit, your first photos may come out overexposed or with an odd tint, so play around with the camera settings. Adjust your ISO, shutter speed, and white balance to ensure your photos look as you intended. For smartphones like the iPhone or a camera with an automatic mode, you won’t need to change these settings at all. One benefit of a lightbox is that the images will be easier to clean when you get to the photo editing stage.

Make your next projects shine.
To make your product photography and other images pop, fine-tune your pictures with Adobe Photoshop Lightroom. If your white balance still doesn’t look quite right, use the Color Grading tool to modify it to your liking. Intuitive tools like Clarity make smoothing out blemishes quick and easy. And more than 1TB of cloud storage means you can brighten up your shots anytime and anywhere you see fit.