Photography
Discover the 5 best macro lens photography tips.
Delve into the world of macro photography for tips on how to best make tiny subjects larger than life.
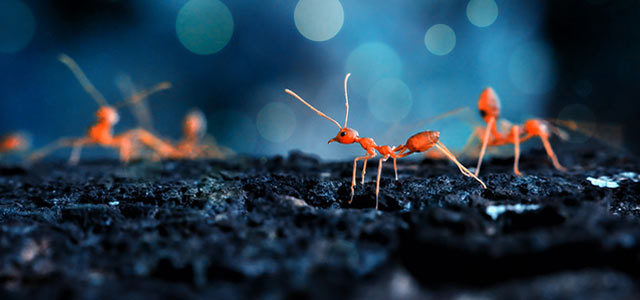
Photography
Delve into the world of macro photography for tips on how to best make tiny subjects larger than life.
Develop an eye for picking the right macro photography subjects by starting small—with groceries in your fridge or objects around your sitting room. Play with angles, keep camera shake at an absolute minimum and use a delicate touch to clean up any imperfections.
Photography is always a matter of perspective. Who’s your subject and where are you shooting them? What’s the lighting like and how might that affect the shot? Are you shooting from above or below? Is the subject on the move or are you moving as you find the right angle on a stationary landscape? And then you can get into the gear-related questions. Are you shooting with a prime lens or from a distance with a telescopic lens? Or is this a live event and do you need to come prepared to use a few lenses?
“It’s an alien world when you get into the macro level.”
Asking yourself these questions and thinking through the logistics are skills you want to build as a budding photographer. But that need is magnified, literally, when you’re changing your perspective to work on the very small level of macro photography — shooting bugs and other small items that live in a world apart from most photos you’ll shoot. “It’s an alien world when you get into the macro level,” says photographer and teacher Ben Long.
Prepare for a journey into the unknown.
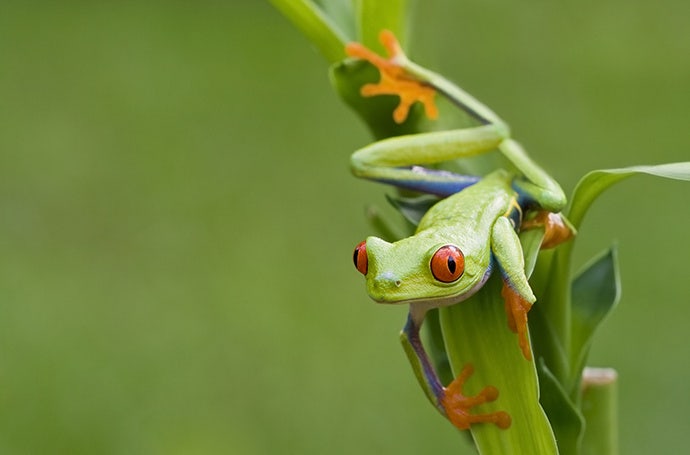
Macro photography is all about showcasing a subject larger than it is in real life — an extreme close-up of something small.
A full-frame insect in a five-by-seven-inch photo and a four-inch product shot of a cornflake go well above life-size: both are examples of macro photography. (And while this premise would apply to photos taken through a microscope, that goes beyond the realm of macro into photomicrography or photos of the microscopic.)
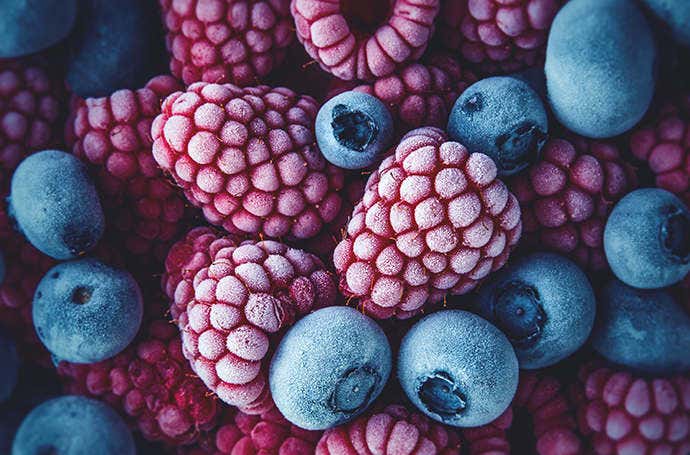
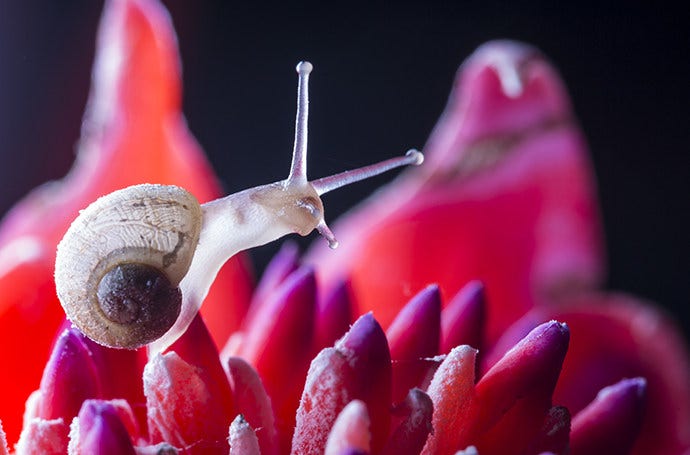
In macro photography, the world you know is gone and a new one emerges.
“A really great place to start is to work your way through the refrigerator,” Long suggests. “Berries are fascinating when you get in really close. There are really cool textures — they’ve got hair on them. I shot a cornflake at some ridiculous level of magnification and it looked like either a really gross piece of meat or the surface of Mar.s.”
As with all photography, exploration is what fuels your ability to understand what you are looking for in your photos. The more you delve into this new, mysterious world, the more you’ll know what you want to document.
“What makes a great macro image is the same thing that makes any great photograph great,” Long explains. “It’s always the job of the photographer to ensure that they’ve organised the frame and used all of the expressive mechanisms they have — like depth of field, motion stopping power and the control of light and shadow — so that the viewer immediately knows what the subject of the image is.”
“I think the hardest thing about macro photography is actually previsualisation — learning to recognise what a good macro subject might be.”
But when you’re having to adjust your perspective so significantly, where you find the right subjects and angles can be a real challenge.
“I think the hardest thing about macro photography is actually previsualisation — learning to recognise what a good macro subject might be,” says Long. “Because when you’re going into macro distances, things just look completely different than what you see in the real world. You might be sitting in front of a great macro subject and have no idea.”
As your eye develops for macro subjects (“You just have to do a lot of macro shooting before you start to get a sense of what’s going to make good subject matter, where the best angle might be,” Long says), you’ll begin to see certain difficulties that arise with this specialised skill.
First things first, before any macro photography advice will be useful, you’ll need a macro lens. While most lenses shoot at a ratio of 1:2.8 and greater, macro lenses shoot at a 1:1 ratio and can focus only within the macro range of about 12 inches or fewer — essential for the super-sharp focus needed to make the minuscule larger than life.
With that purchase made, here are some things to think about as you begin to shoot at a macro level:
Quick note: If you want to experiment before investing in a dedicated macro lens with a focal length better suited to the style, you can get a reversing ring for a fraction of the cost. This allows you to mount a regular lens backward on your camera to create a macro effect.
1. Keep your eye on the details.
As you move closer to any object, the fine details and tiny imperfections that are invisible from a distance become clear. When you’re magnifying as much as you will in macro photography, you may be looking at stray hairs that appear as big as pool noodles.
Long explains. “You’ve got to clean like crazy. And if it’s something fragile, you can’t just get a can of compressed air and blow it. You’ve got to get in with tweezers and little brushes to try to clean everything off.”
2. Plan what you want to capture.
“Macro photography is dependant on the photographer and what it is that they want to enlarge for people to see,” photographer Stephen Klise says.
Working with smaller subjects means your depth of field shrinks, making it very important to go into macro shoots with a plan for what photos you want to get. “When you’re working with macro photography, you have such a narrow plane of focus that little adjustments will throw the whole thing right off,” Klise says. “It takes a lot of time and a lot of careful planning.”
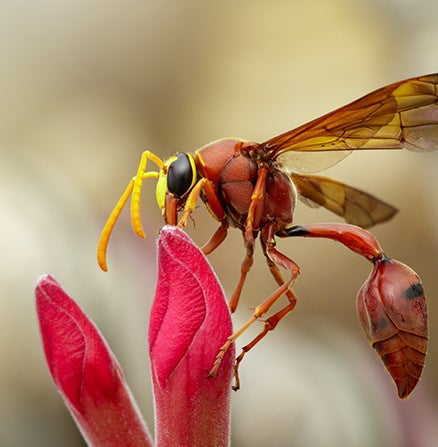
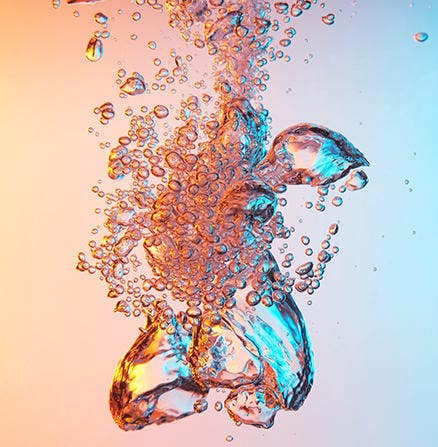
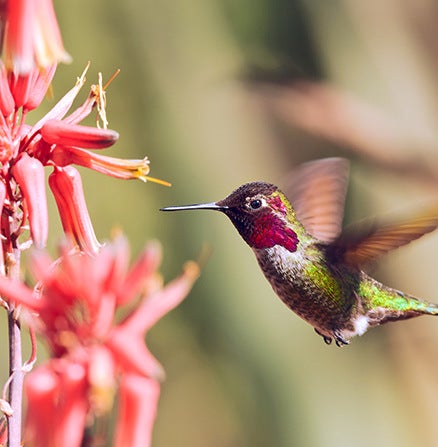
Your margin for error is higher in macro work, which means your preparation must be greater — previsualisation is key. Update internal link in this: Focus stacking is a process that can be helpful when working with the very shallow depth of field you get in macro photography as well. It allows you, in Adobe Photoshop or Lightroom, to merge multiple in-focus areas from a series of macro photos together into a single shot. But getting what you need for a focus-stacked image comes back to preparation and visualisation.
“When you’re working with macro photography, you have such a narrow plane of focus that little adjustments will throw the whole thing right off.”
“If I’m doing a macro shot, I’m always thinking, ‘Where is my subject?’ I'm thinking, ‘How is this image going to be presented?’” says best-selling author and photographer Carli Davidson.
3. Shed some light on your subject.
Much like detail is amplified in a macro shot, so too are the effects of light and shadow — and these are things you can control in some macro shoots, much to your advantage.
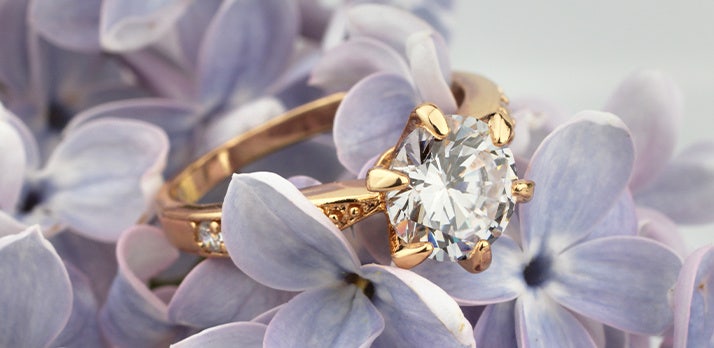
“I used to bring along a tiny, handheld battery-powered light — it was essentially like a torch,” wedding photographer Khara Plicanic explains about her practice of employing macro photography to capture artistic shots of newly married couples’ wedding rings. “I like to use that in my ring shots sometimes, just to add some dimension and drama to the scene.”
4. Consider your scene.
Beyond lighting and photo-ruining dust motes, your background is another area to pay attention to. With your focus so dialled in on your tiny subject, it can be easy to forget to check your background.
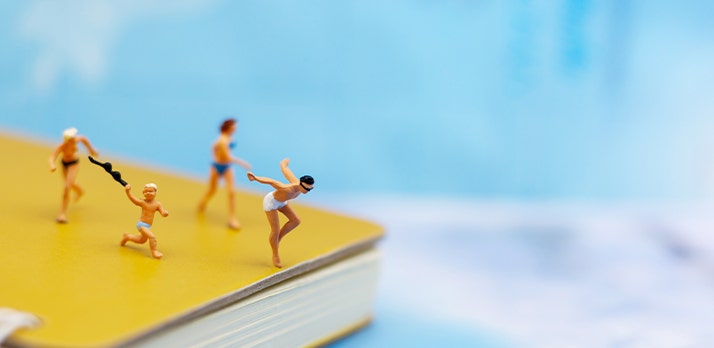
“I made this little scene with toy dinosaurs and all that,” photographer Jeff Carlson says of a shoot he did. “I was about to send it to my editor, but my wife looked at it and said, ‘There’s no way you’re sending that. There are dirty dishes in the background.’”
He continues, “That’s one of those difficult things that people overlook or need to learn. I would like to say — and I’ve been doing photography for years — this never happens to me, but no, it totally happens.”
5. Beware of movement.
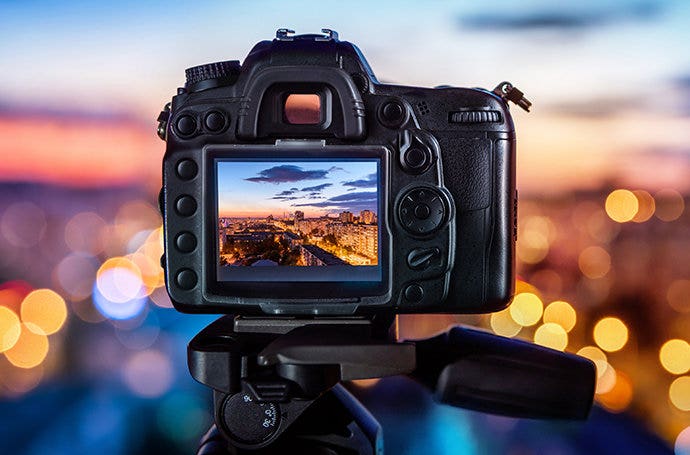
Motion always has the potential to add blur to a photo and much like all aspects of macro photography, that issue increases with small subjects and scenes. A good set-up is key to keep the camera body steady.
“If you’re working at magnification, then camera shake becomes very critical,” Long says. “Particularly if you’re using a slower shutter speed, because macro shots are so dark, you have to use a one- or two-second shutter speed. You may find that you have to leave the room and use the remote control to do that. I live on the top floor of an old building and if I walk around, I get too much camera shake.”
Awareness may be the tip that sums it all up. Macro photography happens at a different scale, but the same practices apply: make sure your subject is in focus, your contrast is good and it’s clear where you want the audience to look. In macro, with such a different perspective, there’s not necessarily more to look out for, but there’s definitely a need to train your eye for what to look out for.
As always, practice makes perfect, so get yourself in that Ant-Man mindset and start thinking — and shooting — small.