How to draw a snake.
A striking snake drawing can charm or intimidate. Follow this step-by-step tutorial and turn a squiggly line into a coiled serpent.
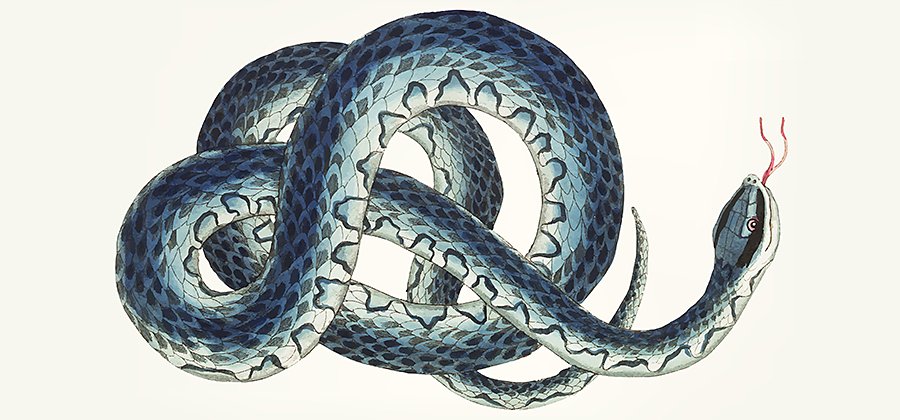
Cobras, vipers and rattlesnakes, oh my.
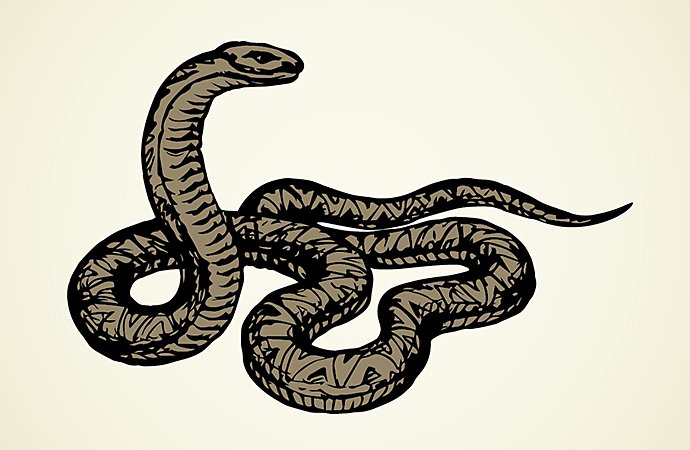
From the serpent in the Garden of Eden to the countless snake characters in Disney films or Harry Potter books, snakes are common symbols in literature, art, religion and mythology. You probably even made snakes out of Play-Doh in nursery school too.
But there’s more to snake drawing than wavy lines. With their distinct lack of arms and legs, snakes move in ways that can seem alien to us. Understand their musculature, form and movements to successfully draw a snake. Whether you want to make a cute cartoon or a highly realistic snake drawing, the same basic principles apply.
Do your research on varieties of snakes.
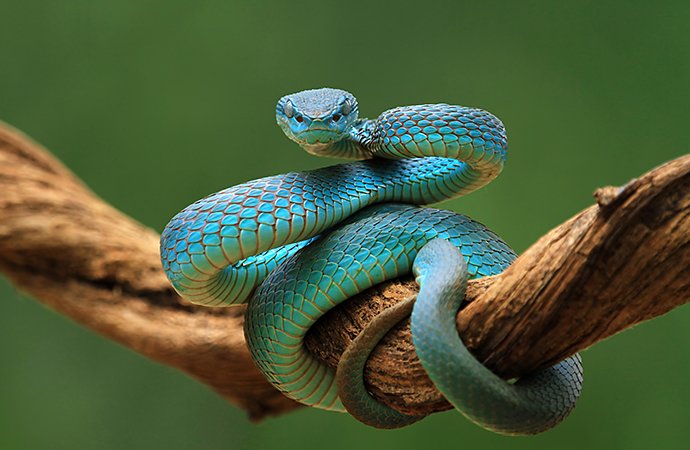
Consider the kind of snake you want to draw. There are more than 3,000 species of snakes around the world. From the tiny Barbados threadsnake to the giant green anaconda, there are many options. Once you know what type of snake you want to draw, find a series of good reference photos.
Think about the snake’s personality. “What is it that makes that little snake charming versus what makes a boa constrictor powerful and intimidating?” says illustrator Kevin Jay Stanton. Before you start, consider what’s compelling about the species you want to draw.
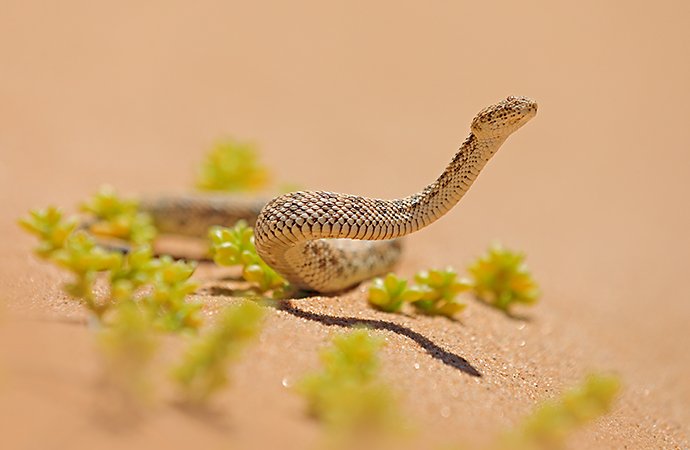
Think about the setting and atmosphere you want to create. Will you draw a jungle scene? A desert view? A lush meadow? Once you’ve done some research and found solid reference photos, pull them into your Adobe Fresco file so you can refer to them while you work.
Simple steps for drawing snakes.
Set the scene.
Plan the composition of your drawing. If your snake will be draped over a tree branch, sunning itself on a rock or curled up in someone’s hand, sketch in the background elements first. Create the surface on which the snake will reside to help lend more weight and volume to your snake drawing.
Start with a sketch.
Now’s the time to draw the general shapes of the snake’s body. Make sure the curved lines of the body aren’t perfectly round since snakes have more organic curvature. Depending on the kind of snake you’re drawing, these basic shapes will differ. Think about what makes your species of snake distinct. The king cobra has a flared hood along its neck, while a rattlesnake has the distinct addition of the rattle-like tip to its tail.
When looking at reference photos, “pay attention to how the snake moves in space and how that musculature works. It’s often going to be foreshortened in surprising ways that will give it a more dynamic feel,” says illustrator and comic artist Jonathan Case.
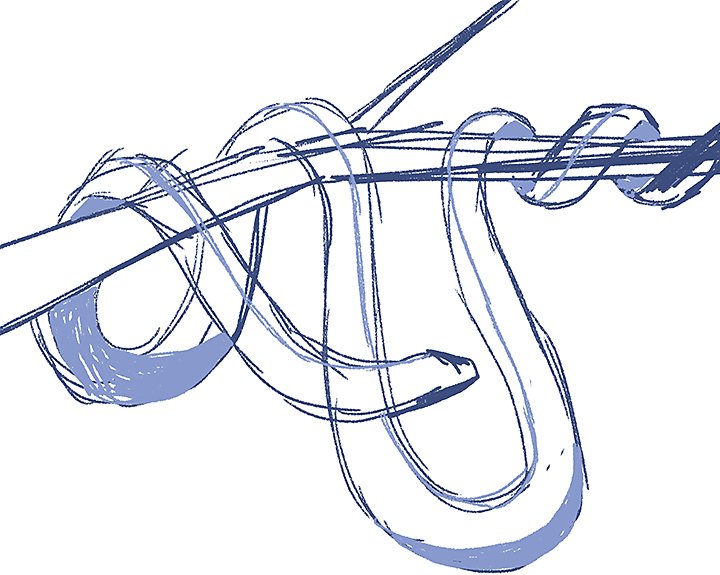
Image by Kevin Jay Stanton
Refine your shapes.
Add a new layer to your Adobe Fresco file so you can draw over your basic lines and hone the shape of the snake. “I use my first sketch as an underdrawing. That lets me see what my original sketch was, so I can go back in and refine the lines and add more volume,” explains Stanton. You can create new layers and refine the body of the snake as many times as needed until you’re satisfied.
Add more detail.
Once your initial shapes are complete, add scales and texture. Pay special attention to the different types of scales on the top versus the bottom of the snake and the stretched sections of the snake versus the coiled parts.
“Some people’s tendency is to think they have to draw every single scale. But we’re not necessarily trying to mimic a photograph here — we’re just trying to indicate what’s there,” says Case. “As the snake goes in and out of the lighting, you can ease up on the detail in certain spots.” For example, when the snake’s body changes direction or is foreshortened, adding some scales and detail can help the viewer understand what’s going on ther
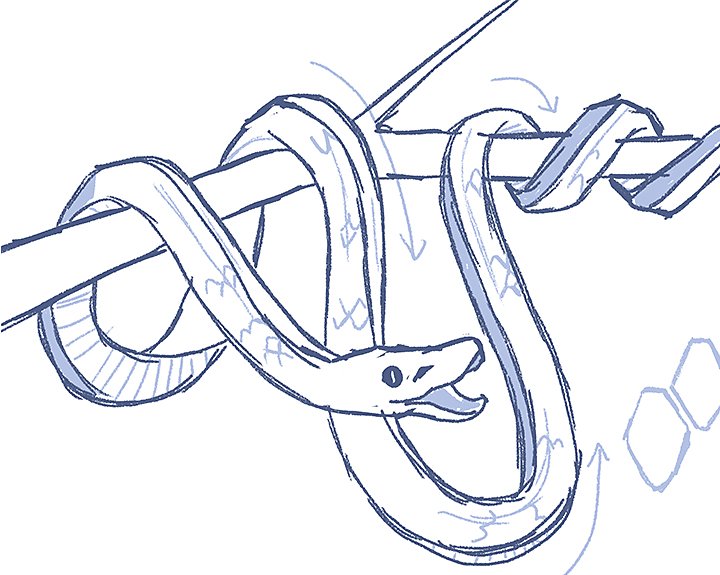
Image by Kevin Jay Stanton
Draw the face.
Bring life to your drawing by adding facial features to your serpent, but keep this in mind: “Snake heads are kind of tricky. There are a lot of different angles that don’t necessarily make sense to us because we’re just not used to looking at snakes so closely,” explains Case. Before adding details to the snake’s head, study your reference photo again since different species of snakes have vastly different head shapes.
Draw the eyes and sketch out the pits and angles of the snake’s face to show depth and curvature. If the snake has an open mouth, look at how the fangs and forked tongue are positioned. “Be fairly delicate with the scales on the head to contrast the darker elements of the eyes and the nose so you can communicate those expressive facial features,” adds Case.
Go back in and add the shading, colour and final touch-ups. Use the Pen tool to fill in colour and experiment with layer masks and locking pixels to add colour to precise areas of your coiled serpent. A drawing does not have to be photorealistic, so embrace your artistic freedom and break away from the reference photos when necessary. Depending on how realistic or stlylised your work is, you can use watercolour effects or charcoal brushes in Adobe Fresco to add texture to your snake drawing.
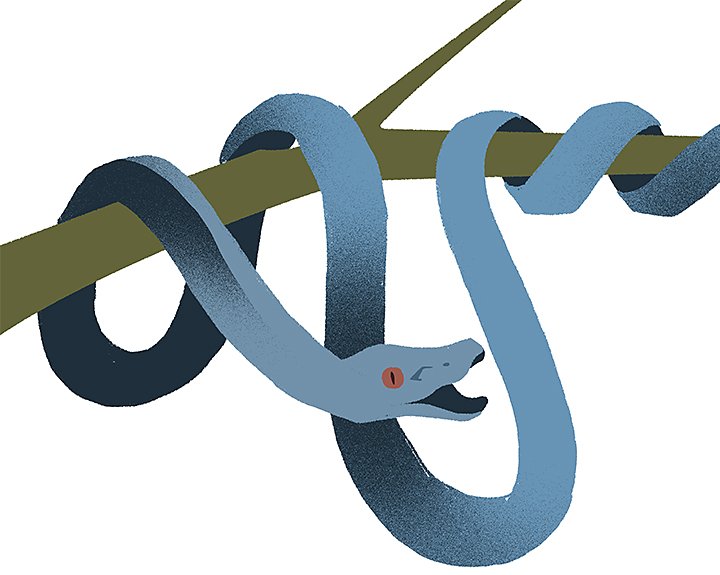
Image by Kevin Jay Stanton
Explore different drawing styles.
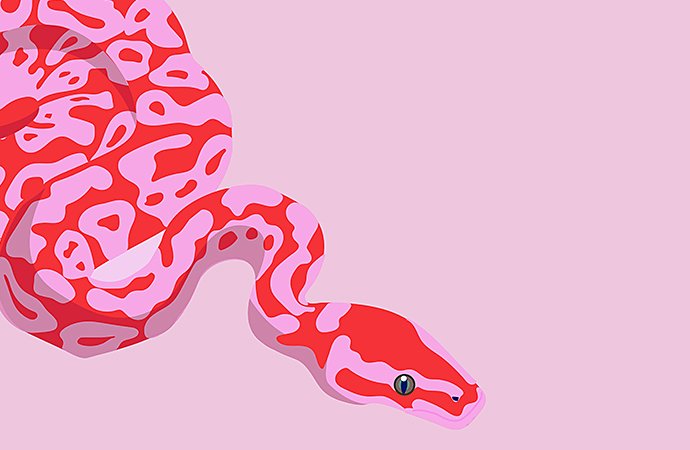
Looking at photos of snakes will help you to understand their form. You can also explore other artists’ snake renditions on Behance to find a variety of stylistic inspiration. This dark, spooky serpent illustration is compelling and intense, while this cartoon snake is sweet and innocent. You can also take a more stlylised approach, using exaggerated curves and bold colours. Whatever style you decide to pursue, the steps for drawing a snake are the same. Now, go out there and try your hand at sketching a slithery little serpent.
Refine your shapes.
Add a new layer to your Adobe Fresco file so you can draw over your basic lines and hone the shape of the snake. “I use my first sketch as an underdrawing. That lets me see what my original sketch was, so I can go back in and refine the lines and add more volume,” explains Stanton. You can create new layers and refine the body of the snake as many times as needed until you’re satisfied.
Once your initial shapes are complete, add scales and texture. Pay special attention to the different types of scales on the top versus the bottom of the snake and the stretched sections of the snake versus the coiled parts.
“Some people’s tendency is to think they have to draw every single scale. But we’re not necessarily trying to mimic a photograph here — we’re just trying to indicate what’s there,” says Case. “As the snake goes in and out of the lighting, you can ease up on the detail in certain spots.” For example, when the snake’s body changes direction or is foreshortened, adding some scales and detail can help the viewer understand what’s going on there.
Contributors
You might also be interested in…
Take your skills to the next level with drawing exercises and advice from professional illustrators.
Exploring watercolour techniques.
Capture the flowing brush strokes and rich texture of watercolours with these tips.
Try your hand at pencil sketching.
Pencil drawing is an essential first step for most artists. See how this skill can improve your art.
How to draw birds of any feather.
Learn the basics of drawing birds digitally with this step-by-step tutorial.
