Discover the best techniques for shooting night time photography.
How to take great photos after dark.
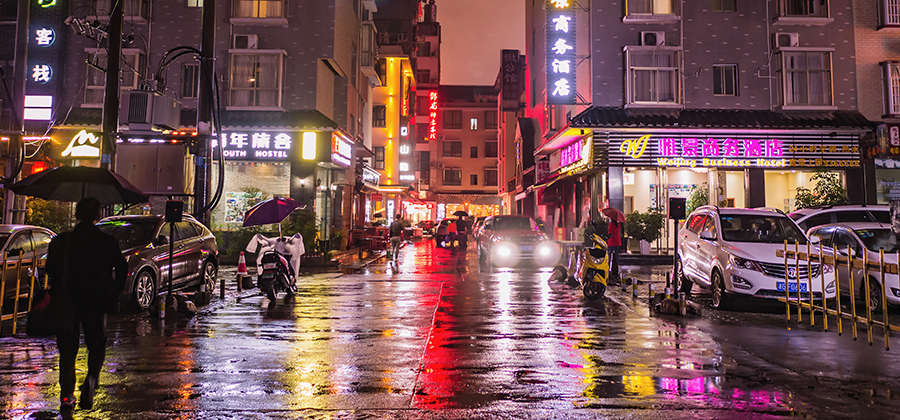
The sun goes down, the stars come out, city lights flicker on, and how you use your camera changes.
Night photography requires extra attention to light and motion — you may want a tripod, a special lens, a camera capable of increasing ISO without degrading image quality. There’s a lot to consider. But there’s also a lot to play with. Sometimes the right constraints give you freedom to discover the most interesting images. Read on for night photography tips that can help you make the most of shooting in the dark.
Sort out your night photography settings.
Shooting at night means low light. Whether you’re capturing the stars or the lights of the city, you’ll need to make sure there’s enough light on the subject for your camera to register that something’s there.

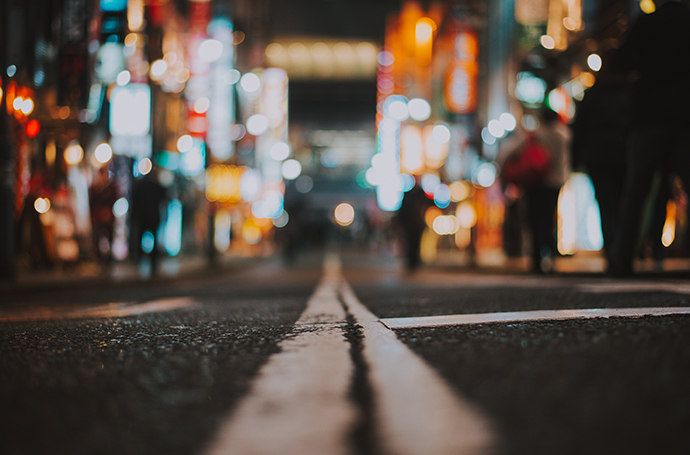
Nighttime photography settings are a good place to begin: opening up your aperture, slowing down your shutter speed, or (controversially) fiddling with your ISO (the sensitivity of your digital camera — comparable to film speed in a film camera). But you can also look for ways to adjust the light on your subject. That could mean adding a flash or a fill light or just asking your subject to step forward into the glow of a streetlamp.
Each of these has its own set of constraints, requiring either good planning or a little luck (if you want that tree branch to move out of your light, you’ll need a length of rope or a very steady wind). You’ll never get the control afforded by daytime photography settings, so when you’re aiming to take great night shots, be sure to give yourself time to experiment.
Anthony Pidgeon, a veteran of low-light and nighttime shoots, suggests starting with a few test shots to establish the optimal shutter speed and find the right white balance: “Because it’s dark, the image will take longer to register on the sensor or the film. That means your shutter speed has to be slower just to get the shot.
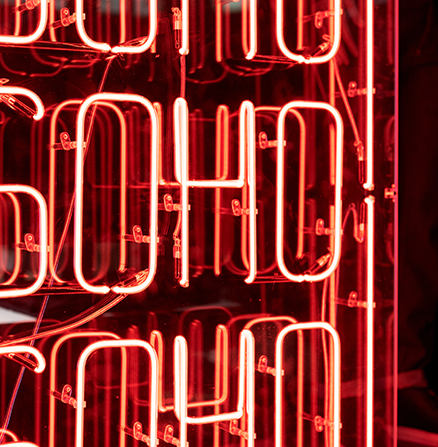
“You need to get a baseline exposure that shows you what you’re getting with the ambient light,” Pigeon says. “Then find out how far you can go without blowing out the highlights. ‘This cool neon sign — if I overexpose it, it will go out to white instead of this cool red or green.’ You work with that until you get your baseline.”
Find your light.
Alex Tan, a photographer and art director, says that night photography is the best environment to work in because unlike with daytime shoots the light’s “not changing — it’s very much the same throughout the night. And so you have a lot of room to experiment; you can keep trying things until you feel like you got it right without worrying about the light changing. During the day, when you’re outside, the sun is constantly changing.”
“You can keep trying things until you feel like you got it right without worrying about the light changing.”
That consistency gives you time to play — even though you’ll need slow shutter speeds and a wide aperture — you have an evenly lit backdrop to experiment in.
Pidgeon recommends a few different ways to explore light in nighttime street photography. He notes that, “a lot of times you want to use light to define the shape of things or the scale of things. So if you’ve got light on one part of the building, and it just bleeds off so you can’t tell where the building ends and the night sky begins, that doesn’t look so great.
“Find a way to pop in a little something on the corner of that building, so that you’re defining the edge,” Pidgeon continues. “That can be enough to create interest. Sometimes it can be as simple as waiting for a car to go by and shine its headlights for a second; that just gives you that little edge. It’s a different frame of mind because you really have to think about the composition. You have to add things in, because you have less to work with.”
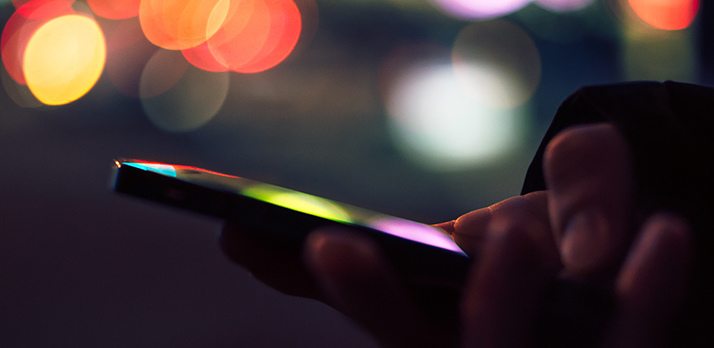
You may also want to bring a light source and play with light painting — there are many options that are small and easy to pack. As Pidgeon explains, “Put on a five-second exposure and shine a flashlight over something. You could use your phones, and be like, ‘When I count to three, we’re going to paint this little corner of the building.’” If you’re shooting digitally, you can immediately check your results. “If it didn’t work,” Pidgeon says, “you can just try it again; it can be really fun.“
Keep it sharp.
With longer exposure and a wider aperture, sharp focus on your subject can be tricky. To avoid blur, Tan notes , “You might have to be a little bit more steady if you’re opening up on your aperture or slowing your shutter speed. Shooting at night is a little bit slower of a game.”
He warns that “a lot of people miss focus at night; their subjects aren’t sharp. When they open up to a really wide depth of field, there’s not a lot of forgiveness on sharpness. If your subject moves an inch or two away from the camera, they all of a sudden go out of the range of focus.” Setting your shot up carefully and asking your human subjects to be still can help ensure that your image is clear.
Samuel Nute, a landscape photographer, has tips on night sky photography — sometimes called astrophotography— which requires very long exposures and especially careful attention to focus. His recommendation:
“You want to have the shutter open for anywhere from 10 seconds to a minute, depending on what you’re trying to get. But in that time, if the camera moves at all, the shot’s going to be blurry.”
Using a cable to control the shutter remotely — so you’re not having to touch the camera — is really, really important. Having a tripod is important, as well. Because, again, you need to limit movement.”
If it’s a windy night, or you’re trying to capture star trails, Nute suggests using what you have on hand to minimize camera shake: “You can set up your tripod and then hang your backpack so that the tripod won’t move in the wind, acting like a sandbag of sorts.”
Prep, patience, and a sense of adventure.
Taking photos at night requires a little extra precision around camera settings and a bit more preparation than simple daytime snapshots. But the rewards can be great, and the nighttime scenes you discover through your lens may surprise you.
Pidgeon offers a last piece of advice for those setting off into the dark, suggesting that the real work is about “looking at it as an adventure — at what makes a compelling or interesting picture versus being more control oriented. You need a certain amount of control to come up with something that technically works, but with night photography, you embrace the random things that happen. You can come up with some cool shots if you’re in that mindset.”

Contributors
Do more with Adobe Photoshop Lightroom.
Edit photos easily with Lightroom presets, Super Resolution, easily share photos from any device, and access your projects anywhere with cloud photo storage management.
You might also be interested in…
Discover how adjusting shutter speed can help you capture clean shots or motion-filled moments.
Discover ways to select the ideal focal length for any and every photo.
Building a great landscape photo.
Explore ways to artistically capture scenic views with tips on landscape photography.
Understanding shallow depth of field.
Explore how shallow depth of field can add dimension to your photographs.
