Go analog with film photography.
Explore the roots of analog photography and see how complex, yet rewarding, it is to shoot with film, develop your exposures, and print your photos.
Capture the moment.
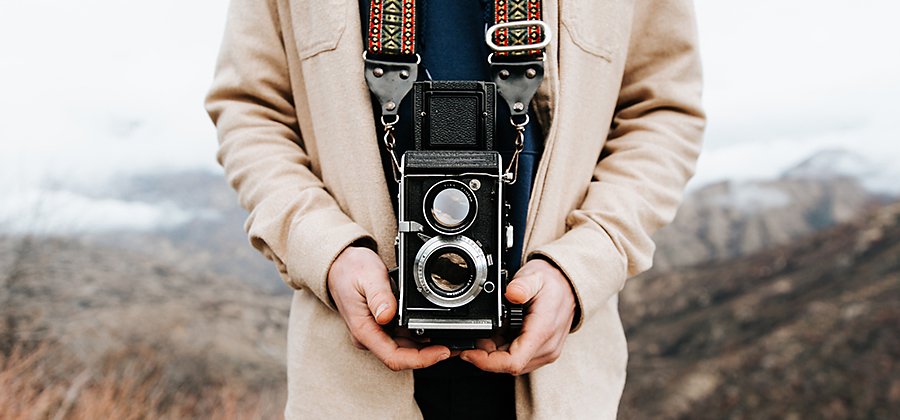
Before digital photography entered the scene, all photos were made with light-sensitive rolls of film. From there, film photographers would develop the rolls and print their photos in a darkroom; a physical process that lets artists get up close and personal with photography as a medium. Film photography gives you total control over image exposure and shutter speed, and the ability to print and enlarge images can help artists better understand how photos are made.
While film can be a great way to explore the ins and outs of photography, it comes with a lot of trial and error. “With digital photography you can learn really fast. But with film, you can take a photograph and not know what settings you used. You could get the perfect photograph, but you wouldn’t know why. With digital, you can go back to the metadata and see what f-stop and shutter speed you used,” explains photographer Ryan Mills.
Master your photography tools.
Film cameras.
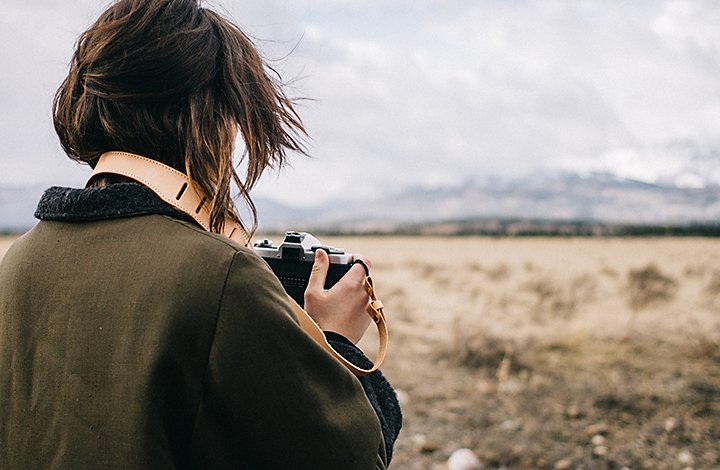
During film photography, a roll of light-sensitive film is placed within the camera. When the shutter of the camera is open, the film is exposed to light and an impression is captured. After the exposure is made, the photographer rolls the film forward so a fresh section of unexposed film is ready for the next photo. In some manual cameras, you can roll the film backward and shoot over the same piece of film multiple times to create a double exposure. When the roll has all been shot, it’s removed from the camera and developed.
“One important thing to realize about digital cameras is that the brand of camera, like Nikon or Canon, doesn’t really matter; your image will kind of look the same. And by the time people start editing photos, it’s difficult to tell what kind of camera that came from,” explains Mills. “With film, however, the cameras and the film all give different looks. And they all function a little bit differently.”
Many photographers use a Single Lens Reflex (SLR) camera for their film photography, which uses a mirror and prism to create an exposure. The inner workings of these cameras allow photographers to look through the viewfinder and lens to see what will be captured within the frame. SLR cameras come in different formats, including 35mm cameras, medium format, and large format. These formats translate to the size of the physical film that fits in the camera. And the larger the film negative, the better the resolution of your final image. For smaller formats, like 35mm, the film grain will be more noticeable on the printed image.
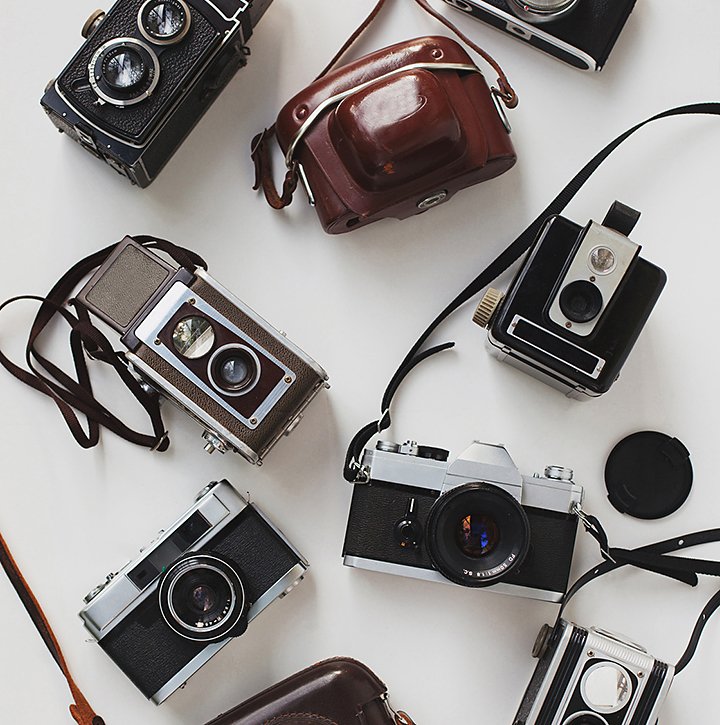
“You can get analog cameras pretty cheaply, but it’s more expensive to shoot the film,” explains photographer Dillon Jenkins. Digital cameras are more expensive upfront, but there’s no extra cost accumulated for every photo you take. But keep in mind, you can’t shoot 35mm film inside a medium format camera. So before purchasing film or a camera, consider the kind of photos you want to create before investing in the equipment.
Photographic film.
When it comes to film, there are a few options to consider. “These days, you can generally buy 35mm film and 120 medium format film. You may have heard the terms 120 and 220 format. They’re essentially the same medium format size film, but at different lengths,” explains Mills. With a longer roll of film, you can take more photos before replacing the roll. “You can get 10 to 12 shots out of 120 film, and 22 to 24 shots out of 220 film,” notes Mills.
Film cameras can shoot in either black and white or in color. Black-and-white film is a little easier to develop yourself, but color film gives you room to experiment with tints and shades. Different brands of film, like Fujifilm and Kodak, can give you different color saturation or contrast as well. Try a few different brands and see which works best for your artistic needs.
Beyond the color of the film, you also have a choice between film positives and film negatives. Negatives capture an inverted image of your photo, which allows for easier photo printing in a darkroom. Positive film creates positive images on a transparent base. “One of the big differences between color negatives and color positives is exposure latitude, which is the dynamic range of the film itself,” explains Jenkins. Keep in mind that each type of film has different parameters and considerations.
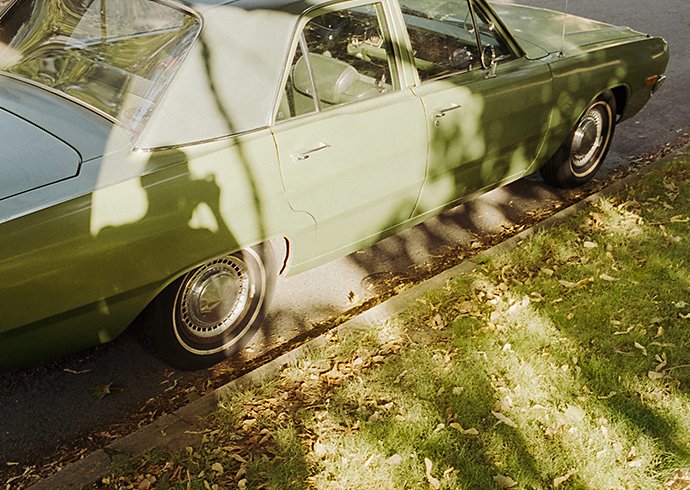
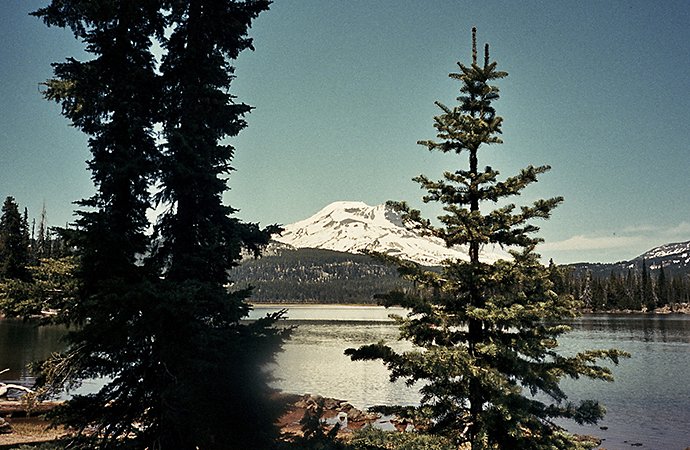
- Color positive film has more color and saturation. Color positive film is often used in analog video cameras, since it’s more easily projected.
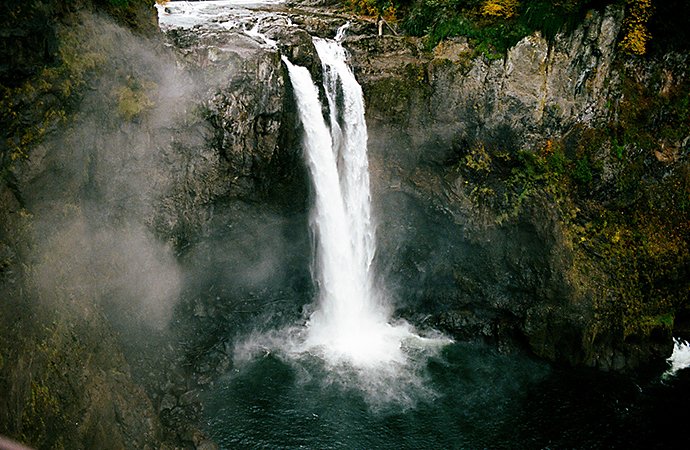
- Color negative film is flexible, but the colors can unintentionally shift if you’re too high or low within your film camera settings.
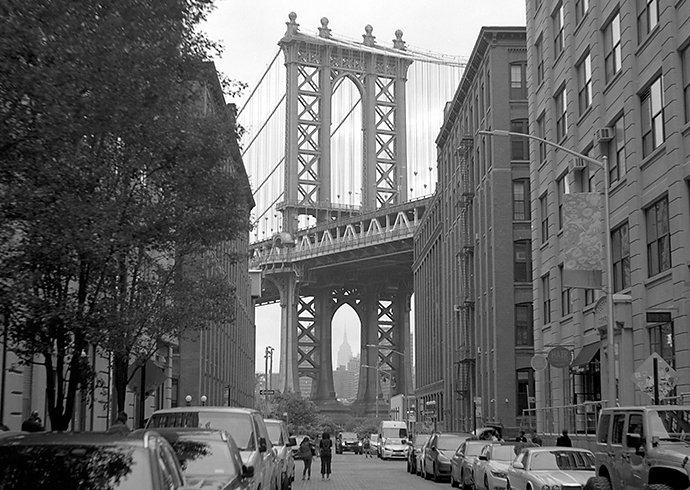
- Black-and-white film is less expensive than color film. It’s also the most forgiving medium and is one you can develop at home.
Remember, before the film has been developed, it’s still light sensitive, so the artist must be careful while developing to limit the risk of light leaks or overexposure to the film.
How to shoot with film.
Understand your camera settings.
The exposure triangle is imperative when it comes to film photography. “I would start with digital photography, so you have a solid understanding of the fundamentals. With film, you’re going to be shooting everything manually.” says Mills. Because everything is manual, you need to clearly understand how shutter speed, aperture, and ISO will affect your photo. And with film cameras, your ISO, or the light sensitivity, is dependent on your physical film.
Plan ahead for the shoot.
With film photography, you have a limited number of exposures at your disposal. If you want to capture landscape photos, you don’t want to run out of film before you make it to the viewpoint, so bring a few extra rolls of film with you just in case. It can also be helpful to keep a journal or log of the camera settings you use while you shoot film. That way, when you look back at your images after they’ve been developed, you can see what you did right and what went wrong.
“When it comes to analog photography, expect to make a lot of mistakes. And sometimes, you’ll like your mistakes. I think understanding how you made the mistake helps you appreciate it,” explains Jenkins. “For example, one time my camera had broken, but it was still working. So I shot a roll of film with it. But the camera kept shooting for about 40 exposures, which was very weird. But what had happened was the spool had broken, so I had been taking photos over the same piece of film for two months, so it had about 30 photos on one frame.” Weird mistakes will happen with film photography, but those moments can help you create something truly unique and unexpected.
How to process your film.
After a roll of film is shot, it needs to be developed. One approach is to mail the film roll out to a developer. There used to be a multitude of film processing companies, but with the rise of digital photography, it has become more a specialty. With mail-in developers, you can often choose what format you’d like your images in. You can order just the processed film, small or large prints of each photo, or digital images of the film photos. That final approach can save you time, and gives you high-quality images to edit digitally.
Build a darkroom.
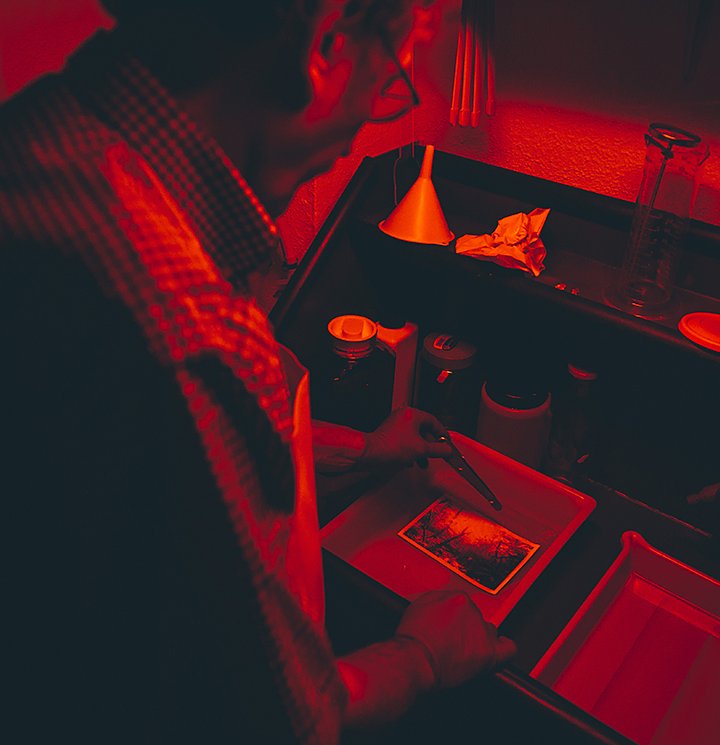
Another avenue to consider is at-home developing. For some film, you can order a developing kit with the right chemicals. Alternatively, if you have a dark basement or a windowless room, you could create an at-home darkroom. This gives you the flexibility to develop your film and then create your own photo prints. Keep in mind that black-and-white film is the easiest to develop and print at home, and it requires fewer chemicals.
To build a darkroom at home, you’ll need a dark space, a safelight, the right chemicals, distilled water, developer, fixer, trays, and gloves. You can purchase the chemicals and developer at a specialty photography store or online. To develop the film, you’ll need to load the film into the developing tube, mix your chemicals, pour in the developer, wash it, and then dry the negatives.
Print your photos.
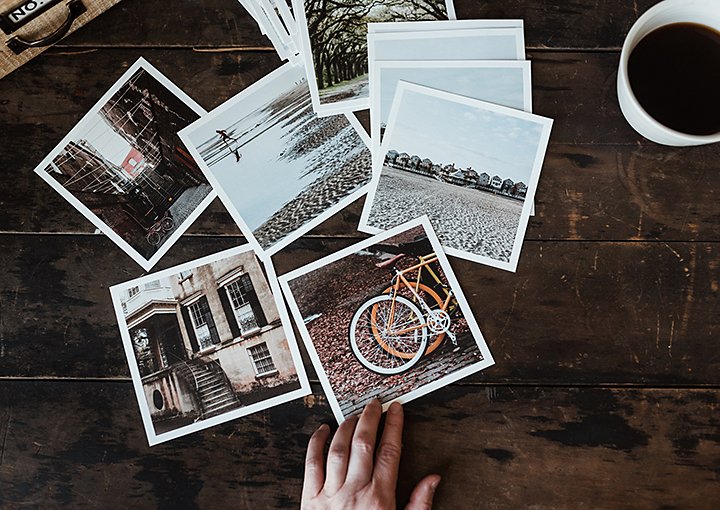
When the negatives are dry, you can print the photos. Use an enlarger to project your film negative onto a piece of photo-sensitive paper, and create test strips and prints by turning on the light inside the enlarger for a series of increasing seconds.
Set up four trays, and fill them with developer, fixer, stopper, and water. After the photo paper has been exposed to light, place it in a tray of developer. While the paper sits in the developer, you’ll see the contrast and shadows start to emerge. From there, you’ll move it to the fixer, then the stop bath, and then rinse it in the water bath. Keep in mind that your brand of paper and chemicals will impact the amount of time your print stays in each solution. After that, you can hang your photo dry, then frame it and enjoy.
Give your photos a digital touch.
The process of physically developing film can be fun and worthwhile, but if you want to create a specific artistic look, it can take a lot of experimentation to get it right. Another way to get the perfect photo is to transform your film shot into a digital image. Use a DSLR camera, a photo scanner, or your smartphone to create a high-quality shot of your film negative or photo print. From there, you can use Adobe Photoshop Lightroom to edit and perfect the image. If you’re not sure how to get started, check out these tutorials:
- Use the Adjustment Brush to dodge and burn an image, similar to traditional tactics used in the darkroom, to adjust the exposure and contrast in certain areas of your photo.
- Remove distracting objects in the background of your shot with these simple steps.
- Use selective editing tools in Lightroom, like the Brush tool or Radial Gradients, to edit specific parts of your photo.
- Learn how to edit out dust and scratches from images in Adobe Photoshop.
Film photography takes time and patience, but shooting film can help you connect with your photos — and understand photography — in a new way. Whether you’re a beginner or a professional photographer, analog photography forces you to master the exposure triangle, your camera settings, and your creative vision. If you’re not ready to invest in a darkroom or an SLR camera, consider a Polaroid or instant film camera instead. You’ll still get to experience the physicality of film photography, but with an easier way to access it.
Contributors
Ryan Mills, Dillon Jenkins
Do more with Adobe Photoshop Lightroom.
Edit photos easily with Lightroom presets, Super Resolution, easily share photos from any device, and access your projects anywhere with cloud photo storage management.
You might also be interested in…
Find your truth in fine art photography.
Follow your passions and explore the conceptual layers of creating artistic photos.
Introduction to black and white photography.
Learn to use black and white photography to hone photography skills and capture perfect photos.
Thế giới nhiếp ảnh phơi sáng kép.
Tìm hiểu kỹ thuật chụp phơi sáng kép và tự mình tạo ra một bức ảnh độc đáo.
The art of still life photography
Improve your composition skills by learning the art of still life photography.


