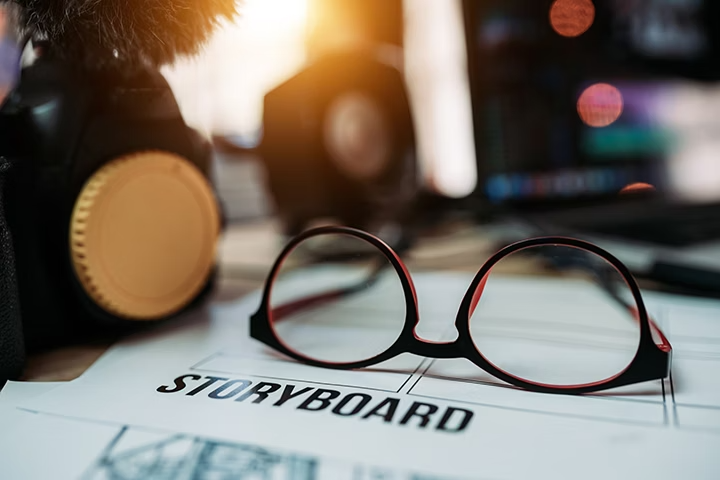
Animation storyboards and how to make them.
The storyboard has shaped animation and cinema since the early days of Disney. But how do you go about creating your own? And can technology streamline the process for hobbyist animators? Get the lowdown with our guide.
What is an animation storyboard?
A storyboard is a key part of animation and filmmaking. A key step for any aspiring director with an idea in their head, a storyboard should capture the essence and structure of the planned animation in visual form.
The storyboard is essentially a series of sketches that map the key events of the narrative, presented chronologically. This provides a visual bridge between the script or overall concept and the finished animation.
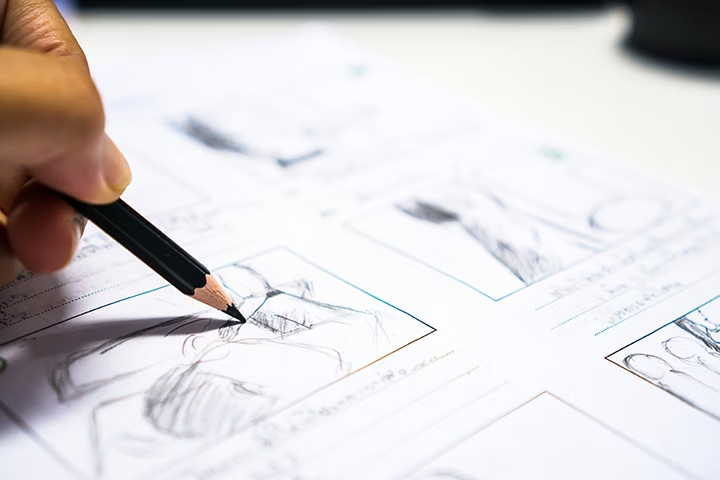
Each sketch usually represents a crucial shot or a frame. These are known as panels and they can also capture technical details, usually in separate boxes.
There are some essential things an animation storyboard panel should include:
- Frame. A rectangular box in which the storyboard artist will sketch the shot — what the viewer can see from that angle, roughly sketched.
- Dialogue notes. Notes of any dialogue that will appear in the frame. Not verbatim from the script, but a quick summary of the gist.
- Action notes. Notes for any action that occurs, such as crashing rocks or a car spinning out of control. Could also list characters’ actions.
- Camera shots. The storyboard panel should also capture the intended camera shots for each scene. From long shot to close up.
Who creates animation storyboards?
A hobbyist director may well create their own storyboard, but many professionals will work with storyboard artists — often known as board artists — to realise their vision.
The director has historically had overall responsibility for the storyboard on a project. Having said that, other key roles feed into its development, from board artists to scriptwriters, from story editors to cinematographers.
Short history of animation storyboards.

Animators and filmmakers have been using storyboards since the early days of Hollywood. It was actually Walt Disney Studios that developed the first animation storyboards, in the 1930s.
It’s said that for Walt Disney himself, story development was a crucial part of animated filmmaking, a sentiment which standardised the use of storyboards across the medium.
According to legend, the first person to draw scenes on paper and assemble them next to each other, reportedly on a pin board, was Disney animator Webb Smith. But it took until 1933’s Three Little Pigs, a short animation by Disney, for the first use of a complete storyboard.
That may be 80 years ago, but Disney still uses storyboards today to help ‘bring the director’s vision to life.’
Why do animators use storyboards?
There are many reasons animators use storyboards, ranging from cinematic convention to checking whether something is viable within a production. Key reasons why they are often essential include:
- Tried and tested method. Animators and filmmakers started using storyboards in the 1930s and continue to do so to this day. Though the technologies involved have changed hugely, the basic principle of an animated storyboard remains.
- Captures a vision. Until the storyboard stage, an animated film exists largely in the heads and imaginations of its creators — namely the director and scriptwriter. The storyboard is the first time that vision is presented visually, as a basic narrative.
- Combines words and pictures. Films are made of words and pictures. And at the storyboard stage, a story artist (as they’re called at Disney) or board artist, can collaborate with a writer to see how the two mediums will come together to match the director’s vision.
- Can plan scenes and shots. The storyboard is a great tool for planning and organising a production. You can use it to break down the animation into scenes and then label the individual camera shots within each scene.
- Provides a checklist. A well drafted storyboard will double as a checklist of things you need for your production. Do it right and you’ll know how many scenes you have, which characters are in them, whether there’s any audio requirements, a list of shots to complete and more.
- Builds a reference document. Storyboards often undergo several revisions, which means they change significantly as documents. By archiving each version of your storyboard, you get a complete view of the project from day one to the last shot.
- Allows for feedback. By storyboarding their animation, a director can use this to understand what works and what doesn’t, identify specific challenges and obstacles and gather constructive feedback from others on the planned vision. This feedback could be as crucial to the success of a feature film production, as it might be for a student filmmaker consulting their teacher.
What are animatic storyboards?
An animatic storyboard is a simple, animated version of a storyboard. It’s essentially a slideshow, presenting each panel of your storyboard complete with motion to do a better job of conveying how it may work as an animation.
Often these are used when a storyboard needs to be pitched to a client; for example if an agency is creating an animated advert. An animatic storyboard may also include transitions between shots, as well as including character dialogue and audio.
Animation storyboard examples.
One of the best ways to learn more about storyboarding is to look at examples, especially those that show the storyboard and the finished animation side by side.
Here we feature some of our favourite storyboard animation examples.
Luca and Alberto eat with Guilia and Massimo — Pixar Side-By-Side.
This charming Pixar animation tells the story of Guilia having friends home for dinner. In this side-by-side video you can see the storyboard running above the final animation. By watching, you should pick up some useful tips on the level of detail needed.
UP ‘Married Life’ — Pixar Side-By-Side.
Here, in the famous (and heart-breaking) ‘Married Life’ section of Pixar animation UP, we can see the original storyboard laid over the top of the finished animation. There’s plenty of action in this scene and it’s useful to see how the storyboard can handle motion.
Frozen 2, Into the Unknown.
Similarly, here we can see the storyboard of the iconic scene featuring the Academy Award-nominated song, Into the Unknown. The storyboard shows detail for the use of shading.
Sony Pictures storyboard artist Patrick Harpin.
In this video you can learn how Sony Pictures storyboard artist Patrick Harpin got into storyboarding as a career, as he shares some top tips and talks about the process. He explains how he got his break at Blue Sky Studio on Ice Age.
How to storyboard an animation.
1. Getting started.
To get started with a storyboard, you first need an idea of the animation you want to create, as well as the basic materials for setting it out.
- Create your synopsis. This is an overview of the plot, including key characters, acts, conflicts and resolutions. Today, many directors have a full script before starting to storyboard, but for a hobbyist a synopsis should suffice.
- Know your narrative structure. As well as the overall plot outline, you need to have an idea of what will be happening to who and in what order. In short, a breakdown of the narrative, scene by scene.
- Know the action. What will the characters be doing in the shot? Will they be moving, will they be speaking? What will be going on around them? Will there be cars, planes, falling buildings? Or perhaps just gently swaying trees or rainfall?
- List your camera requirements. This will evolve with the storyboard, but before starting you at least need an idea of the shots that will make up your animation. Ideas for transitions, camera staging and more.
- Have your materials. You’ll need high-quality pens, pencils and paper to start your sketches. Or you may prefer to sketch using a drawing app. For the creation of panels you’ll likely want to use software, such as Storyboard Pro and/or the storyboard templates on Adobe Express.
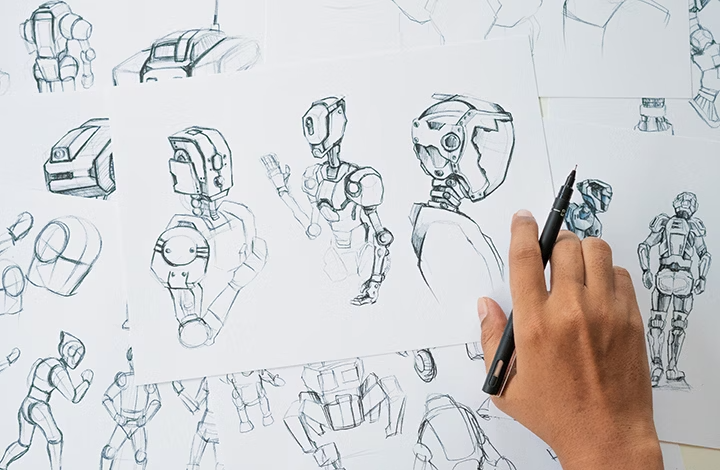
2. Sketching your animation storyboards.
Sketching your storyboard begins with paper and pencil. You might start by roughing up a small thumbnail sketch for each shot. These should be drawn from the perspective of a viewer would see on screen. If you have to move your head to see something else, that means a new shot and therefore a new thumbnail.
This helps you to get an overall view of the animation on one page, before moving onto more detailed individual sketches on single sheets, which you can then assemble in the correct order on a whiteboard or wall.
Though many animators still draw storyboards by hand, professionals and hobbyists alike are increasingly using drawing apps to sketch out their frames.
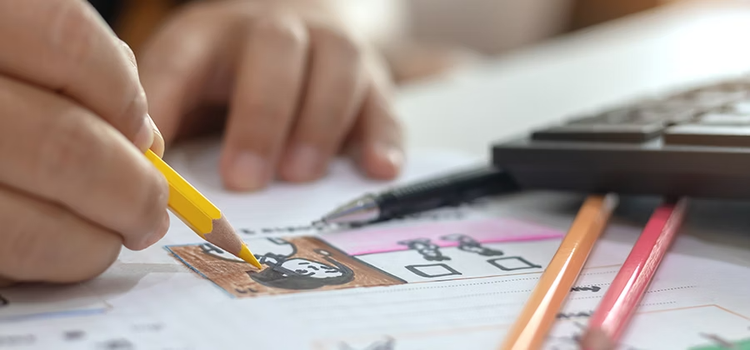
3. Creating your storyboard panels.
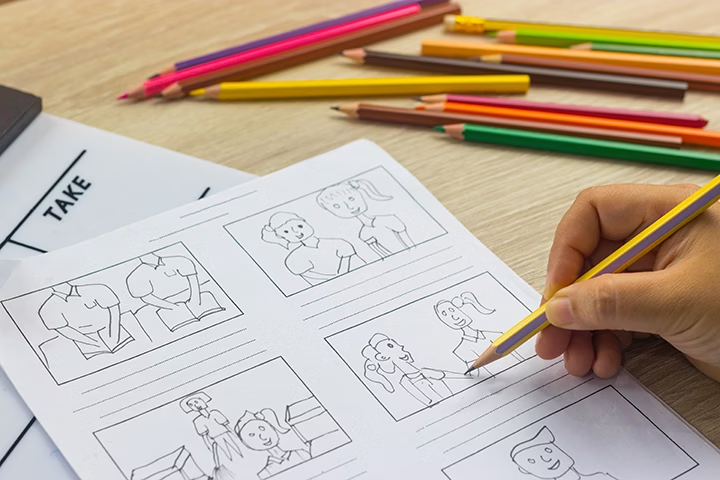
Once you have built a narrative with rough sketches, it’s time to transform these into panels. A storyboard panel is a rectangular frame drawn onto a sheet of paper, with separate boxes for notes on dialogue and action.
The dimensions of the box depend on the type of production you’re storyboarding — i.e. whether it’s for film, TV or wide-screen. But 4 inches x 3 inches is typical. You’ll them draw the action of the scene within this box before adding notes on dialogue or camera angles, etc, to the other boxes.
At the top of the panel there’ll be space to write the scene number and panel number. Panels can be created on actual paper, but amateurs and professionals alike increasingly use digital software to pull these together.
Top tips and tricks.
- Start with post-it notes. The blank page can be intimidating — especially when it’s a pile of blank panels. Start with post-it notes or a digital equivalent and scribble down ideas without too much thought to get something down.
- Develop into thumbnails. Shape these post-it notes into thumbnail sketches which you can cut up and assemble in the order they happen in the story. Nothing is set in stone at this stage, but you can start to shape the narrative.
- Keep it basic. You may be a talented artist, but initial storyboarding doesn’t require you to create a masterpiece. Keep the sketches simple — stick people, rough outlines, basic shading. The focus is on putting across your idea.
- Don’t sweat the specifics. Try to avoid getting too bogged down with the finer points of a single panel or thumbnail. The aim is to give a quick overview of the entire story in a series of short illustrations. Think of it as an extended elevator pitch.
- Let your idea breathe. You may begin storyboarding for your animation with a rigid narrative structure in mind. But as you begin sketching, the story may shift in direction as it evolves. Allow this process to unfold and see where it takes you.
- Set a frame limit. Having said that, be disciplined with your number of core panels. Try to distil the story into a small number of panels that capture the narrative arc of beginning, middle and end with any key conflicts and resolutions. Once this is established, you can build out with further panels.
- Filter out the unnecessary. Not every scene you’ve sketched will make the cut. And as you assemble and reassemble, you’ll start to see those weak points which belong on the cutting-room floor.
- Listen to your peers. Ask other creatives in your work, production team or hobbyist circle to look over your animation storyboard and provide feedback. Constructive criticism, though not always easy to take, can help you to identify previously unseen problems.
Choosing the right software and templates.
Professional studios often create storyboard panels using software such as Adobe Photoshop and Storyboard Pro for feature animations. Storyboard Pro is industry standard and enables board artists create and re-order rough thumbnail sketches, create camera moves, import images, sound and more.
But if you’re a hobbyist animator you may want to consider Adobe Express as well.
With Adobe’s professionally designed storyboard templates, you can easily upload your drawings to your project and annotate with captions to detail characters, dialogue, camera requirements and more.
Fascinated by the world of animation?
Keep learning by reading our beginner's guide to animation.
Animation storyboards: FAQs.
How long should a storyboard take?
There’s no fixed rule, but each storyboard panel is expected to take around half-an-hour. When talking specifically about TV, storyboard artist Steve Hulett says each board should take between 10 and 20 minutes. Obviously, if you’re a hobbyist new to the medium, it’ll take you longer - and that’s absolutely fine. Take your time.
Is storyboard artist a job you can do?
Yes, a storyboard artist is a job you can do. You’ll usually need to study a visual arts subject, such as animation or graphic design, at college or university. Often, it’s then about opportunity. Getting as much work experience as you can is vital, so look out for internships with studios.
How many frames does a storyboard have?
There’s no set number of frames for a storyboard. But you’ll need an at least one frame for every shot. From there it depends how long your animation or film is: the longer its running time, the more frames you’ll have. A typical film can have thousands of frames, but for short animations that number will be considerably lower.