Try these tutorials with Photoshop
Edit photos to create new images and graphics.
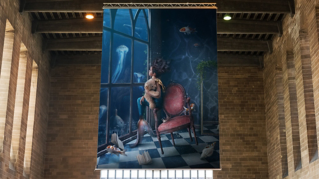
Vanessa Rivera tells dreamy stories through photo composites. See how she brings an image into an underwater scene in Adobe Photoshop on her iPad.
Vanessa Rivera is a photographer and artist who merges photos of her family and objects from the real world to create fantastical compositions.
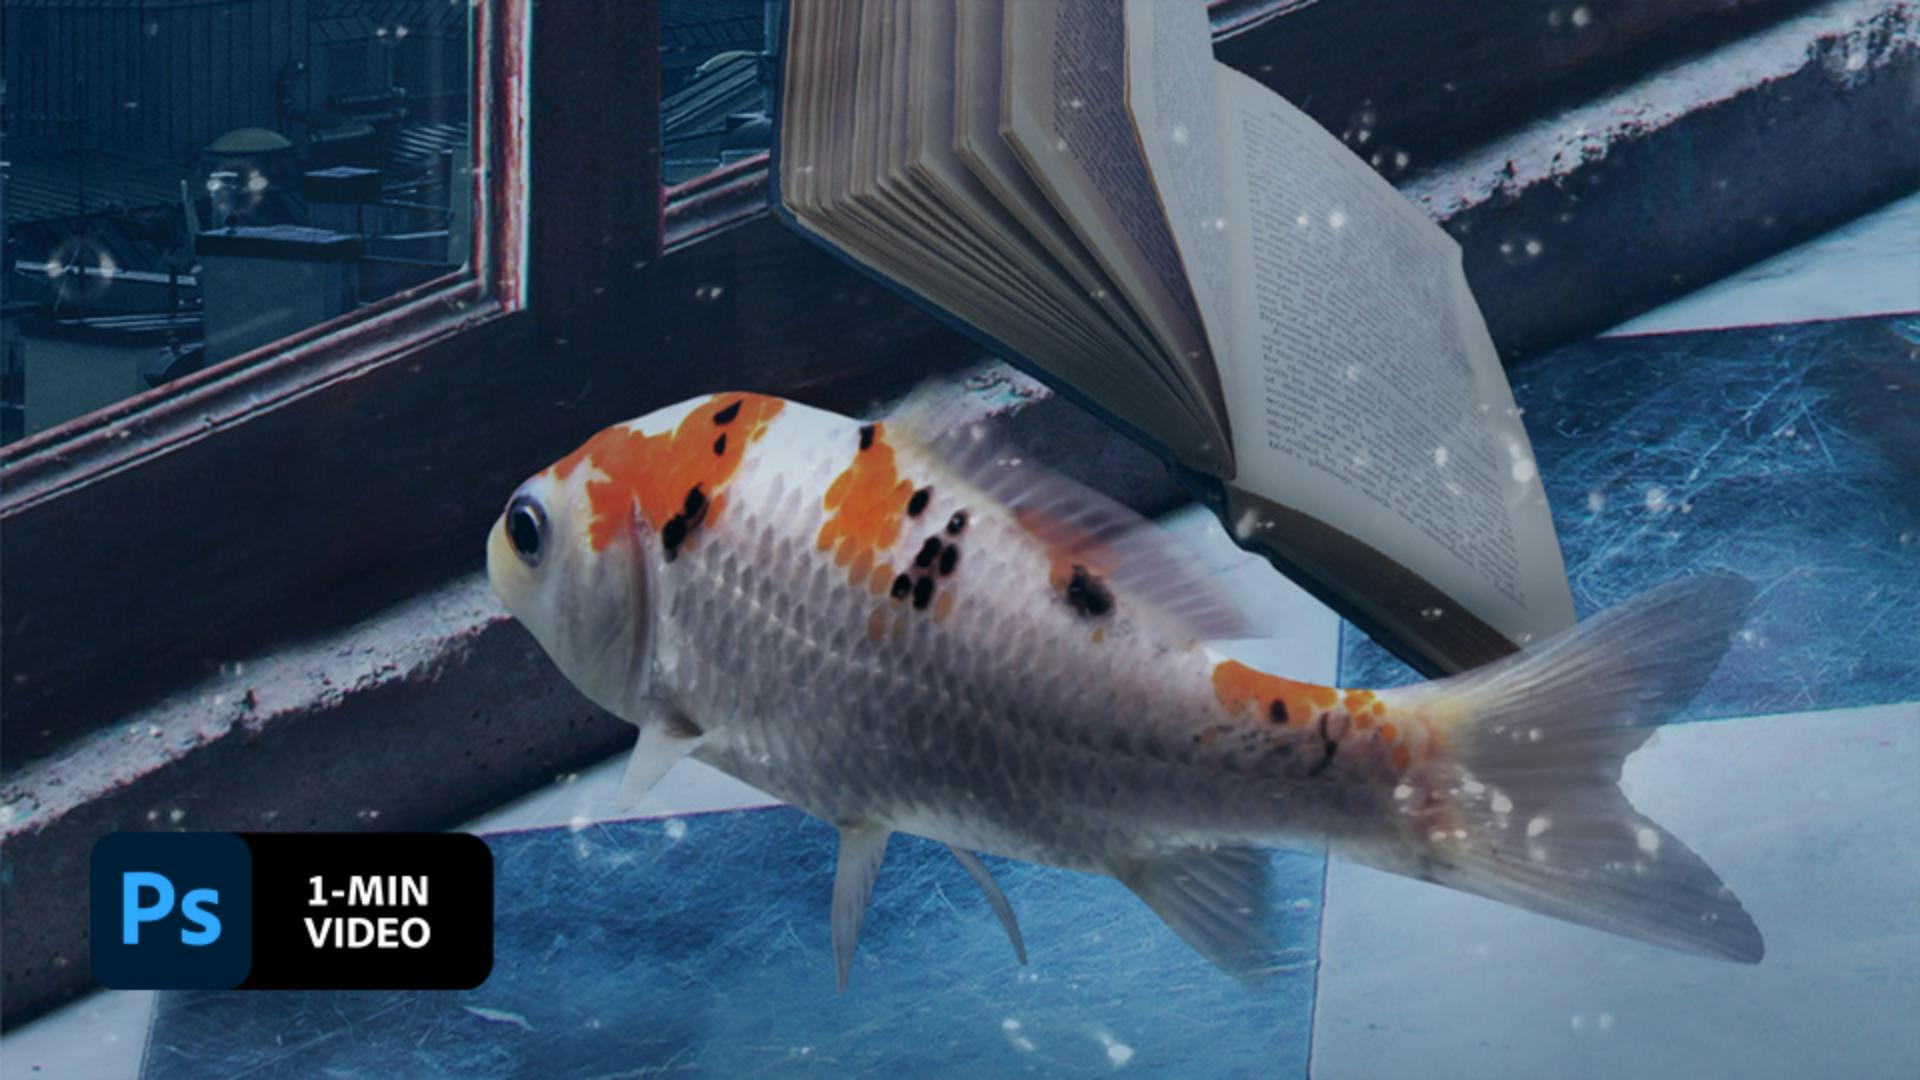
Rivera tapped the image icon and selected Files to import the fish photo.
Next, Rivera selected the Flip Horizontal icon and dragged the fish to the lower left corner. With the fish still selected, she used the transform options to rotate, scale, and position the fish, then pressed Done.
To blend the color of the fish with the scene, Rivera made sure the fish layer was still selected and tapped the Layer Properties icon. She chose Add Clipped Adjustment, then Hue/Saturation.
She then set Saturation to -65 to make the colors of the fish more subdued as if one were viewing it underwater.
The Hue/Saturation adjustment layer created a mask over the fish layer. To bring back some of the color dulled by the desaturation, Rivera tapped and held the Brush tool to select the Soft Round brush. She adjusted the brush size, hardness, and opacity, and set the color to black before brushing along the nose, eye, and orange spots on the adjustment layer hiding those parts of the mask to reveal areas of the original fish layer below it.
Transform photos from the world you know to create inventive, fantastical stories.
Note: Project files included with this tutorial are for practice purposes only.