| 1 |
Select File > Import. |
| 2 |
Do one of the following: |
 |
If you completed the previous tutorial, browse to the FHMX_Tutorial folder and double-click the mylogo.fh11 file. |
 |
If you didn't complete the previous tutorial, browse to the FHMX_Tutorial/Complete folder and double-click logo.fh11. |
|
The import pointer appears. |
| 3 |
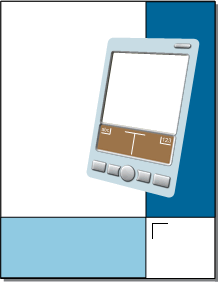
Position the import pointer at the location shown in the following illustration.
 |
| 4 |
Click to place the logo. |
|
If necessary, use the arrow keys on the keyboard to reposition the imported logo so that it is positioned similarly to the example below. By default, the arrow keys nudge the logo by 1-pixel increments. Hold down Shift while pressing the arrow keys to move the logo in 10-pixel increments.
 |
|
Note: You can customize the distance the arrow keys move an object by using the Cursor Distance command. For more information, see Using FreeHand MX or search the FreeHand Help topics. |
| 5 |
If the Layers panel is not already displayed, select Window > Layers. |
|
The imported logo resides on a layer named Logo. If you completed the previous tutorial, you created this layer yourself in the mylogo.fh11 file. Layer names are imported along with graphic content when imported from other FreeHand files. |
| 6 |
Click the padlock icon beside the Logo layer. This locks the layer so you won't inadvertently move its contents later. |
 |
|