video
Understand white balance in filmmaking.
White balance is key to more than just accurate white values in videos. Get familiar with white balance so you can capture accurate colours on set and in editing.

What is white balance?
White balance refers to the colour temperature at which white objects on film actually look white. But it’s not just about the appearance of white; all the colours in your shot are determined by how you set your white balance. This is why photographers and filmmakers plan every scene in consideration of white balance, from lighting to post-production. Learn how to use white balance in your videos, plus get expert tips on how to set, adjust and stylise your white balance.
How does colour temperature affect white balance?
All light resides on a colour temperature scale, which is why different light sources have different colours. Think about the warm orange glow of candlelight compared to the cold, almost bluish beam of fluorescent lights. To measure the temperature of colours, filmmakers use the Kelvin scale. Colours at lower temperatures are warmer and on the red, orange and yellow side of the spectrum: for example, incandescent bulbs or sunset. Colours at higher temperatures have a cooler colour cast to them. Natural light resides on this blue end of the scale.
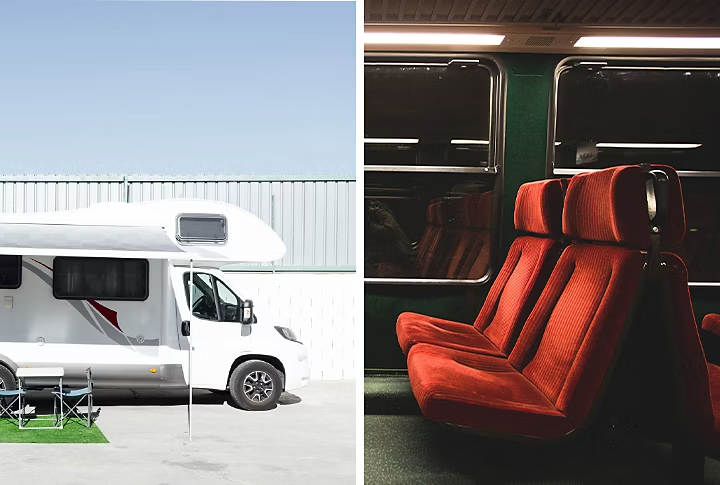
How to gauge white balance in different lighting situations.
The first step to solving any white balance issues on set is to learn the colour temperatures of the different lights. Unless you work in a controlled environment where you can control the colour temperature of your light sources, you’ll need to familiarise yourself with a few standard scenarios to keep your white balance in check.
Daylight
The standard temperature for outdoor natural light is 5,600 degrees Kelvin (K). This means that if you want a white piece of paper to appear white in your shot, you would need to set your white balance to 5,600 K. This is the industry standard setting, but it’s just a starting point. A sunny day with a blue sky might be slightly warmer than an overcast, cloudy day. Sunset and sunrise will almost always have a much lower colour temperature than high noon.
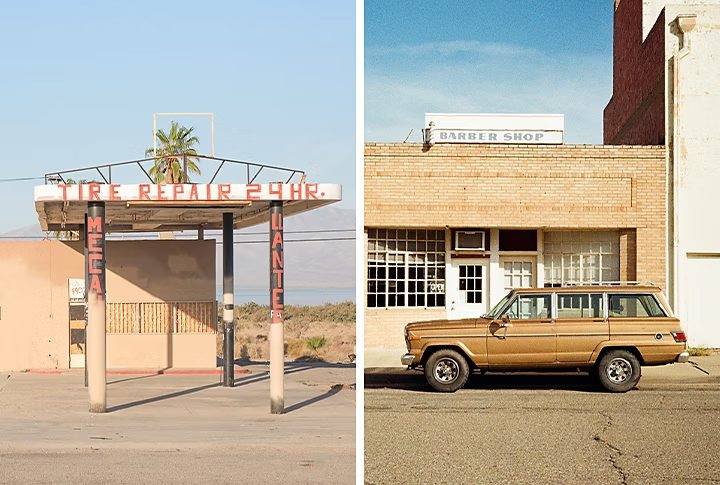
Tungsten
For indoor lighting, also referred to as tungsten light, the standard setting is 3,200 K. Light bulbs and other artificial lighting usually have warmer temperatures than outdoor lighting, so if you move your piece of paper from outside to inside, you need to dial down your white balance to compensate for the warmer colour temperature. Like daylight, tungsten settings vary across the spectrum, from warm incandescent lights to LEDs that sit closer to daylight temperatures.
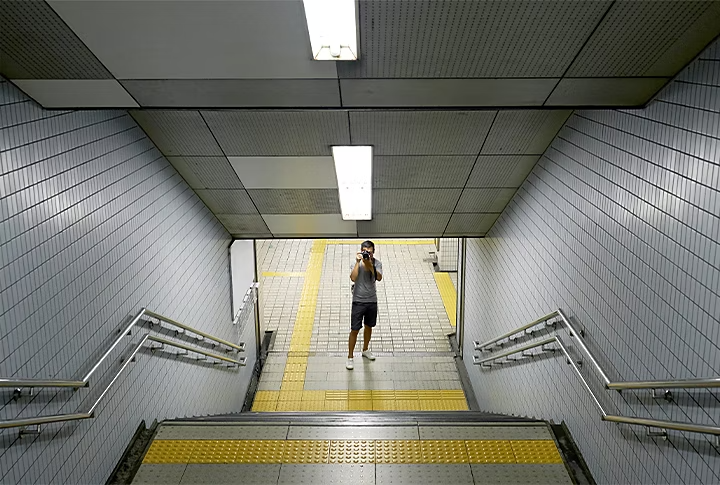
Adjust your white balance settings in-camera.
Your eyes adjust automatically to different colour temperatures, but cameras can’t. You have to tell your camera the proper white balance for a given scene. While you can do this in post-production, it’s best to get your white balance as close to accurate as possible in-camera. Doing this will save you time in the long run and ensure that you’ve got the proper visual data in your footage to work with when you edit.
This doesn’t mean you have to achieve to-the-degree accuracy. Most digital cameras can shoot in raw format, which leaves a lot of room for editing in post. Hara recommends starting with a white balance preset, like daylight or tungsten and manually adjusting from there. You can do this in many different ways; here are a few options.
Automatic white balance or manual white balance?
Auto white balance (AWB) is a great choice for beginners. Your camera’s white balance setting is likely good at reading ambient light and making balance adjustments on its own. But if you’re a more seasoned videographer, consider switching to customised white balance to give yourself more control. You’ll also want to set white balance yourself in tricky lighting conditions that can easily fool the camera’s judgement.
White balance cards and grey cards.
Professionals often use these cards to help get the proper exposure and white balance for their shot. “A white balance card is just a fancy term for something that’s white,” says Hara. An official card will give you the most accurate tone and anti-reflective finish, but you can use any pure white object as a stand-in. This card serves as a reference point for your camera, it makes it easier for you to test for the proper balance in situations where you don’t know the colour temperature.
A grey card is similar to a white card in that they are both reference points to gauge white balance and exposure. But a grey card is a specific shade of grey made to be completely neutral. This makes it easier for your camera to read the light and choose the best white balance. To use a grey card, simply place it in front of the camera while on customised white balance mode and take a few shots. This is the manual version of using AWB, in which your camera searches for neutral areas in the frame for itself.
Lighting
“Any Time you mix lighting sources, it’s going to make it hard to find your white balance,” says videographer Margaret Kurniawan. Use a single light source or match every light to the same temperature to avoid different colour temperatures across your scene. You can also use a light metre to get a reading on the temperature. Aim for consistency across your set, lighting and camera so you can minimise time spent correcting colours in post-processing.
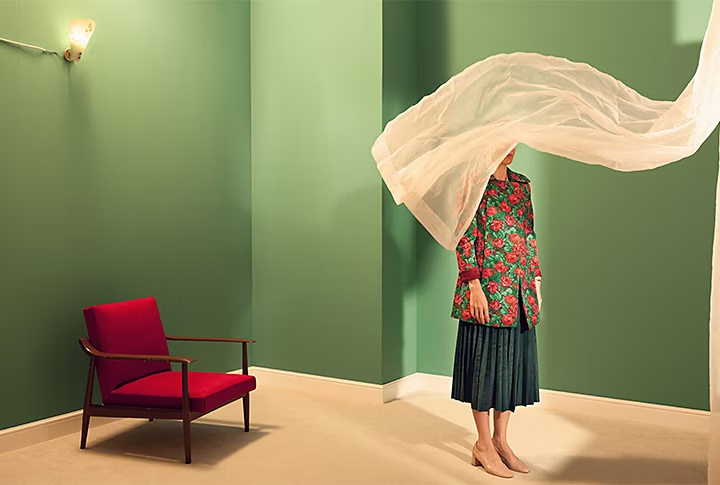
Fine-tune your white balance in editing.
Just because you nail your white balance in-camera doesn’t mean you should leave it untouched in post-production. “There are two sides to manipulating white balance,” says cinematographer Mike Leonard. “There’s colour correction, which is the science side of it and then there’s colour grading, which is the art of it.” Colour correction is about bringing colours back to their accurate tones for a true-to-life look. You can set the correct white balance in-camera and continue this process in post.
Colour grading, on the other hand, is a subjective art. “A great film example of this is The Matrix,” says Leonard. When they’re in the Matrix everything has a harsh green hue, but when they’re in the real world there’s a very distinct blue grade. That was a creative decision to make the two worlds feel very different.”
Whether you want to evoke happiness and nostalgia with warm colours or cooler, bluer tones for a moodier aesthetic, you can create the look you want with video editing apps like Adobe Premiere Pro.
Best practices for better balancing.
From pre-production to post-production, white balance is a top consideration for every filmmaker. If you’re not sure how to hone your eye for white balance, start out on automatic white balance and adjust from there. Raw files leave plenty of room to tweak when you edit, so don’t worry about getting it exactly right. Try to experiment and familiarise yourself with the spectrum of colours and its corresponding temperatures. To get faster at gauging white balance on set, pay attention to the light off set. Notice the quality of light around you in everyday life; you’ll be surprised how quickly you can develop an eye for different temperatures and white balances.