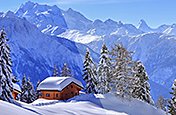
Shedding light on the importance of shadows and highlights.
Explore how adjustments to the tonal range and contrast of your photos can help you reclaim lost detail and create eye-catching images.
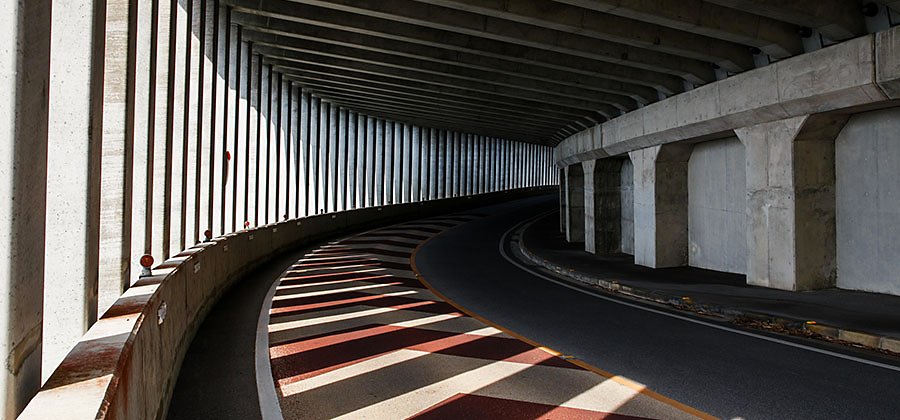
Give your photos depth.
Bright highlights and rich shadows make photos compelling and memorable. Highlights are the lightest elements in an image, whereas shadows are the darkest areas. Dynamic range is the ratio between those vivid highlights and dark shadows, from bright white to pure black.
That range is key to an image’s depth and drama. If a photo has poor dynamic range, the image can appear flat or grey. Without a rich black point and a bright white point, the gradient of tones in an image is much more limited, giving it less contrast. While you can always make an artistic decision to use less dynamic range, it’s not ideal for most forms of photography.
Traditionally, photographs should have a black point and a white point. The black point, typically found in areas of dark shadow, adds richness to a photo, even if it makes up a very small portion of the image. Alternatively, the white point is the part of the image that is completely white — the brightest spot in the photo. The range between these values gives the eye plenty to explore.

Capture it in-camera.
The first step to making a beautiful photo is capturing the right highlights and shadows in-camera. A good exposure ensures that your camera gathers enough visual information for you to edit your images later. Overexposed or underexposed images give you less to work with during the editing process because they contain less tonal data. Meanwhile, proper highlights and shadows in-camera provide plenty of visual data to work with.
Understand your digital camera.
It’s important to understand the ins and outs of your tool to create the best photos possible. Different cameras, whether they are DSLR, mirrorless or smartphone cameras, will have different dynamic ranges. Understanding how your camera works in various lighting situations will help you to come prepared to capture the best images possible.
Your subject, your light source, the time of day, the weather conditions and the shooting location will all affect the highlights and shadows of an image. “If it’s a sunny day, you need to understand how to expose your shadows to get detail in those darker areas,” says photographer Josue Rivas.
Take wedding photos, for example. You may need to work quickly to catch accurate highlights and shadows during specific moments of the ceremony. On the other hand, with landscape photography, you have more time to tweak your settings to get the right highlights and shadows of a static scene. But you also must pay close attention to the time of day and the effects that temperamental weather may have on your lighting.
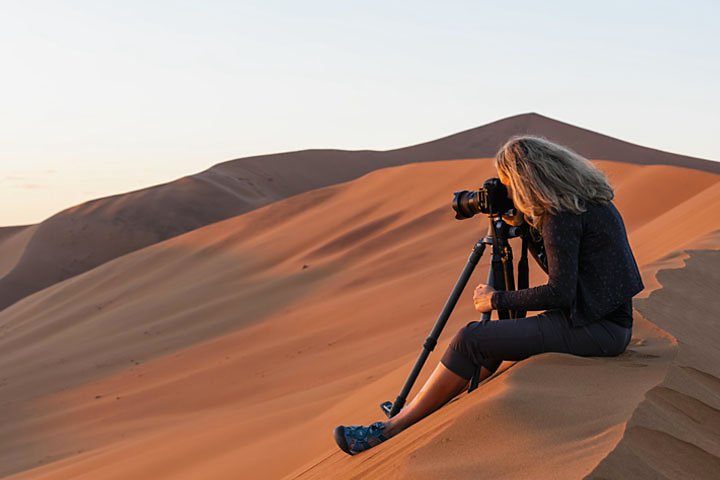
Once you understand the conditions, you can adjust your settings to capture vivid highlights and shadows. ISO, aperture and shutter speed are all vital for a successful exposure with a robust dynamic range. ISO measures your camera’s sensitivity to light. Aperture measures how open your lens is and shutter speed measures your exposure time.
“You have to understand what aperture does and what your ISO limitations are. With ISO, the lower the number, the more light you need to capture a well-exposed image. That means you’ll need to slow the shutter speed or boost the aperture,” Rivas explains. If you take photos on a bright, sunny day, you’ll want a lower ISO. This means your shutter speed can be longer or your aperture can be wider.
If you shoot in a dark room or with minimal light, then you want your ISO to be high, which makes it more sensitive to light. But be careful. When you raise your ISO you can start to lose detail and get some noise in your image. Aperture also affects your depth of field. So if you have a low f-stop number (meaning your aperture is more open), then your photo will have a shallow depth of field.
“If you bring up your shadows to get more detail in them, your highlights are going to get blown out and you’ll lose a lot of that detail. That means your highlights will be a little overexposed,” explains Rivas. You want to find the happy medium where you have shadow detail but your bright areas aren’t blown out. Experiment with different ISO, aperture and shutter speeds to find the right settings for your photo.
Perfect your levels in post-production.
“You want to have good data in your images to take into Adobe Photoshop Lightroom as you adjust the blacks and whites and the highlights and shadows,” says Rivas. Start with these tools and features to amp up your image.
View your exposure and tonality levels with the Histogram tool. Use it to see the dynamic range of the image you’re editing. Before you adjust the contrast or change any settings, take a look at your histogram and use it as a baseline.
Before you move to other editing steps, use the Exposure slider first to adjust the overall brightness of your image. Move it to the left to lessen the exposure, darkening the image or right to increase the exposure and brighten the image.
The Blacks and Whites sliders help you to determine the optimal highlights (whites) and shadows (blacks) in the photo. Press option/ALT to view the clipping preview, which will show you the whitest points in the image. Adjust your slider just past the point where pixels start to show up. If too many pixels appear in this view, that means you’ll blow out the image. It can be helpful to adjust past the point of pixelation, since it can show you how far you can push your whites without blowing out the image and losing detail.
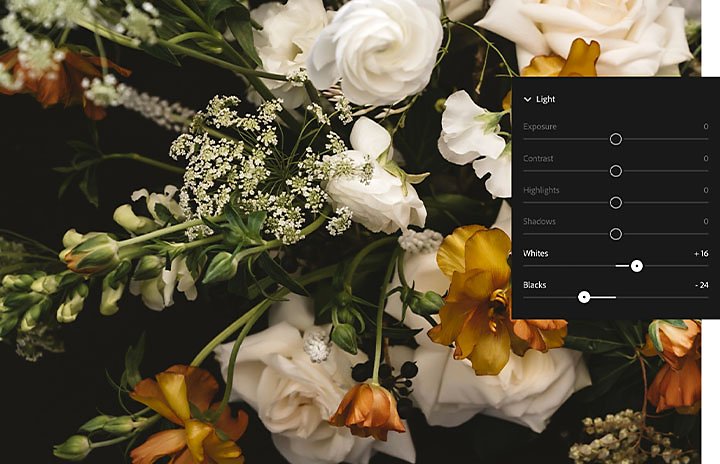
Do the same thing with the Blacks slider. Access the clipping preview by pressing option/ALT to establish your image’s black point or the true black section of your photo. Move the slider until only a few pixels show up in the clipping preview. This will ensure that you have rich, dark areas of the image, without any loss of texture or image content.
4. Highlights and Shadows sliders
Use the Highlights and Shadows sliders to fine-tune your image. There’s no exact sweet spot when it comes to these tools. It all depends on the image and your creative preferences.
Lower the Highlights slider to darken the brightest sections of the image and recover lost detail or increase it to make your brightest areas even lighter.
Move up the Shadows slider to reveal details lost in the dark sections of your photo without washing out the image.
Make it your own.
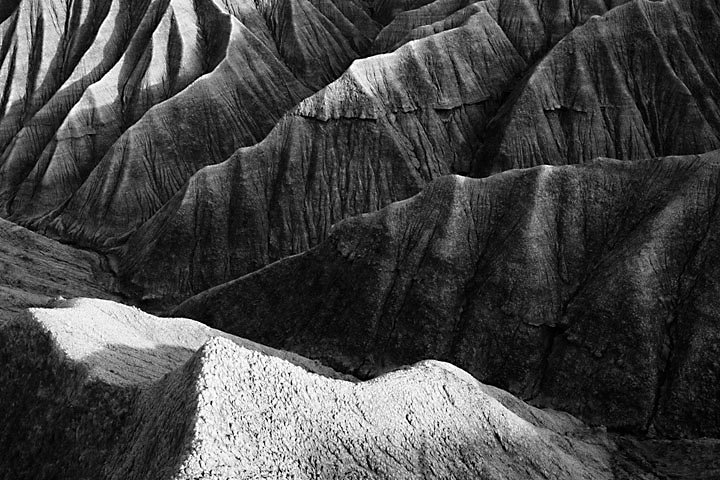
While you’re exploring how you can best use shadows and highlights in your work, find inspiration in what other artists have done. Consider the high contrast of Ansel Adams’s broad dynamic range black-and-white landscape photographs, for example. He used the full tonal range from deep shadows to bright highlights and captured iconic sprawling scenes of national parks across North America.
Midtones or low-contrast adjustment can create unique photos as well. Many of Paul Strand’s famous portraits play with a more limited range of tonal value, but they still capture the eye and intrigue the viewer.
There’s no single way to edit highlights and shadows in your shots. “Don’t be afraid to push and test your limits and grow into what you like. Step away from trying to replicate something and really go after what you think looks good,” says Rivas.
Contributor
Do more with Adobe Photoshop Lightroom.
Edit photos easily with Lightroom presets, Super Resolution, easily share photos from any device and access your projects anywhere with cloud photo storage management.
You might also be interested in…
Introduction to black and white photography.
Learn to use black and white photography to hone photography skills and capture perfect photos.
Unlock the secrets of shadow photography.
Learn how to capture dramatic shadows that add balance, depth, and intrigue to your photos.
Adjusting white balance settings to improve photos.
Understand white balance and how to enhance the look of images using color balance tips.
Exploring light painting techniques.
Learn the basics of light painting and how to use the night as a canvas and light sources as a brush.

