Photography (20GB)
₱498.00/mo
Lightroom on desktop and mobile, Lightroom Classic, and Photoshop on desktop and iPad. Learn more
Learn about white balance and how to adjust it when editing photos or using a digital camera. And see how playing with color balance settings can adjust your image’s realism or mood.

White balance is the adjustment of a digital photograph to make its colors appear more realistic. “It’s a way to set a photograph to neutral, to make the white look white,” says photographer and educator Adam Long. For example, if you take a photo of a white object in certain lighting conditions, it can appear bluer than it actually is. To counteract this, you can use your camera’s white balance settings to get rid of the blue cast or you can use post-production software, like Adobe Photoshop, to make Color Balance adjustments.
Different lighting situations create different color temperatures.
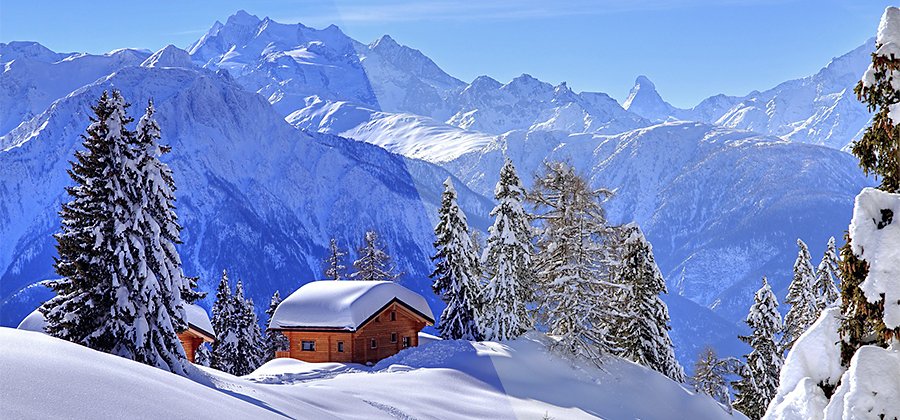
It’s called “white balance” but it actually affects all the colors in your photo. If you’re shooting with natural light from an overcast sky, your photos will have a cold color temperature, more of a blue tone. Shooting in unnatural incandescent light with your typical tungsten light bulbs creates a warm color cast, one that shows up as more yellow or orange. And shooting under certain types of fluorescent lights can give your photos a green tint.
Different color temperatures convey different moods.
The goal with white balance is to understand how it can be affected and to use it intentionally. Try a more realistic white and see whether it helps or hinders your image — you may not always want perfectly accurate colors. “White balance is a great place to start,” says photographer Kenton Waltz. “Then you can decide how you want it to feel and adjust from there,” says Waltz. “I ask myself, ‘What’s the story these photos are telling and how is that color temperature going to affect that story?’”
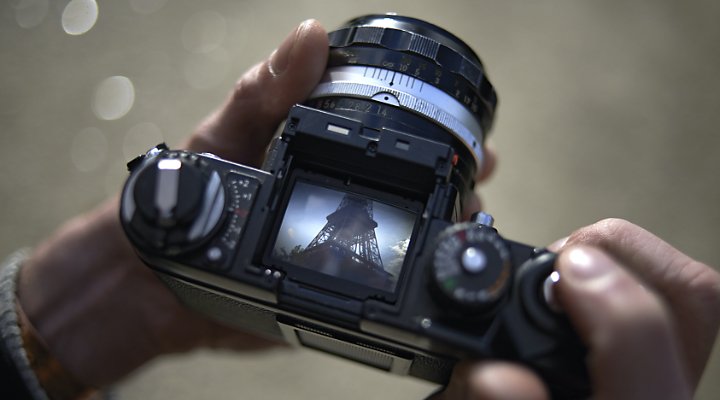
A good first step is accounting for white balance in your camera settings. “With white balance, you’re matching the camera to the light source,” says photographer Grace Rivera. Most newer DSLR cameras have powerful automatic white balance (AWB) functions. But if you want to explore custom settings, manual white balance adjustments are also an option; you can choose a setting depending on your light source. “If it’s cloudy, there’s a cloudy day setting. If you’re shooting in bright sunlight, there’s a setting for that,” says Rivera. “You can adjust based on where you are. But I usually use auto white balance and then adjust things in editing after.”
To achieve good in-camera white balance when shooting, consider these factors:

Shoot in the RAW file format.
Putting your camera on the RAW file setting before you shoot is important for post-processing flexibility. This file format preserves all the image data that’s recorded by your camera’s sensor. “RAW allows you to adjust the white balance in post-production effectively,” says Waltz.
Shooting photos with mismatched sources of light will make it more difficult to edit the white balance in post-production. “Try to get your light sources to match,” says Waltz. “If you have somebody lit with an incandescent bulb sitting next to a window on an overcast day, you’re going to have one half of your photo really warm and the other half really cold. In post, it’s hard to fix that.”
Use a gray card to be precise.
A gray card is a square of material specifically shaded at 18 percent gray. This tool helps you find a perfect white balance for scenarios where being exact is the ultimate goal, like product photography or food photography. To set white balance using a gray card, take a shot with the card filling the entire frame. Then go to your camera’s menu, select the option to set a custom white balance, and set it by choosing your photo of the gray card. You can also use shots of your gray card to help fix your white balance in post-production.
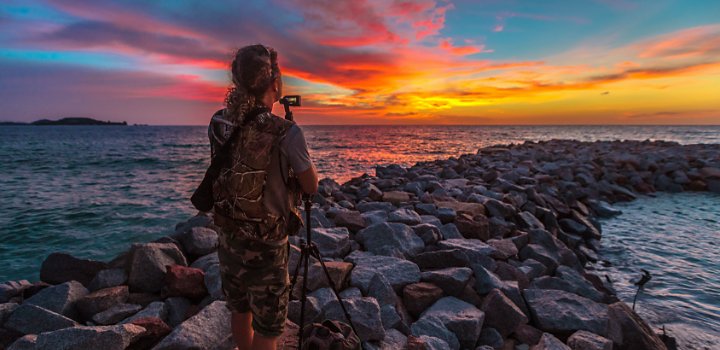
There are situations where a skewed color temperature works in your favor. “Say you’re shooting in a dimly lit bar or restaurant. That’s the type of thing where you want to convey that mood. You may want to preserve the color of the ambient light rather than correct it,” says Rivera. “Or say you’re shooting a sunset. An intrinsic part of the picture is the warm light of the sun. You wouldn’t want to auto correct it, because it would turn everything blue.”

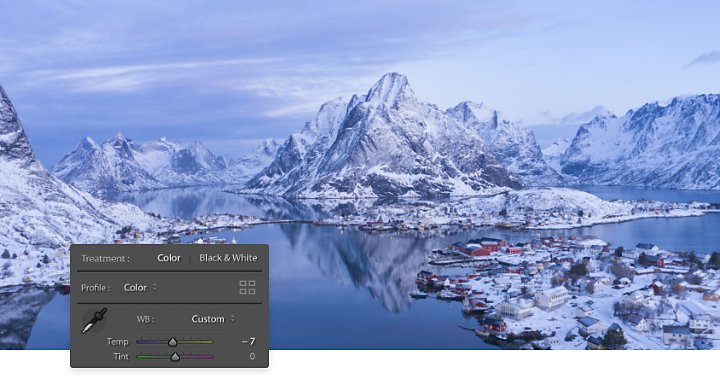
Tweaking the color balance of your photos in post can be as simple as adjusting the Temperature Slider in Adobe Lightroom. Similar to your camera’s settings, you can also choose from various options in the White Balance (WB) dropdown menu in the Develop panel — options for various types of lighting conditions — or you can choose to set a custom white balance by selecting a neutral tone in your image. This is when a test shot with a gray card would come in handy again, as it would serve as your perfect neutral tone. Then you can copy those edits onto the other shots in your set.
Advanced ways to fix white balance in Photoshop.

Try out different white balance settings on your camera using the same subject matter. “The best thing you can do if you’re just starting out and learning about things like white balance is to play with every combination of the settings that you can and see how it affects things,” says Rivera. “Set up a tripod outside and face a sunset. Put the white balance setting at shady, and just see what happens. Then you can learn what each setting does.”
Go beyond white balance and discover more ways to enhance the colors, contrast, and texture of your photos. Or see how to quickly remove spots and retouch images on any device with Photoshop Express.
Discover how this pillar of the exposure triangle can be adjusted to affect your depth of field.
Discover how adjusting shutter speed can help you capture clean shots or motion-filled moments.
What is ISO?
Discover the role this pillar of the exposure triangle plays in photography.
How to enhance photos.
Balance the contrast, shadow, temperature, and clarity of your photos with these photo enhancing techniques.
Find the Creative Cloud plan that’s right for you.
₱498.00/mo
Lightroom on desktop and mobile, Lightroom Classic, and Photoshop on desktop and iPad. Learn more
Photography (20GB)
Lightroom on desktop and mobile, Lightroom Classic, and Photoshop on desktop and iPad. Learn more
₱498.00/mo
₱1,146.00/mo
Get Photoshop on desktop and iPad as part of Creative Cloud. Learn more
Adobe Photoshop Single App
Get Photoshop on desktop and iPad as part of Creative Cloud. Learn more
₱1,146.00/mo
₱2,891.00/mo
Get Photoshop on desktop and iPad, plus the entire collection of creative apps. Learn more
All Apps
Get Photoshop on desktop and iPad, plus the entire collection of creative apps. Learn more
₱2,891.00/mo
₱997.00/mo.
Save over 60% on the entire collection of Creative Cloud apps. Learn more
Students and teachers
Save over 60% on the entire collection of Creative Cloud apps. Learn more
₱997.00/mo