Add jump cuts to your video production.
Try the editing technique featured in everything from groundbreaking films to YouTuber vlogs. It’s easy with Adobe Premiere Pro and Premiere Rush.
What is a jump cut?
In filmmaking, a jump cut is an edit to a single, sequential shot that makes the action appear to leap forward in time. After the cut, the subject may appear in a different position or attitude or the camera position may be slightly different. This cut style is a great departure from the standard conventions of continuity editing, which dictate that the camera angle should change by at least 30 degrees from one clip to the next.
A brief history of the jump cut.
In the early 1900s, filmmaker Georges Méliès discovered the jump cut and used it to portray magic tricks. With cuts that appeared seamless, Méliès made characters magically disappear and reappear.
Jump to 1959 and Jean-Luc Godard’s Breathless. Godard broke the rules with obvious jump cuts in the same sequence. During a driving scene, the camera angle remains the same, over the shoulder of the character Patricia in the passenger seat, but the scenery in the background changes abruptly.
The effect of the discontinuity is to disorient the viewer and draw attention to the artificial nature of film. Some claim that Godard was forced by the producer to make drastic cuts to the film, so he cut it haphazardly out of spite, accidentally creating one of the most influential films of the French New Wave.
Since Godard, filmmakers have used jump cuts in countless creative ways. These cuts can work with dramatic or comedic effect to show the passage of time as a character changes positions in a single shot. They can use a single camera position to show a character covering a great distance without making the audience watch every step. Jump cuts can also portray the point of view of an intoxicated or disoriented character without resorting to special effects.


When to use jump cuts.
Most contemporary use of the jump cut happens on YouTube, where makers of talking head videos jump cut to skip awkward pauses or mistakes. Modern audiences are used to the technique, so you can make edits in post-production instead of trying to get one perfect take.
“People have little conversational fillers or they’ll pause to think for a second and no one wants to watch that, so you can cut those parts out and speed up the video,” says videographer Nick Cann.
In marketing videos, jump cuts can add energy to the message. “A jump cut can fast-forward the vibe of a video and get the viewer’s heart rate up so they get excited and get a bit more involved. There’s no wasted time, no quiet points,” Cann says.
Just don’t overdo it. Footage that is too choppy becomes jarring and hard to watch. Like the match cut and the smash cut, the jump cut is a cinematic tool that should be used sparingly.

How to jump cut in Adobe Premiere Pro.
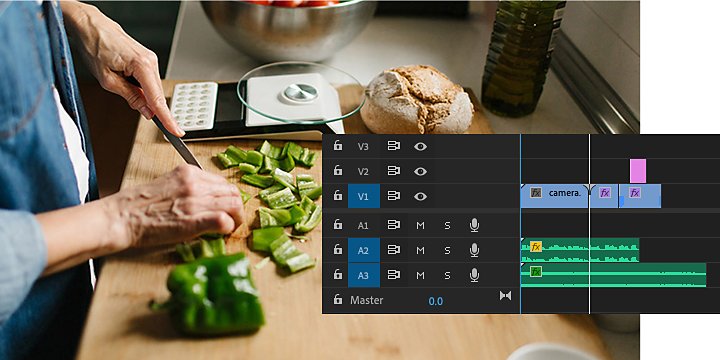
One way to make cuts is by clicking Command + K on a Mac or Control + K on a PC, which splits the clip at the frame your playhead is on. This is easy to use when you find a section you want to cut while scrubbing through your footage. To cut the audio tracks along with the video footage, click Shift + Command/Control + K.
To make cuts with the Razor tool, follow these steps.
1. Drop the video footage in your timeline.
2. Make sure you have the Snap setting on and your audio locked so that your clips can snap into place next to each other and your audio stays synced after you make a cut.
3. Click the Razor tool (or press C) and click the spot in your clip where you want to begin your cut.
4. Click the tool again and make a cut where you want to restart the action.
5. To select and delete segments with ease, use Alt/Option (depending on your operating system) + Delete to ripple close the space between clips as you make cuts.
6. To refine your cuts even further, zoom in on the timeline (tap the + key) and repeat your Razor work.

Cómo hacer un corte con salto en Adobe Premiere Rush
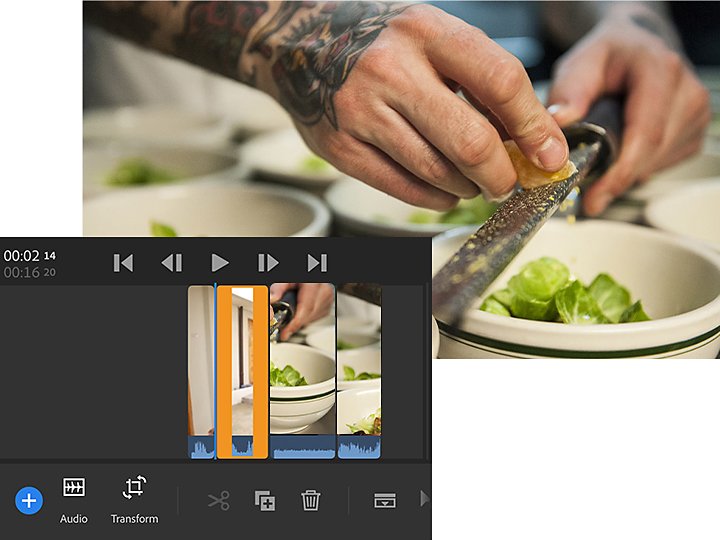
También puedes usar tu dispositivo móvil para agregar cortes con salto a tus videos con Premiere Rush.
1. Ve al punto del clip en el que quieres que empiece el corte con salto.
2. Toca el icono de las Tijeras del menú inferior para comenzar a cortar.
3. Sigue adelante hasta el punto en el que quieras que se reanude la acción.
4. Vuelve a tocar el icono de las Tijeras. Selecciona el clip que acabas de crear y toca el icono de la Papelera.
Cómo evitar un corte con salto
Los cineastas inventaron muchas formas de editar los errores y los silencios engorrosos sin recurrir al corte con salto. Puedes agregar justo después otra escena, hacer un corte transversal entre las dos escenas o pasar a material de archivo adicional. Por ejemplo, si, en una película en Nueva York, dos personajes aparecen sentados en un banco de Central Park, puedes cambiar a una escena del parque.
Mejora de las habilidades de edición
Aprende a recortar clips de forma precisa en la línea de tiempo de Premiere Pro o echa un vistazo a las herramientas de edición de Premiere Rush. Independientemente del editor de video que emplees, puedes encontrar prácticos tutoriales paso a paso para conseguir el corte final que buscas.
You might also be interested in…
Para qué sirven los planos en cinematografía
Descubre los planos cinematográficos más usados y aprende cuándo y cómo emplearlos para conseguir el mejor efecto.
Find out how to get into vlogging and build an audience.
Storyboarding: el mundo del guion gráfico.
Descubre cómo esta artística habilidad del guion gráfico ayuda a plasmar ideas en la gran pantalla, así como en la pequeña.
Aprende cómo este útil dispositivo puede ayudarte a captar secuencias excepcionales y estables.
Consigue todas las aplicaciones de Adobe Creative Cloud
Más de 20 aplicaciones entre la que se incluyen Premier Pro, Premiere Rush y Photoshop.
7 días gratis, luego S/ 233.64 al mes.


