Photography
What is product photography and how do you do it?
This commercial form of photography comes with a unique set of challenges and opportunities. From styling to editing, learn how to polish your products and capture great photos.
Understand the big picture of product photos
- Clear, high-quality photos are crucial for selling any product.
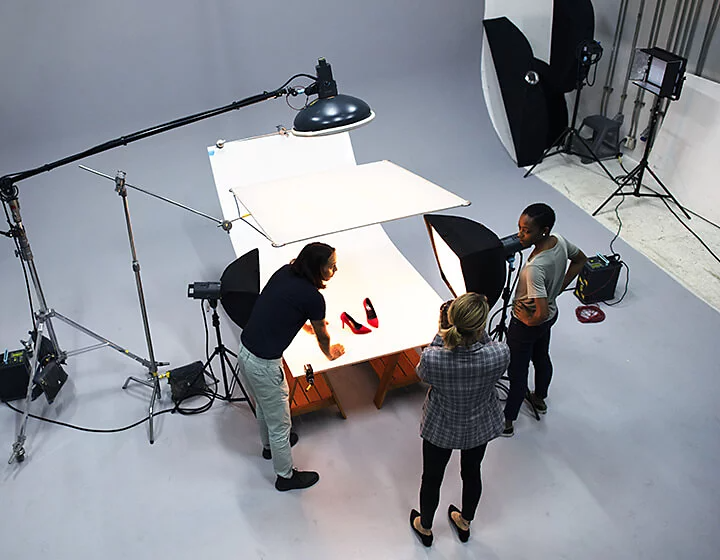
- The best product photography set-up is a controlled environment with good lighting and a clean background.
- For lifestyle shots, use models and natural lighting to show the product out in the world.
What sets product photography apart.
Creating high-quality product photos is no simple feat. Professional product photography is the commercial form of still life photography. Learning how to style products, set up lighting and composite different exposures takes time. Explore how to create simple product-only photos for ecommerce purposes and complex lifestyle photos to show a product in use.
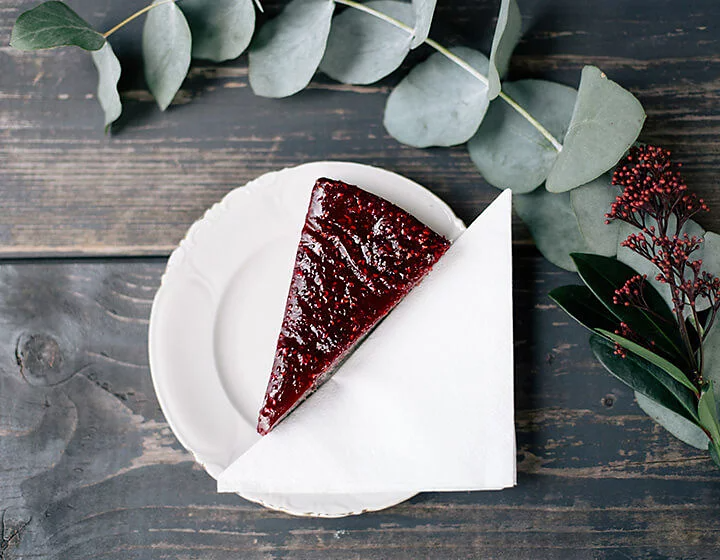
Creating clean product images.
One main form of product photography is product-only imagery shot straight on. Commonly used for product listings in online shops like Amazon or Etsy, these photos are usually taken with a simple white background to limit distractions. Product-only images capture the details of the subject, such as size, silhouette and colour. These specifics help consumers find exactly what they’re looking for when shopping online.
Before diving into your product shots, make sure you connect with your client and find out exactly what they’re looking for. Are there specific angles of the product they need to get? Does the label need to be visible in every shot? Planning makes perfect, so gather the info you need before setting up your photoshoot.
The right equipment for product photography.
For more information on getting the right equipment, check out our list of photo tools you'll need to produce professional-quality product photos.
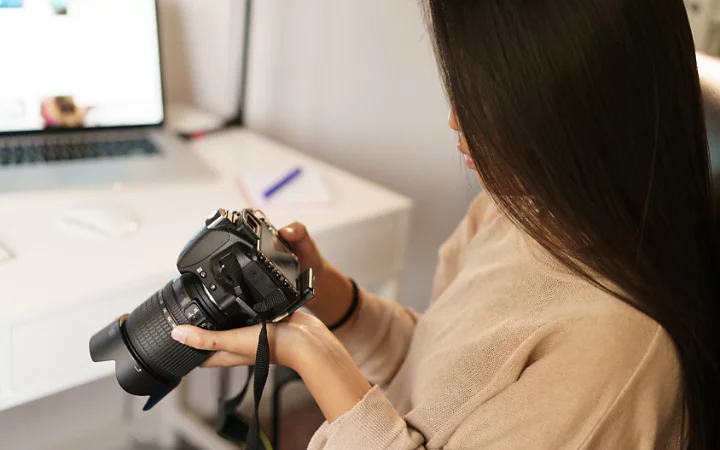
Cameras for product photography.
It goes without saying that you’ll need a good camera for your product shoot. If your budget is limited, don’t be afraid to use your smartphone. A high-resolution phone camera can take some incredible photos and they can be imported directly into photo editing software on your computer for easy retouching. That said, most professionals prefer to use DSLR cameras that offer a wider range of settings and features.
Lenses for product photography.
Choosing the right lens can make or break your product photoshoot. A longer lens — 100 mm or more — is great for photographing faraway objects in an outdoor environment. But on a product shoot where you’ll be a lot closer to your subject, shorter lenses are your best friend.
For strict product shots, “I almost always use my 50 mm lens with my DSLR,” notes product and food photographer Sarah Aagesen. “I’ll also bring a 20 mm for wider-angle shots and a macro lens in case there are small details I need to capture.” Having a variety of lenses on hand ensures you can adapt to the challenges of a shoot.
Tripods and shutter releases.
With stationary product photos, never use the autofocus function on your camera. “If your subject’s not moving, there’s no reason to use autofocus. Place your camera on a tripod and use manual focus,” explains professional photographer Jason Deymonaz. Also, make sure that you use a shutter release cable, so you don’t unintentionally move the camera while taking a photo. If you’re taking multiple exposures from the same angle to composite later, this step can save you time.
Styling your product.
As a product photographer, it’s your responsibility to make the product look the best it possibly can. Deymonaz says, “I always have my cleaning kit with some glass cleaner, scissors and Goof Off to remove labels, fingerprints and dust. I make the product look as beautiful as possible in camera, which saves me a lot of time in post-production.” If a speck of dust gets on the product and it’s visible in every photo, that translates into a significant amount of time editing every image. If you’re photographing clothing or fabrics, make sure that you iron unwanted wrinkles.
Product photography lighting and camera settings.
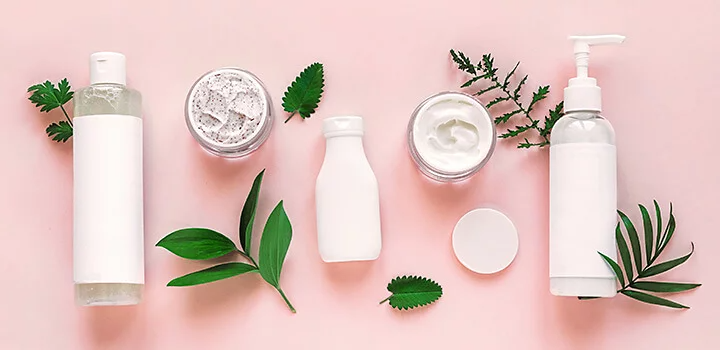
After your product is looking pristine, set up the rest of your shot. Create high-quality images by shooting on a solid background, like white or black fabric or paper. The product needs to shine in these photos, so keep the background simple and clean to limit distractions.
Try a softbox.
Consider using a softbox for product photography lighting. These light modifiers create soft, diffused light that reduces harsh shadows. Since you want viewers to be able to read the labels and take in the details, your lighting set-up for product-only photos should be straightforward with everything well lit. Consider using light tents and artificial light too. Light tents are wireframe cubes covered in thin white fabric. They create a soft, diffused atmosphere inside that’s perfect for evenly lighting small objects.
Use artificial light.
“With product-only photos, I don’t recommend using natural light because it can change so quickly,” explains Aagesen. “You’re usually taking multiple shots from different angles and if you’re using light from a window, when it gets cloudy, you’re suddenly shooting in a totally different light.” Since natural lighting is changeable and difficult to replicate, photo studio lighting is often better for successful product photography. After all, you may need to take more photos if new versions of the product are released.
Be sure you have strobes, reflectors or other light sources on hand in case you need to switch up your lighting.
Find the right angle for your light.
Product photography is all about consistency and precision, which is why you should always work with a tripod. With an adjustable tripod you can experiment until you find the perfect angle for your product and how it’s lit and then lock it in place to take your shots. Always photograph your product from multiple angles, both so consumers can see its dimensions and so different product photographs look distinctive and interesting online and in other marketing materials.
Take multiple exposures.
For some subjects, you’ll need to take multiple exposures of the same shot to capture different details or parts of the product in the best possible light. “I’ll take anywhere from three to ten different captures and composite them into one shot,” notes Deymonaz. If you have a small subject or are shooting with a shallow depth of field, you may also need to use focus stacking to ensure every part of the subject is in focus.
Adjust camera settings.
Don’t be afraid to adjust your exposure settings between shots. Even a small change to one of three key settings can drastically alter the look and feel of the image you’re shooting.
- Shutter speed. This determines how many fractions of a second your camera’s shutter stays open to allow light in. If the product you’re shooting is in motion, you’ll want to use a faster shutter speed to capture every detail without any blur. If the product is stationary, you can use a slower shutter speed — but depending on your product’s lighting, too slow a shutter speed could let too much light in and overexpose your image.
- Aperture. Alter the settings for this adjustable lens opening to control how much light gets into your camera with every exposure. The width of your aperture’s opening is measured by a number known as f-stop: a higher f-stop like f/8 indicates a smaller opening, while a lower f-stop like f/2 is a wider opening. A wider aperture is usually best for product photography, allowing you to capture your subject in crisp detail with a blurred background.
- ISO. An exposure is created when light enters your camera and reacts with its light sensor. Your ISO settings determine how sensitive that sensor is. A higher ISO can help you to compensate for a poorly lit product, but if you set your ISO too high you could overwhelm your sensor and wind up with grainy, distorted product images.
https://main--cc--adobecom.hlx.page/cc-shared/fragments/seo-articles/ps-lightroom-edit-card
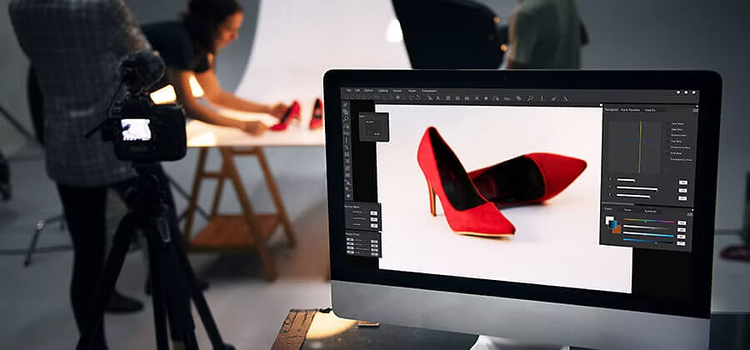
Editing your product photos.
Once the photoshoot is over, the real fun begins. When you import your photos, whether that’s from a hard-drive, cloud storage or directly from your camera’s memory card, it’s time to put the finishing touches on them that’ll make the product look its best.
You can streamline your photo editing workflow by using a photo management programme like Adobe {{lightroom}}, which makes it easy to organise the dozens or hundreds of photos you took during the shoot. You can even apply batch edits to all your images as they’re imported to correct for any mistakes from the studio.
When it comes to editing photos, every photographer has their preferences. “I always start editing by first adjusting any brightness and exposure issues,” says Aagesen. “I’ll then adjust the white balance, make sure the colours are just right and then I’ll edit the contrast, highlights and shadows.”
Postproduction editing can take your product photo from bland to beautiful, but understanding the tools at your disposal is key to making sure your product photos shine. Check out these post-processing tutorials to help your photos stand out from the crowd:
- If the exposure in your image wasn’t quite right, see how you can properly balance the light and dark areas after the fact with Adobe Photoshop.
- Master the ins and outs of Spot Healing to remove any small distractions from your product image. If your photo has an odd reflection or highlight, this retouching tool can help you neatly edit it out.
- If you need to edit out a label or a scratch on your product, use the Clone Stamp to copy the exact detail and colour from one part of an image to another area.
- Use the Straighten option to rotate your image left or right to correct for any crooked framing.
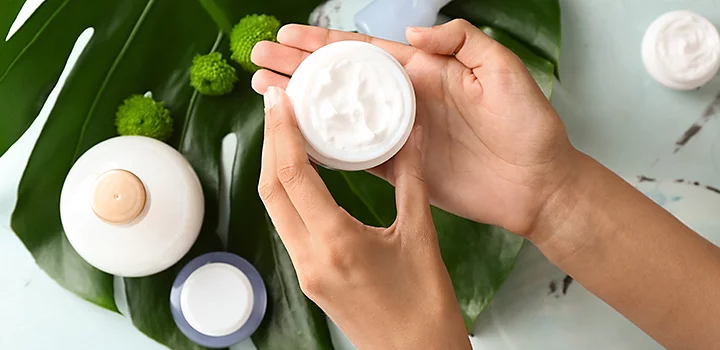
Developing stunning lifestyle shots.
Lifestyle photos give customers a better idea of how to use a product — they help them to visualise it in their daily lives. While different from product-only images, many of the same rules apply for lifestyle photos.
Setting up your lifestyle shoot.
With lifestyle photos, you’ll probably work with models to help illustrate the product in use. “While models are a big part of the shoot, they’re not the focus of the photo shoot,” explains Aagesen. “They’re just supporting characters and the product is the star. You don’t need to show the model’s face in every photo.” Try taking close-ups of your product in someone’s hand and try different poses to keep it looking natural.
Make a shot list to ensure that you get everything you need out of the shoot. Take a wide variety of shots and after you’ve finished your shot list, allow yourself to experiment a bit. This is your opportunity to be more artistic and imaginative with your product photography. Sometimes unplanned photos are the best of the shoot.
While natural light isn’t great for product-only shots, it’s often perfect for lifestyle photos. It can evenly and naturally light your scene without much effort on your part. “But be careful shooting in direct sun, since it can create harsh shadows, especially if your product is reflective or shiny,” notes Aagesen. If it’s a particularly bright day, try shooting in the shade and use reflectors to bounce natural light into your shot.
Editing lifestyle photos.
Whether you captured unintentional glare on your product or you need to edit people or cars out of your background, check out these tutorials to help you perfect that product shot.
How to start a product photography business.
With the rise in online shopping, there’s never been a better time to be a professional product photographer. Ecommerce websites like Amazon dominate retail sales and with sites like Shopify, Etsy and eBay, any small business can quickly build an online presence. To get hired to create product photos for any business, first demonstrate that you can do good work.
Build a product photography portfolio.
The first step to growing your business as a product photographer is to create a portfolio. Collect your best work on one site, which you can then share as a link with potential clients. Include only your very best photos so you don’t overwhelm people with too much work. Limit yourself to 20 or 25 images and try to show a variety of shots of different products in different styles and settings. You want to demonstrate your versatility as well as your artistry.

Optimise your portfolio for the web.
High-resolution image files tend to be very large and hosting a lot of them on your website can take up a great deal of server space. To upload as many images as possible without breaking the bank paying for web hosting, consider using a programme like Adobe {{lightroom}} to compress your images before you upload them. By saving your images as JPG or TIFF files you can reduce the file size without affecting the quality or clarity of your photography.
Tell your clients about yourself.
Spend time crafting your About section. Offer basic background information, like your relevant work experience and education, but also add some personal details that help convey your personality and interests — maybe even include a photo of yourself. And of course, make sure to include your email address or phone number so people can contact you.
How much should you charge for product photography?
Pricing depends on your experience, costs and the difficulty or location of the project. For ecommerce photos, you can charge per every photo the client uses, starting at $20 per photo and working your way up to $50. For larger projects that include several products or a whole catalogue, you can charge per product shoot.
To figure out what you should charge per shoot, check the rates of more established photographers in your area to get a sense of the market. Then share your portfolio with businesses in your area and offer competitive pricing. As you gain experience in commercial photography, you can begin charging a flat rate. You might go from charging a few hundred dollars for a daylong photoshoot to charging as much as a few thousand.
No matter where you start, remember that with each assignment you learn more and add to your portfolio. Every new problem you solve gives you one more tool in your kit. As long as you keep taking photos, you’ll keep getting better and as you get better, you can seek more challenging assignments and charge more for your work.
Contributors
https://main--cc--adobecom.hlx.page/cc-shared/fragments/seo-articles/do-more-lightroom-color-blade
