Making light adjustments in Adobe Photoshop Lightroom
Adjust any photograph with this guide for improving light in your photos in post-production.
What is exposure?
Exposure refers to the amount of light which reaches your camera sensor through the lens. It is a crucial element for how bright or dark your photograph will appear.
You may have heard the phrase “the photo is underexposed/overexposed”. This means the photo is too dark or too bright. It can be harder to adjust an underexposed or overexposed photograph in post-production, as both situations mean that details and information within the image may be lost.
It’s crucial to understand how to take photos with the correct exposure setting in camera and not rely on post-production to try to recover information in the dark and light areas of an image because if the information wasn’t captured in the original photograph, then no amount of adjustments will be able to bring the details back.
See more about how cameras control exposure using ISO, Shutter Speed and Aperture.
Measure the contrast of lighting with dynamic range
An important concept when trying to control lighting in photography is dynamic range, which is the difference between the lightest and darkest values in a scene. Essentially, it is the measure of contrast in lighting. It is crucial to understand the scene’s dynamic range and the dynamic range your camera lens can record in a single exposure, to ensure that you capture as much detail as possible and minimise loss of information. Many digital cameras have options to capture in a high dynamic range (HDR) mode, where a camera automatically takes various photos at once and merges them together for optimised detail. You can also capture multiple photos with different exposures and combine them in post-production using Photomerge.
What is a Histogram?
A histogram is a visual representation of all the pixels in an image that is used to help gauge exposure and dynamic range. The X axis, the left-hand side of the graph, refers to blacks and shadows. The right-hand side refers to whites and highlights and the centre of the graph refers to midtones. Then on the Y axis, the values refer to the frequency of that specific tone within the photograph. Ultimately, it is a graph that shows how many pixels of each specific brightness value is found in a photo. You can use the histogram to determine if an image has too many bright or dark values or if there are areas in the image that are pure white or pure black. By observing the concentration of data on the graph, you can see areas that may be without detail because of improper exposure or because of too great of a dynamic range in the original scene. To view a photo’s histogram in Lightroom, simply click the three-button icon on the right-hand side and select Show Histogram. The Histogram will then appear at the top of the Edit panel.
Using the Light panel to make adjustments
When you open Lightroom and click the Edit icon, the Editing panel will appear on the right-hand side. The first section here is the Light panel and it has multiple features where you can adjust lighting. Adjusting the Exposure slider will change the overall lightness or darkness of your photo. Adjusting the Contrast slider will create a greater degree of difference between light and dark tones. Manually adjust lighter and darker areas as well as set the brightest and darkest points in the image by adjusting the respective Highlights, Shadows, Whites and Blacks sliders.
Adjusting tonality in Lightroom
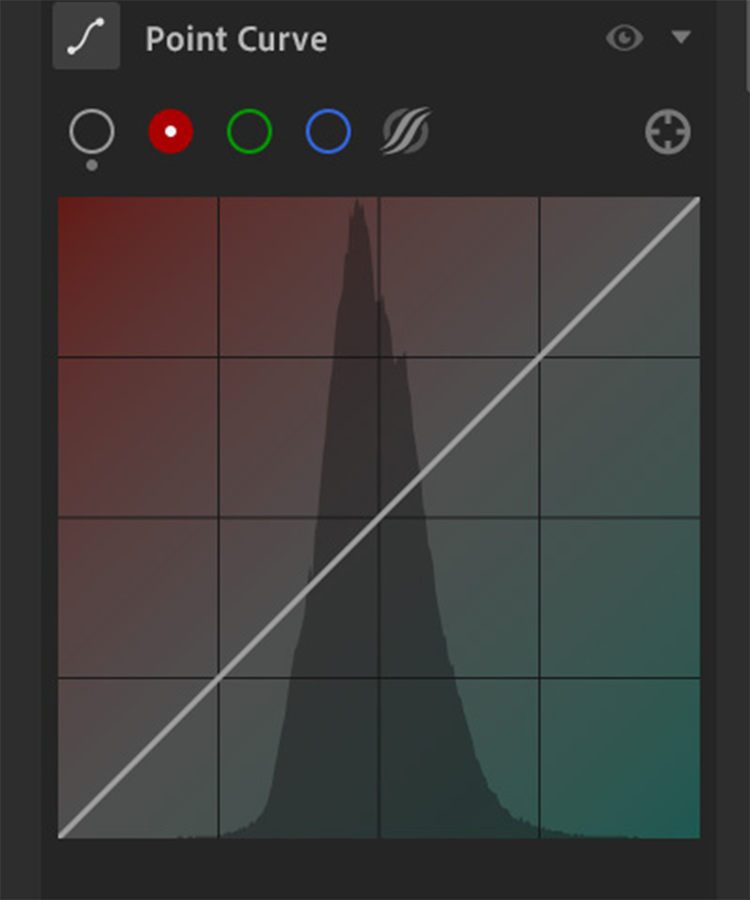
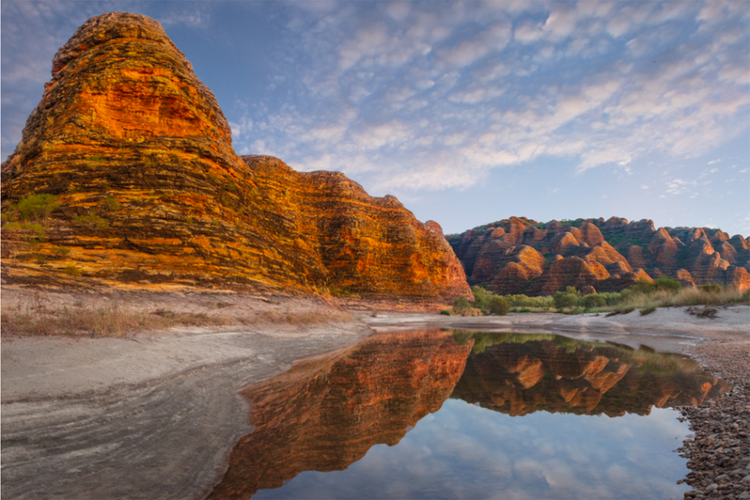
The Point Curve can also be used to adjust the tones in a photo. Take the example image used below. By referencing the Histogram, we can see that the original photo has a high amount of midtones but not much differentiation in highlights and shadows and that our midtones have a slightly darker exposure.

Editing the point curve will give this photo greater impact. Pull down slightly on the left-hand side of the curve to darken the shadows and raise the curve in the highlight area to brighten the highlights. To increase exposure even more, add another point in the midtones and raise the centre of the curve. This type of adjustment will brighten and add contrast to the image and make it pop.

S-curve - a contrast curve that boosts brightness in the highlights while darkening the shadows
Adjusting Colour Balance in Lightroom

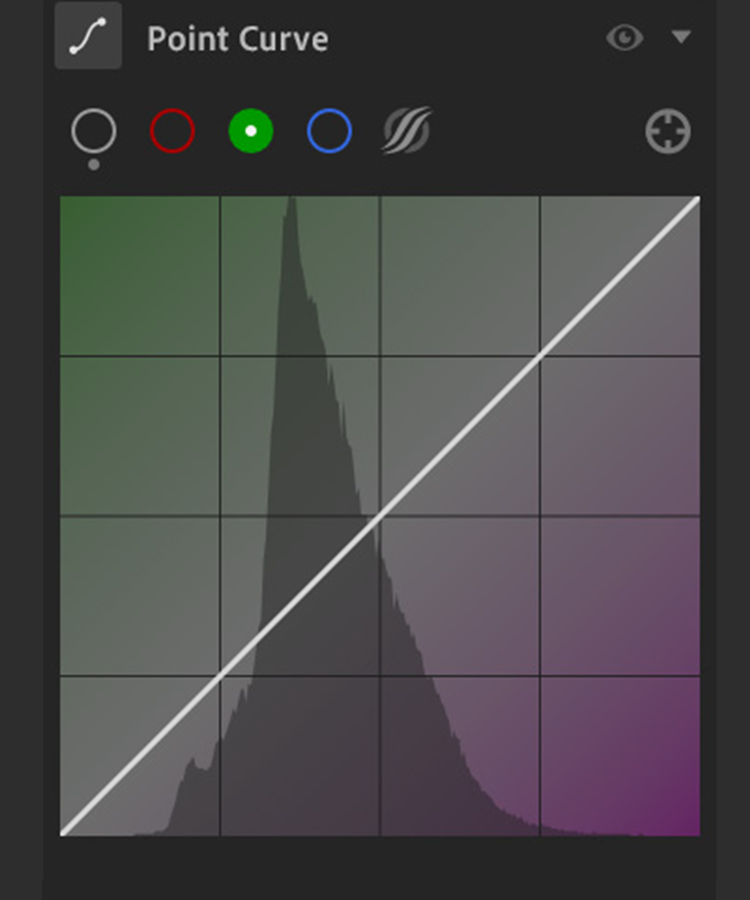
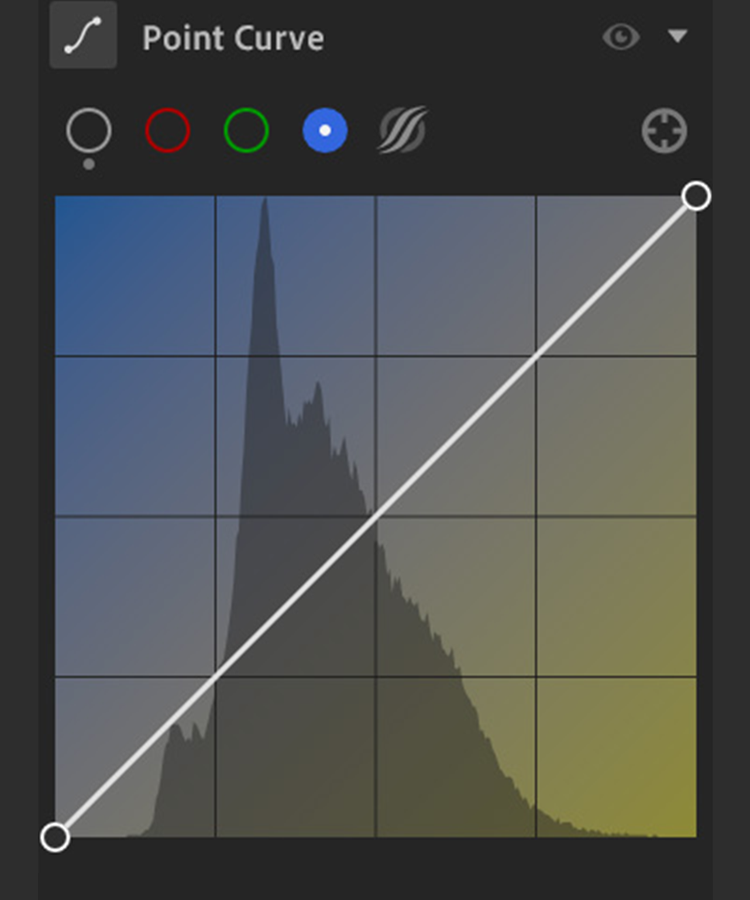
Making adjustments to selected areas in a photo
Adjusting colour and tones in isolated regions of a photograph can help to focus the viewers' attention on important areas. With Lightroom, you can use the masking panel to select areas and then enhance those regions using the sliders in the Light section, the Point Curve and more.
Jump into Masking mode by clicking the Mask icon on the right-hand side.
Using the brush tool

Click the Brush tool or press B for the shortcut. Click and drag your mouse over the section you want to adjust. You will see a transparent red overlay showing the areas that will be affected. You can press [ or ] to decrease/increase the size of your brush. Hold down Alt (‘option’ on Mac) to toggle from the Brush to the Eraser (or select the Eraser at the top of the Brush options section) to subtract from your selection if you paint over something accidentally and want to remove it from the mask.


Then, use any of the sliders in the panel on the right to make the desired edits. In the above edit, the colour has been adjusted to the sandstone dome.
Using the Linear and Radial Gradient tools to create a mask

Tap ‘L’ to enter Linear Gradient Mask mode. Click and drag your mouse over the photo to establish your start and end points. The masked area will be highlighted in a red overlay. You can alter the start and end points by dragging the lines in whatever orientation you desire. Click and drag the pin to reposition the gradient and the middle line to rotate the gradient.

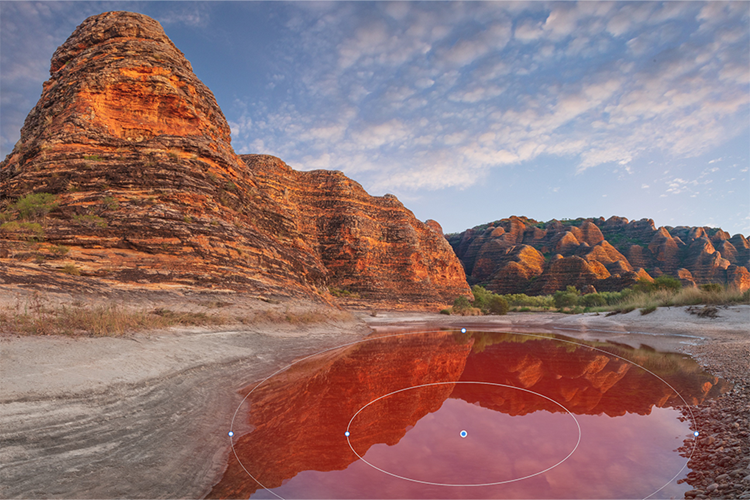
The Radial Gradient has similar functionality to the Linear Gradient. Simply click Radial Gradient on the Mask Panel or press ‘R’, then click and drag over your desired area. A feathered red overlay will dictate what area will be masked for editing. You can reposition the gradient by dragging the centre pin, alter the size of your mask by dragging and resizing the outer rung handles, rotate the mask by dragging just outside of the outer ring and change the softness of the edge by dragging the handle on the inner circle.

Do more with Adobe Photoshop Lightroom
For more Lightroom tutorials, visit the Adobe Photography Explore page.
Take your photo editing to the next level. Discover Adobe's principal evangelist, Julieanne Kost’s other image editing guides, including how to edit specific parts of an image, how to easily edit colour with colour grading and how to use Presets in Adobe Lightroom.