Photography
5 steps to changing the colour of an image in Photoshop.
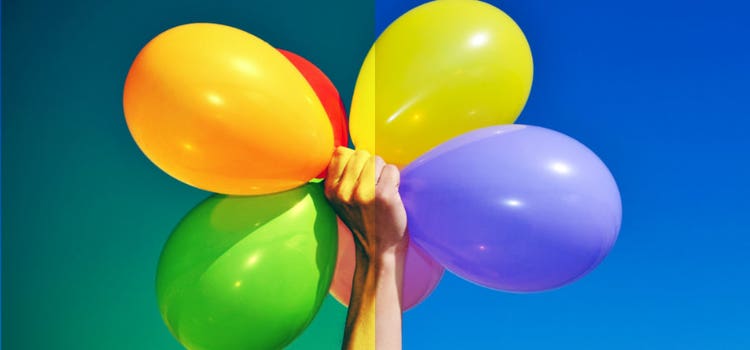
Adjust the colour palette of your photos to capture the feel you want.
Images stored locally.
JUMP TO SECTION
Different colours tell different stories
Understanding hue and saturation
How to change the colour of an image in Photoshop
Why change the colours in your photos?
Sometimes an otherwise perfect image is spoilt by colours that are distracting, dull or just not what you originally saw through the viewfinder. You can change the colour palette of your photo to capture exactly the feel you want by adjusting the hue and saturation levels in Adobe Photoshop. Just follow these five easy steps to get started.
Different colours tell different stories.
Colours play a critical part in photographic storytelling. Colder blues can give an image a sombre tone, while warm yellows can conjure up the feel of a sunny beach day. Even with a perfect image of your subject or scene, photographers can be limited by the colours in an image. For example, distracting colours in the scene or dull-looking colours on an overcast day may completely change the feel of an otherwise great shot.
Fortunately, you can use a photo editor to recapture the vibrance you originally saw through your viewfinder or just to make your images more fun and exciting. Selectively adjusting the colour properties in an image to achieve a desired look is sometimes called colour grading. It’s easy to select, change and replace colours in Photoshop with a few simple adjustments to the hue and saturation settings.
Understanding hue and saturation.
Photographers and artists talk about colours in terms of hue and saturation. Both can change the colour in an image — and how that image makes the viewer feel. Hue is the general colour of an object — for example, the blue water you photographed while at the beach may actually look greener in your photo. Saturation, on the other hand, describes the depth of the colours that are present. A dull colour on an overcast day, like an afternoon sky that looks more grey than blue, is an example of low saturation.
How to change the colour of an image in Photoshop.
A quick way to selectively adjust the colour properties in an image is with the Hue/Saturation adjustment layer. This layer allows you to change specific colours within your picture in Adobe Photoshop. (You may also need to use additional layer masks if you want to restrict the colour changes to just certain parts of the image.) Simply follow the five steps below to get started:
1. Create a layer mask.
Navigate to the Select drop-down menu and click Colour Range in the menu options.

2. Sample your target colour.
While in the Colour Range window, select the middle eyedropper tool on the right-hand side of the screen. (This eyedropper will have a + sign next to it.) Use the eyedropper to sample your target colour by clicking the colours you want to modify. Click different shades of the colour to increase the range of your selection.

3. Refine your selection.
Adjust the Fuzziness slider as needed to further refine your selection. When you have an accurate colour selection, click OK to close the menu. Now open the Layer menu and select New Adjustment Layer and then the Hue/Saturation option.

4. Save your layer.
Leave the Use Previous Layer to Create Clipping Mask option unchecked and click the OK button. This will save a Hue/Saturation adjustment layer with your newly created mask.

5. Change your colours.
Now, select your masked Hue/Saturation layer. From the Properties menu, choose the colour you want to edit from the second drop-down menu (such as Blues, Reds or Cyans). Adjust the Hue and Saturation sliders to achieve your desired look. Because most photographic images contain a rich spectrum of colours, you may need to adjust more than one set of colours. (For example, if you adjust Blues first, you may also need to adjust Cyans to capture the lighter parts of the sky.)

Go deeper with colour.
Photographers and artists talk about colours in terms of hue and saturation and both can change the colour in an image — and how that image can make the viewer feel. By definition, hue is the general colour of an object — for example, the blue water you photographed while at the beach may actually look greener in your photo. Saturation, on the other hand, describes the depth of colours. A dull colour on an overcast day, like an afternoon sky that looks more grey than blue, is an example of low saturation.
With Photoshop tools there are so many ways to adjust, remix and retouch your images. Take a moment to learn how easy it really is — and just keep exploring.