Explore how to draw feet.
A challenging aspect of anatomy art, feet can trip up artists of all skill levels. Gain insight on how to sketch this part of the human body.

From the big toe to the Achilles tendon.
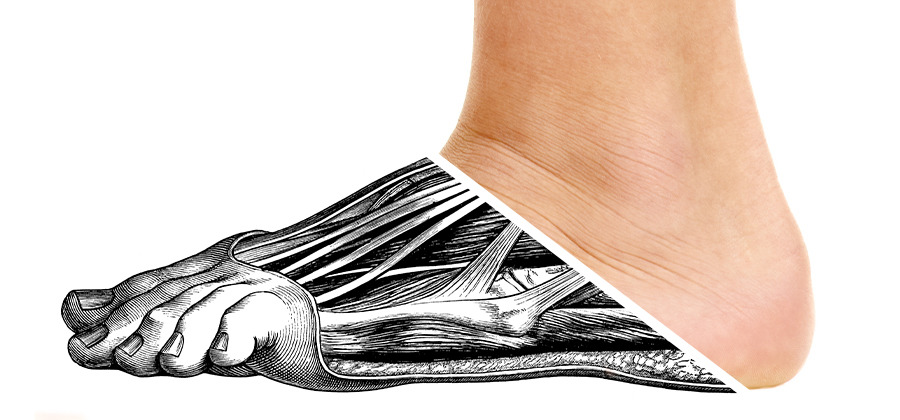
Of the 206 bones in the human body, 52 are in the feet. The bones form the foundation of each foot, which is fleshed out by more than 100 tendons, muscles and ligaments that help the foot move, change and shift. Feet aren’t simple, nor is drawing them. With that many variables, approaching this vexing element of human anatomy drawing can be daunting, but study and practice can help.
Repetition and drawing the human foot.
“Drawing feet is notoriously difficult,” artist Mark Crilley says. “The foot curves in a lot of directions.”
With a subject that varies so much from the ankle bone to the ball of the foot and continues to differ from model to model, there’s no way around it: Drawing feet well takes practice.
“Set yourself a numerical goal. Say, ‘I'm going to do 100 drawings of feet,’” Crilley says. “Draw five per day until you reach that number. You’ll learn a lot.”
Draw a foot from different angles, focusing on the top of the foot in some sketches and the heel of the foot in others. Then continue your figure drawing with side views of the foot. Take a life-drawing course and immerse yourself in research and references to help you better understand the structure and movement of feet. “Flip through anatomy drawing books or seek out how other artists have illustrated hands or feet,” artist Ben House suggests.
Even if you struggle, stick with it. Feet are something that can give seasoned professionals a hard time too. “The way feet turn drives me mad to this day,” House says. “Sometimes I spend an hour drawing a foot, but each time I do it, I learn something.”


A few approaches to foot anatomy for beginners.
To understand the complexity of a foot, approach it from different angles — both physically and philosophically. You can break a foot down into a series of simple shapes and then add detail from there or you can build on a skeletal foundation.
“I was taught by two professors whose philosophies were at odds,” artist Chris Kindred explains. “One teacher’s preliminary work looked like blind contour studies — very loose and he de-emphasize structure in favour of what he called the ‘psychological impression’ he wanted. He wanted to invoke the feeling of something — paying some attention to accuracy, but only as much as required.

“The other professor did not consider himself an artist. He considered himself a technician,” Kindred continues. “He wanted to convey the mechanics of each limb and joint. A good-looking image was just a byproduct of that analysis.”
Whether you opt for a more organic or a more structured method, combining the two can help you to develop your technique for drawing feet.
“Once you get the basic anatomical scaffolding down, you can inject that flare,” Kindred says. “Oftentimes, stylisation has a scaffolding of rigid constraints underneath it.”


Getting started with tracing.
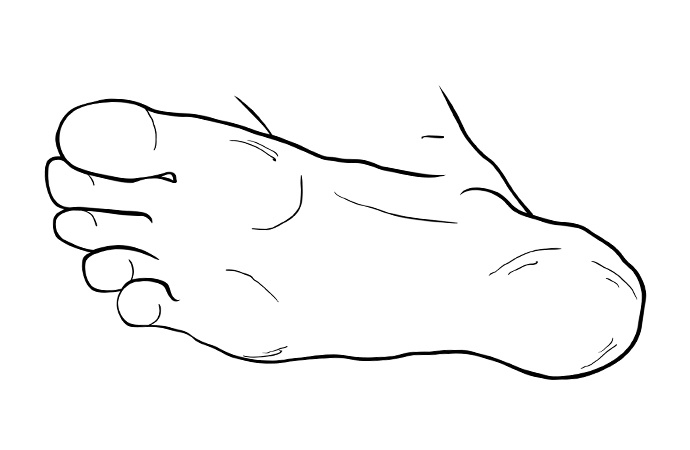
If you draw or paint digitally, you can practice foot illustration by beginning with a photo. Get comfortable with the basic lines of the foot by tracing over an image of one in your drawing app, as demonstrated in this step-by-step Adobe Photoshop Sketch tutorial. Use a snapshot of your own feet or find a model on Adobe Stock.
Feet are only part of the drawing.
Remember that feet are usually only a part of the whole illustration and depending on your style and the piece, realism may not be required.
A visual shorthand for feet often suffices. “There are plenty of cartoony artists who have simplified styles,” artist Jen Bartel says. “They’ve figured out ways to distil things down so you know what they’re trying to portray.” Watch artist Pascal Campion demonstrate this on Adobe Live by drawing three basketball players with stylized feet.
Understanding of the proportions of the foot and its proportions in comparison to the human body will develop as you practice. Whether your goal is hyperrealism or stylized simplification, a foundation of repetition and preparation will help each foot come a little more naturally than the next.
Contributors
You might also be interested in…
Take your skills to the next level with drawing exercises and advice from professional illustrators.
Exploring watercolour techniques.
Capture the flowing brush strokes and rich texture of watercolours with these tips.
How to become a professional illustrator.
Get tips on portfolio creation and art presentation to help you kick off a new career.
Get an introduction to the illustration style of Japanese comics.
Get Adobe Illustrator
Create beautiful vector art and illustrations.
7 days free, then NZ$ 44.51/mo. incl. GST.


