How to draw birds of any feather.
Learn the basics of drawing birds digitally with this step-by-step tutorial.
From hummingbirds to toucans.
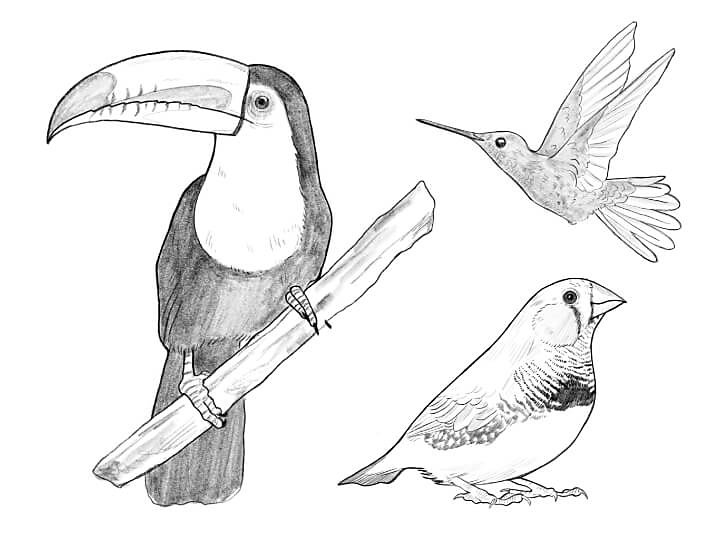
Birds come in all shapes, colors, and sizes. It’s one of the reasons they’re such fun and interesting animals to draw. But that variety can make it intimidating to know where to start. By practicing easy techniques using curved lines and small circles to form the basic shapes of a bird’s body, this drawing tutorial will show you how to create a beautiful illustration of your favorite bird using Adobe Stock and Adobe Fresco.
Find reference images of birds.
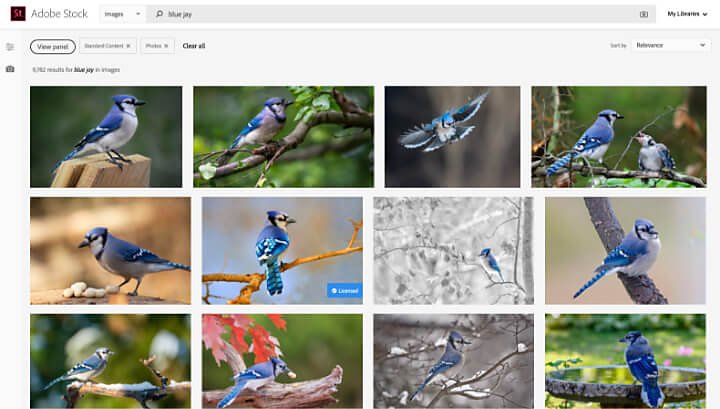
When you’re learning how to draw something new, using reference — like books, photos, or 3D models — can help. By studying your subject, in this case a bird, your mind will start understanding the unique shapes of a bird’s body parts. Using reference is incredibly valuable, as it prevents your mind from filling in details that might not be accurate as you draw. You can use Adobe Stock as a resource to find reference images to accompany any drawing lesson. Once logged in to your Adobe account, simply hover over any photo and select the heart icon to collect a library of reference.
Studying the form of birds.
When you draw animals, remember that even the most complex forms can be broken down into the simplest shapes. Using your favorite reference image, study the shape of the bird to discover the different shapes. Bird bodies can be reduced to a teardrop shape with additional circles, triangles, and rectangles for their features. Don't get caught up in the details — the proper shape of the bird’s tail is more important than its unique markings at this stage. Practicing this technique is the basis of many drawing lessons and will help you draw just about anything.
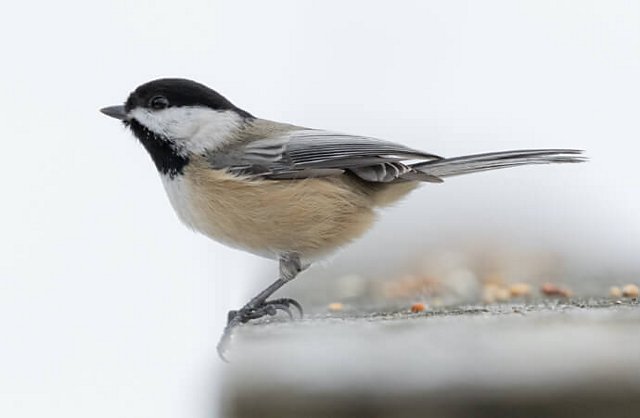
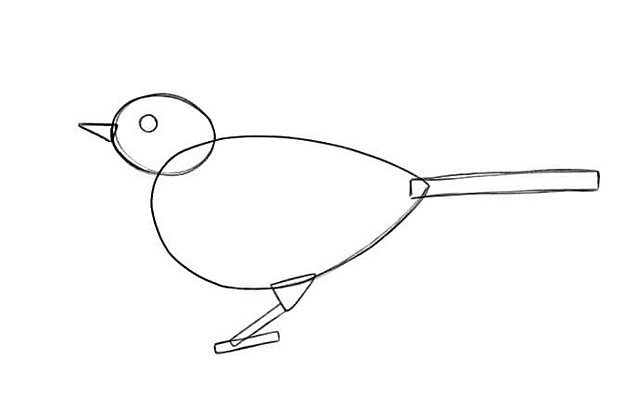
Start by setting up your Adobe Fresco document.
Before you can begin digital sketching, you’ll want to make a new document of any size in Adobe Fresco. Access your library of saved reference images by selecting the photo icon and then clicking Creative Cloud. Each image you hearted can be easily imported onto your canvas and repositioned, giving space to draw while you study the reference.

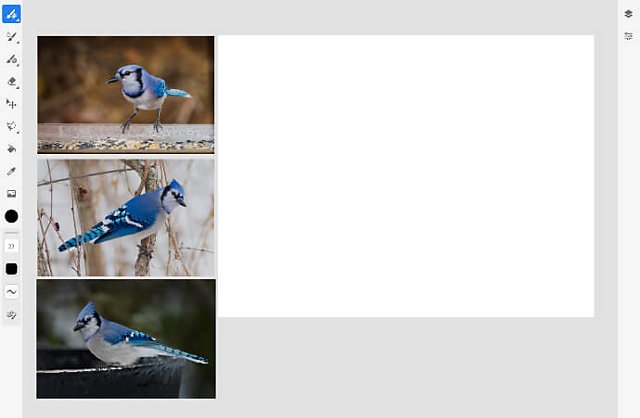
Use layers to build your drawing.
Drawing digitally is easier and faster than traditional mediums when you use layers. Layers allow you to draw over your sketch of base drawing without having to erase it later. Layers can be found on the right side of your workspace and can be hidden or revealed by tapping on the Layers icon. You can add a new layer using the + button. Drag layers up or down to reposition them above and below one another.
Sketching the shape of the beak, body, and tail.
On your first layer, draw the basic shapes of your bird. Take into consideration what your bird is perching on. Are the feet flat on the ground or wrapped around a branch?
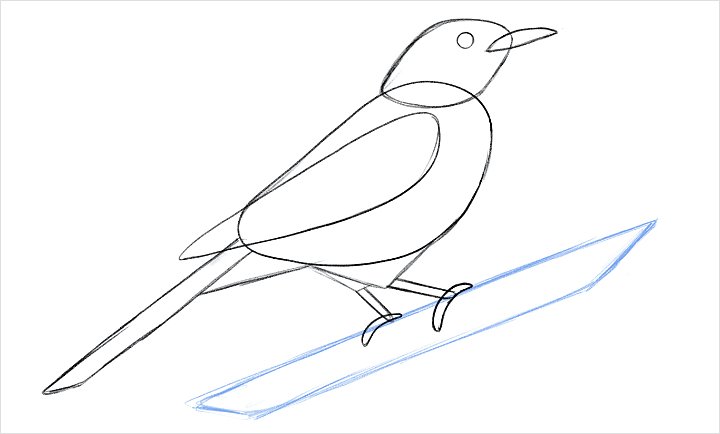
After you’ve sketched your bird’s shapes, reduce the opacity of the base layer by tapping on the Layer Properties menu underneath the Layers icon. Drag the opacity slider to the left to increase the transparency of the drawing. This will allow you to more clearly see any drawings you create on top of this layer.
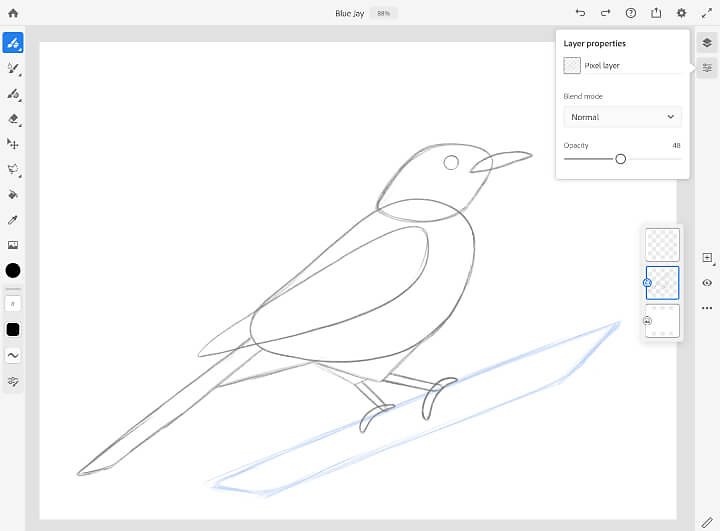
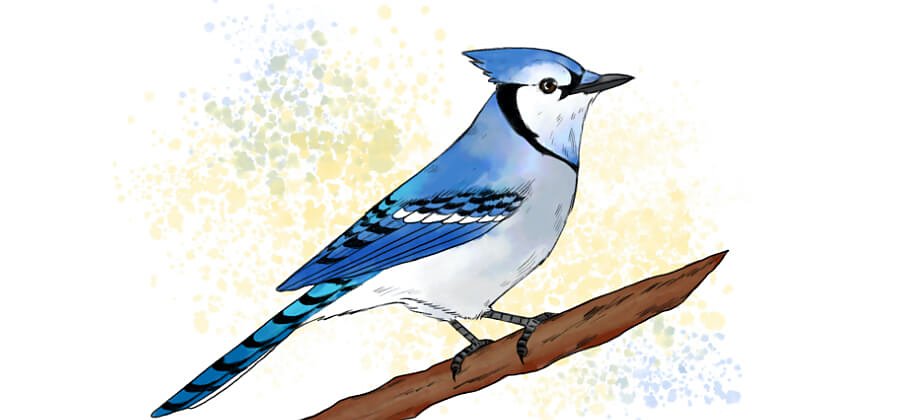
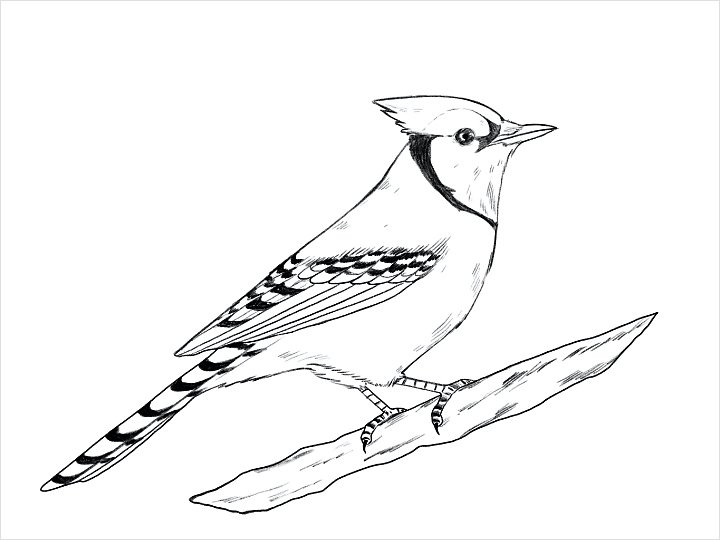
Create a new layer on top of your basic shapes drawing. Using your first drawing as a guide, draw the basic outlines of the bird: the feet, body, wings, beak, eyes, and any additional features that define the bird’s shape. Blue jays, for example, have a triangular crest of feathers on their heads.
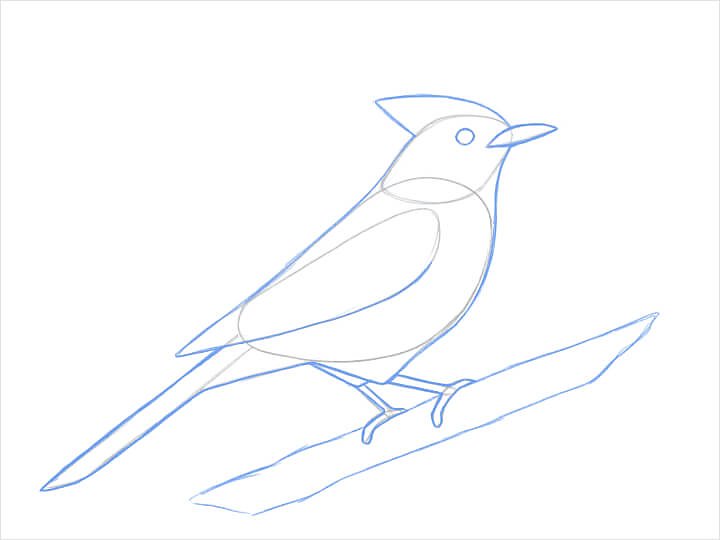
Now you can hide the basic shapes layer using the Eye icon. You never have to delete your layers; simply hide them and refer to them later if needed.
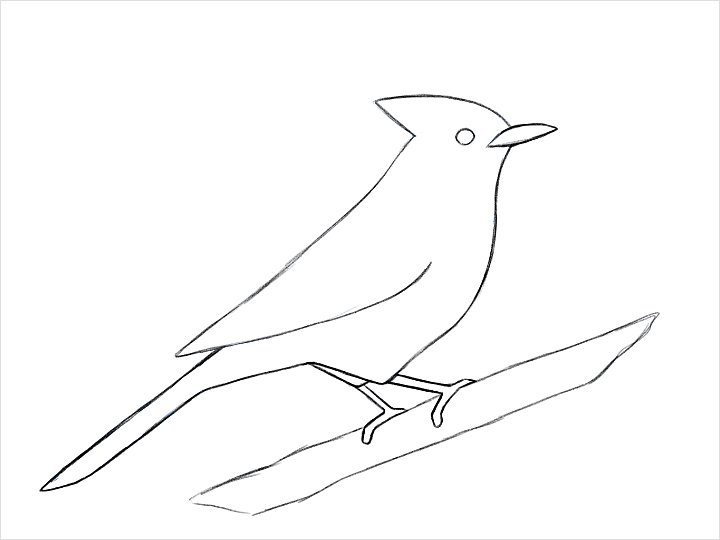
Next, add features and details to your bird: eyes, beak, wings, and feet. Study your reference images. What kind of markings are on the bird’s head and body? You don’t need to worry about drawing every feather. Instead, try adding small groups of lines in areas that follow the curves of the bird to suggest the appearance of feathers. Use the Eraser to remove any of the basic outlines that overlap the details you add.
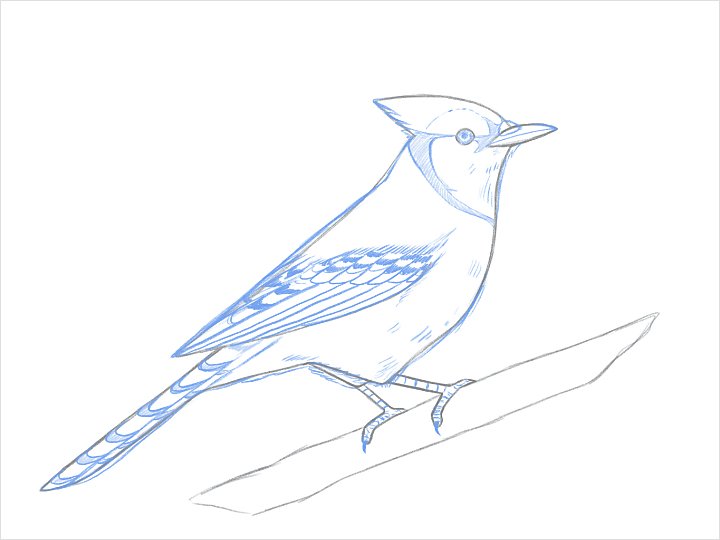
Finally, add any last extra details, like texture on the branch your bird is standing on, as you finish inking your lines, and your bird drawing is done.
Bring your drawing to life with live brushes.
The defining features of many birds are their vibrant colorations. Watercolor brushes can add soft, flowing colors to your bird. Adobe Fresco features live brushes that mimic the real-life properties of watercolor and oil painting — use these to make your drawing pop off the canvas. To access the live brushes, tap the second tool down on your toolbar. Create a new layer underneath your drawing, select a color, and start painting.
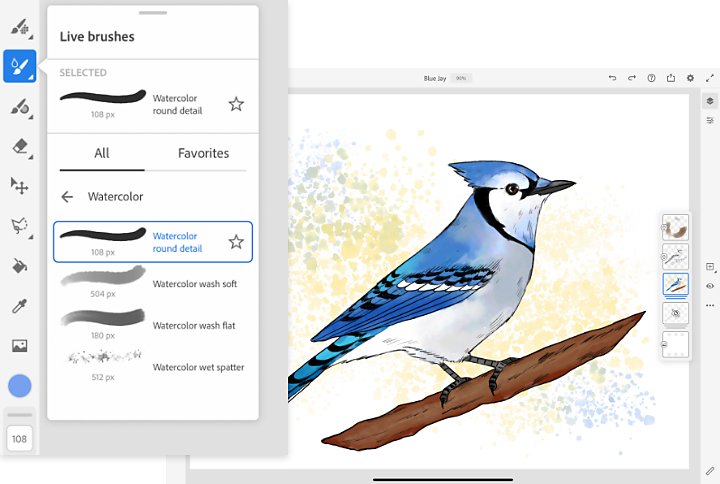
Using these steps, you can start with basic shapes and draw any species of beautiful bird. Try it in Adobe Fresco for free on your iPad or select Windows devices — and tag Adobe online with #AdobeFresco. We can’t wait to see what you create.
You might also be interested in…
How to become a professional illustrator.
Get tips on portfolio creation and art presentation to help you kick off a new career.
Get tips on how to draw this challenging bit of human anatomy.
Try your hand at pencil sketching.
Pencil drawing is an essential first step for most artists. See how this skill can improve your art.
Make your mark with ink drawing.
Explore the subtlety and boldness of ink drawing with these tips and techniques.


