Closed captions in English can be accessed in the video player.
Photoshop + Lightroom: The Powerhouse Pair


Speakers
-
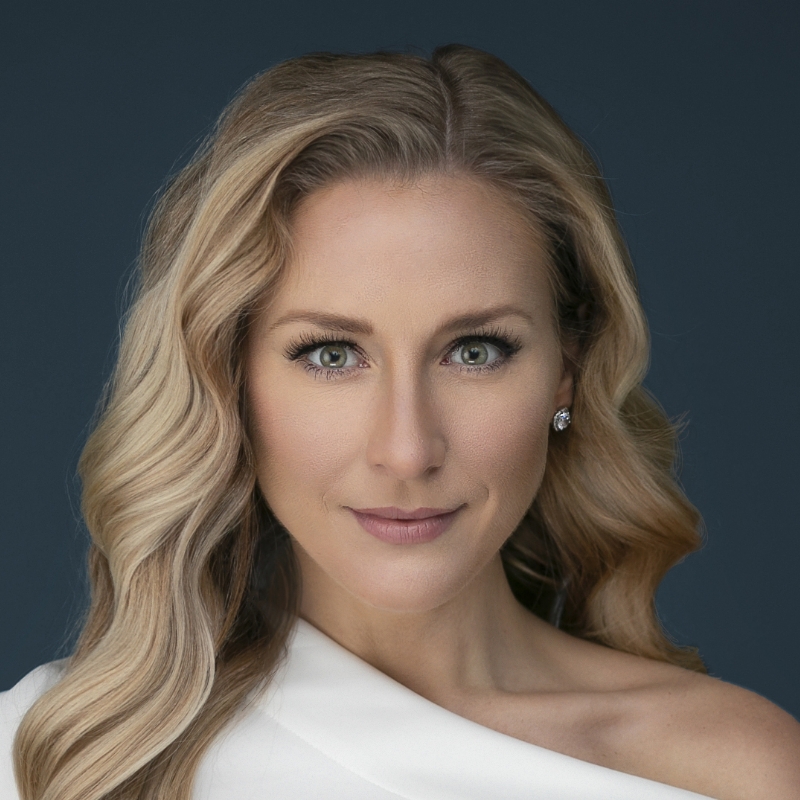
Retoucher and Photoshop Educator, SharkPixel
Featured Products
-

Lightroom Classic
-

Photoshop
Session Resources
No resources available for this session
Sign in to download session resources
About the Session
Join headshot photographer and retoucher Kristina Sherk as she demonstrates why the saying “Teamwork makes the dreamwork” perfectly describes the symbiotic relationship between Photoshop and Photoshop Lightroom Classic. In this session, Kristina will share tips and tricks, including how to add a brand-specific look and feel, to increase productivity while using these programs in tandem.
During this session, you’ll learn super skills like:
- Increasing productivity while using Photoshop and Lightroom Classic together
- Harnessing the power of AI masking for batch retouching
- Utilizing creative tools to add uniformity to various photos
- Using Photoshop and Adobe Firefly to improve inconsistent imagery to add a brand-specific look and feel
Technical Level: Beginner, Intermediate
Category: Inspiration
Track: Graphic Design and Illustration
Audience: Art/Creative Director, Graphic Designer, Photographer
This content is copyrighted by Adobe Inc. Any recording and posting of this content is strictly prohibited.
By accessing resources linked on this page ("Session Resources"), you agree that 1. Resources are Sample Files per our Terms of Use and 2. you will use Session Resources solely as directed by the applicable speaker.
Not sure which apps are best for you?
Take a minute. We’ll help you figure it out.