Closed captions in English can be accessed in the video player.
Top Plays: 10 Adobe Fresco Tools/Features You Need to Use Now!


Speakers
-
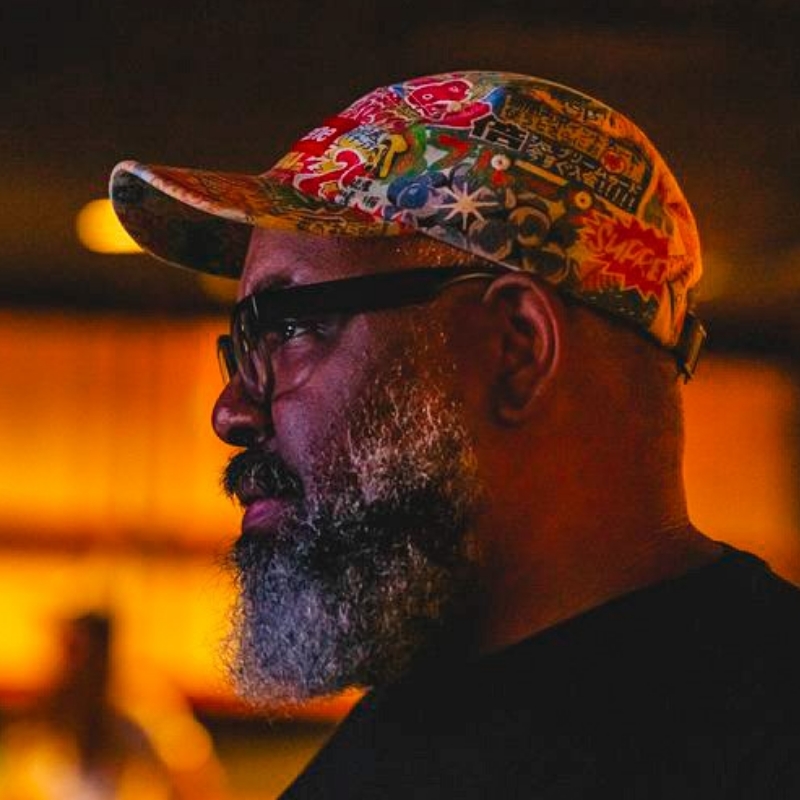
Illustrator, Zilla!
Featured Products
-

Adobe Fresco
Free trial
Session Resources
No resources available for this session
Sign in to download session resources
About the Session
When it comes to drawing and painting on iPad, raster has become the standard, while vector drawing is a game changer. Adobe Fresco combines both formats to form a winning team. Join renowned sports illustrator Rob Zilla as he explores 10 tools and features in Adobe Fresco that will supercharge your workflow and produce MVP-level illustrations.
In this action-packed, play-by-play session, Rob will break down:
- Vector brushes that are in a league of their own
- Awesome tools used by the pros
- The latest features that will level up your illustration game
Technical Level: Beginner, Intermediate
Category: Inspiration
Track: Graphic Design and Illustration
Audience: Illustrator
This content is copyrighted by Adobe Inc. Any recording and posting of this content is strictly prohibited.
By accessing resources linked on this page ("Session Resources"), you agree that 1. Resources are Sample Files per our Terms of Use and 2. you will use Session Resources solely as directed by the applicable speaker.
Not sure which apps are best for you?
Take a minute. We’ll help you figure it out.