VIDEO
Enhance video quality with Adobe Premiere Pro.
Improve video quality by making colour corrections, adjusting audio and adding finishing touches with the video editing tools in Premiere Pro.
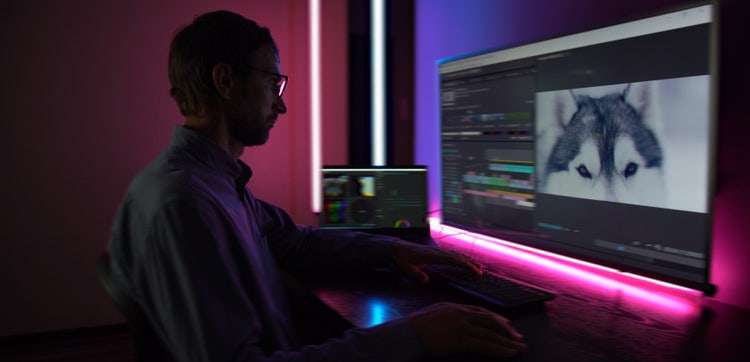
Simple enhancements can improve your clips.
Simple enhancements can improve your clips. Premiere Pro is a powerful video enhancer that brings out the best in your footage.
- Colour correction tools and presets (that work like video filters) can add instant style to your clips.
- Take clips further by easily adding voiceover, sound effects or music.
- Increase the quality of your videos with smooth transitions between clips and the use of text and title graphics.
Enhance any video with ease.
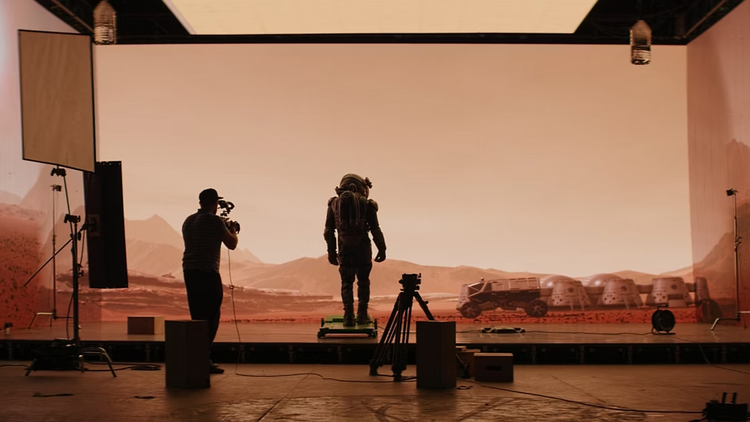
When learning how to edit videos, beginners often overuse filters which looks unrealistic. To truly enhance video quality, focus on subtle adjustments and good lighting when you shoot.
Keep enhancements subtle and focus on getting good lighting when you shoot. Stay consistent with your resolution and frame rates to avoid choppiness in your footage.
Video resolution plays a crucial role in the overall quality of your footage. Higher resolution means more detail and clarity in your video. Here's what you need to know:
Why resolution matters: Higher-resolution videos contain more pixels, producing sharper images and more detail. This is especially important when viewing videos on larger screens or when you want to crop or zoom in on footage without losing quality.
When enhancing video, always keep the end platform in mind. Social media platforms, for instance, have different optimal resolutions for videos.
Common resolutions:
- 1080 p (1920 x 1080): Full HD, suitable for most online platforms.
- 4K (3840 x 2160): Ultra HD, offers four times the detail of 1080p.
- 8K (7680 x 4320): Emerging technology with incredibly high detail.
Work with video clips in a variety of formats.
Different formats may offer varying compression levels and support for different codecs, which can affect the quality and flexibility of editing. MP4 is widely compatible and efficient for most general uses, while formats like MOV can offer higher quality for professional editing.
It’s vital to understand the key aesthetic of each genre and tailor your editing techniques to enhance, not overshadow, that style. Adapt your tools to bring out the best in each project.
1. Start by combining your clips in Premiere Pro.
The first step in how to enhance video quality is uploading your clips into Premiere Pro. Then you can edit your clips — combine them, reorder them, trim them and arrange them into the perfect sequence.

2. Resize, rotate, crop and more.
Next, you can resize a clip, move it within the frame or rotate it in a few quick steps to enhance video composition. To resize or rotate, simply highlight the clip on the timeline you want to edit, hover your cursor over the outline of the video in the playback window and then click and drag.
You can make additional adjustments like cropping your video, applying an edge feather to soften the edges or auto reframing to automatically track the subject of your video after you change the video’s shape (or aspect ratio). Find these effects under Effects > Video Effects > Transform.
If you’re working with a shaky video that makes cropping tricky, video stabilisation might be necessary to focus on your subject.
Enhance video colour.
There are various ways to enhance video quality in Premiere Pro. Some commonly used effects include sharpen, Lumetri colour and colour correction. You can apply these effects to your video clip and enhance the quality of your footage. Experiment with different settings to achieve the desired result.
After you’ve finished uploading and trimming your video clips, you can focus on an effect like colour correction. There are multiple ways to do this in Premiere Pro.
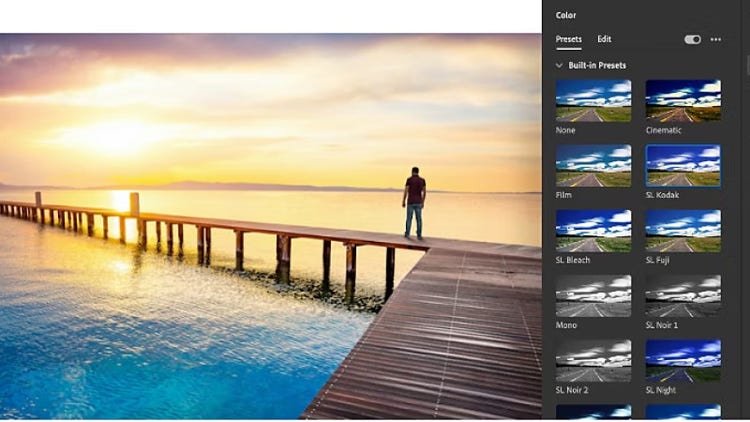
Apply built-in Lumetri presets.
Brighten, darken or unify all of your video clips by using built-in presets that function like filters to enhance video quality instantly. Options like cinematic, monochrome and filmstocks are fast and easy ways to enhance colour highlights or mimic the look of black-and-white film footage.
Just select the video clip in your timeline, open the Lumetri Colour panel and select your preset under the Look drop-down menu. Then, adjust how intense your preset is with the slider below the preset thumbnail.
Adjust the colour sliders.
It’s easy to learn how to improve video quality with colour sliders. To make customised colour edits to a video file, you can enhance the colour with sliders. The basic features include everything from Exposure and Contrast to Vibrance and Saturation. Advanced features include special effects like Faded Film, Sharpening and Vignette. Find them all in the Lumetri Colour panel and experiment until you find the right look.
To make customised colour edits to a video file, enhance the colour with sliders. The basic features include everything from exposure and contrast to vibrance and saturation. Advanced features include special effects like faded film, sharpening and vignette. Find them all in the Lumetri Colour panel and experiment until you find the right look.
Save customised presets to use again.
To apply adjustments to multiple clips in your project or timeline, save slider settings as a customised preset by selecting Create Preset. Whenever you need it again, you’ll find it in the subsection of the Lumetri Presets tab called Your Presets.
Correct colour automatically.
Apply colour correction in a snap with smart auto-colour features. You can adjust exposure, contrast, white balance and other basic edits quickly to give your video the right touch-ups, harnessing the power of AI video editing to get your creation video ready to share with the whole team.
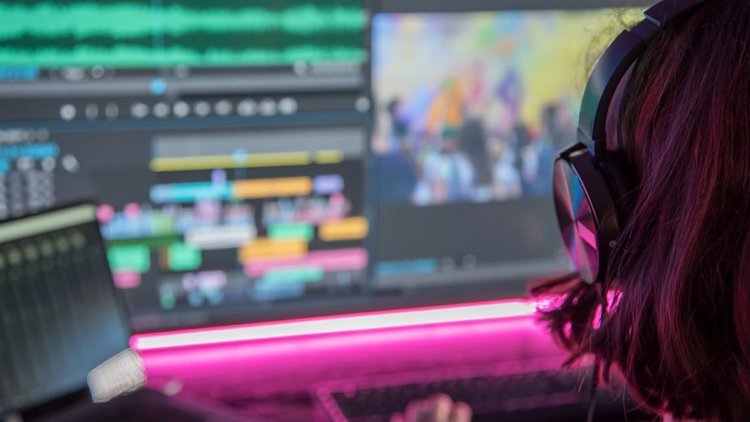
Edit and record audio.
Take your video further with sound — edit audio right within your video timeline in Premiere Pro. Several audio tracks are available to play with in every Premiere Pro project, so you can enhance your video with multiple layers of voiceover, music and sound effects.
Record a voiceover.
Narrate the action or add commentary by recording a voiceover. Click the microphone icon to the left of any audio track on your project. When you’re done recording, the audio clip will display as a new track in the timeline and it will be attached to the video clip as you continue to edit.
Add music or sound effects.
To really boost your production values, add prerecorded audio and sound effects to your video. To go to the Audio workspace, choose Window > Workspaces > Audio. Open the Media Browser, locate your desired audio file and right-click (on Windows) or Control-click (on Mac) to highlight it. Then, select Import to add your audio clip to the Project panel. Choose Window > Project to show the Project panel, where the audio file you just imported should be shown as selected.
Refine audio.
Make subtle sound edits in the Essential Sound panel with simple controls to enhance video with improved audio:
- Increase or decrease the volume of a clip by moving the clip volume slider.
- Classify the audio as voice, music or other and adjust the controls in the Advanced section of the audio panel. Select Auto Volume for consistent sound or Balance Sound to boost quiet sounds and dampen loud sounds. You can also reduce background noise and echo and enhance speech.
- Automatically lower the volume of music clips when voice clips play over them with auto-duck functionality. You can also remove background noise and boost the quality of speech with the AI Enhance Speech tool.
Add transitions, graphics and titles.
When you’re done adjusting the colour and audio of your video, add some finishing touches to enhance video quality before saving:
- Creative transitions. Add transitions between clips to smooth out the jump from one clip to the next.
- Graphics and titles. Incorporate elements like logos or lower-third motion graphics to introduce your video.
- Automatic captions. Transcribe video to text and make your video more accessible with captions.
Make your imagination come to life through motion.
Premiere Pro is an advanced video enhancer, but beginner-friendly tutorials built right into the app make it approachable for anyone. Use video effects to transform simple video clips from a collection of footage into a polished project that you’ll be proud of. Make your videos stand out today.
{{questions-we-have-answers}}
How can I enhance video quality?
How to enhance videos in post-production?
How do I stabilise shaky footage in Premiere Pro?
