Probiere diese Tutorials mit Photoshop aus
Fotos bearbeiten, um neue Bilder und Grafiken zu schaffen
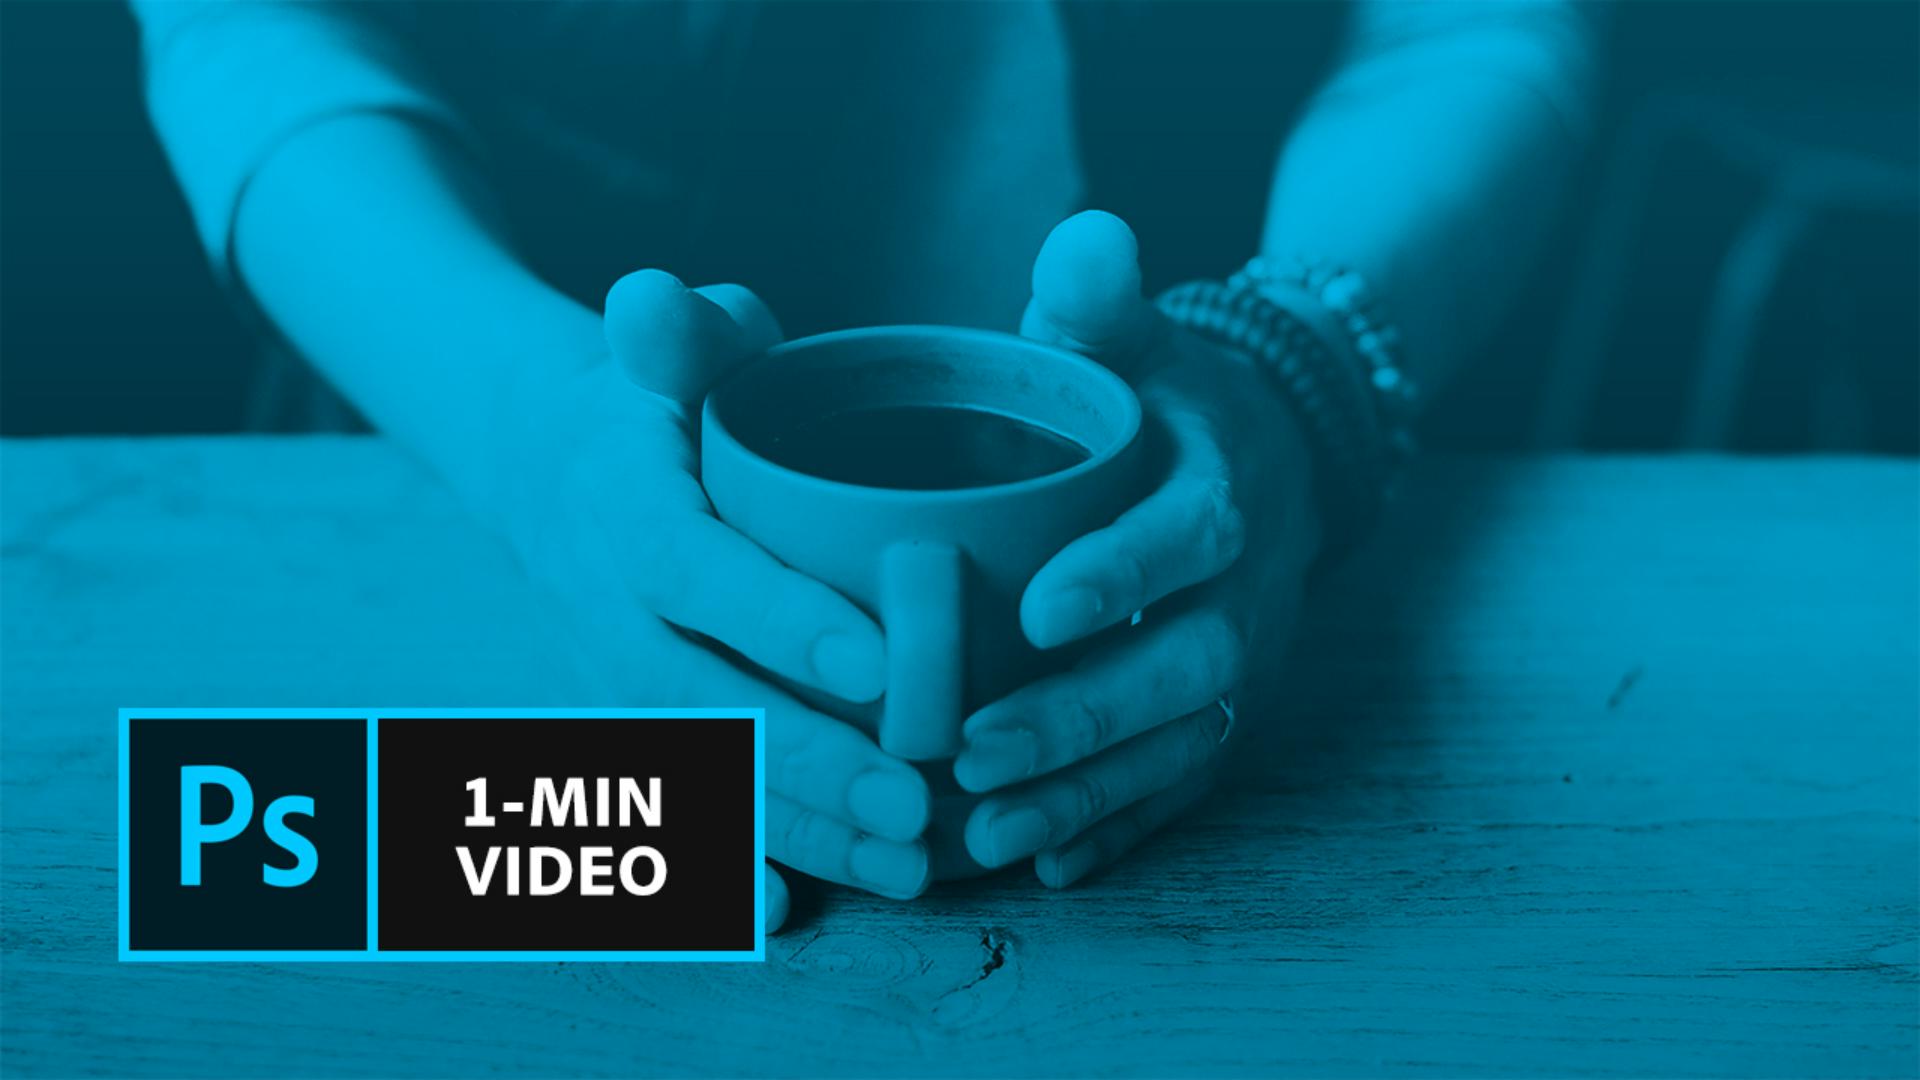
1. Download the practice images . Open "Coffee Video.mp4" in Photoshop and rename the layer's default name "Layer 1" to "Coffee Video".
2. To remove the video layer from the default group "Video Group 1" drag the “Coffee Video” layer above "Video Group 1". You have reached the correct position when you see two blue lines appearing above the group.
Tip: When you open a video in Photoshop a default group named "Video Group1" and a default video layer named "Layer 1" is created within the group. In addition Photoshop opens the Timeline panel under the video automatically.
3. Now as "Video Group 1" is empty we delete it by dragging it onto the Recycle Bin.
4. By dragging the "Coffee Video" layer to the "New Layer" icon at the bottom of the Layers panel you create a copy of the video layer.
5. Move your cursor between the video and the Timeline panel until it turns into a double arrow, which allows you to enlarge the Timeline panel.
6. Use the Timeline magnification slider to enlarge the video layers over the available space, then drag the playhead to 2:12.
7. Right-click the "Coffee Video copy" layer and select Rasterize Layer from the pop-up menu.
8. From the main menu click on Select then chose Select and Mask.
9. On the Properties panel chose from the View Mode drop-down menu Overlay.
Tip: This View Mode will overlay all invisible – masked – parts of the layer with red color and allow you perfect visual control of the visible areas we are going to create.
10. Choose the Brush Tool from the tools panel and brush over the area of the video where you want to show movement. Set the Brush size to 50 px.
Tip: If you want to reduce the visible area again simply click on the minus symbol and brush over the parts you don't want to show movement.
11. On the Properties panel click Invert, and set the Ouput Settings to Layer Mask. Then click OK to leave the Select and Mask mode.
12. Adjust the Start and End points in the Timeline to define your cinemagraph loop area. Set the Start point to 00:10 and the End point to 02:09.
13. Click the Play button to preview your cinemagraph. If your video is not looping, click the Settings icon and choose Loop Playback.
Tip: Drag the playhead to help note the timestamp.
14. Save your cinemagraph, by clicking File - Export - Save for Web (Legacy). On the Save for Web dialog choose GIF, 256 Colors, 100% Dither. Adjust image size, if desired and make sure that under Looping Options "Forever" is selected.
That's it! Now it's your turn to make your photos move with video in Photoshop. Download the assets or use your own and share your image on Facebook, Twitter and Instagram using #MadewithPhotoshop to get feedback and connect with other creative minds.
Facebook: http://facebook.com/adobecreativecloud
Twitter: http://twitter.com/creativecloud
Instagram: http://www.instagram.com/adobecreativecloud
YouTube: https://www.youtube.com/channel/UCL0iAkpqV5YaIVG7xkDtS4Q
Behance: https://www.behance.net/live Join our regular livestreams with real pros, real projects in real time and find inspiration.