Try these tutorials with Lightroom Classic
Enhance, organize, and share more photos on desktop.
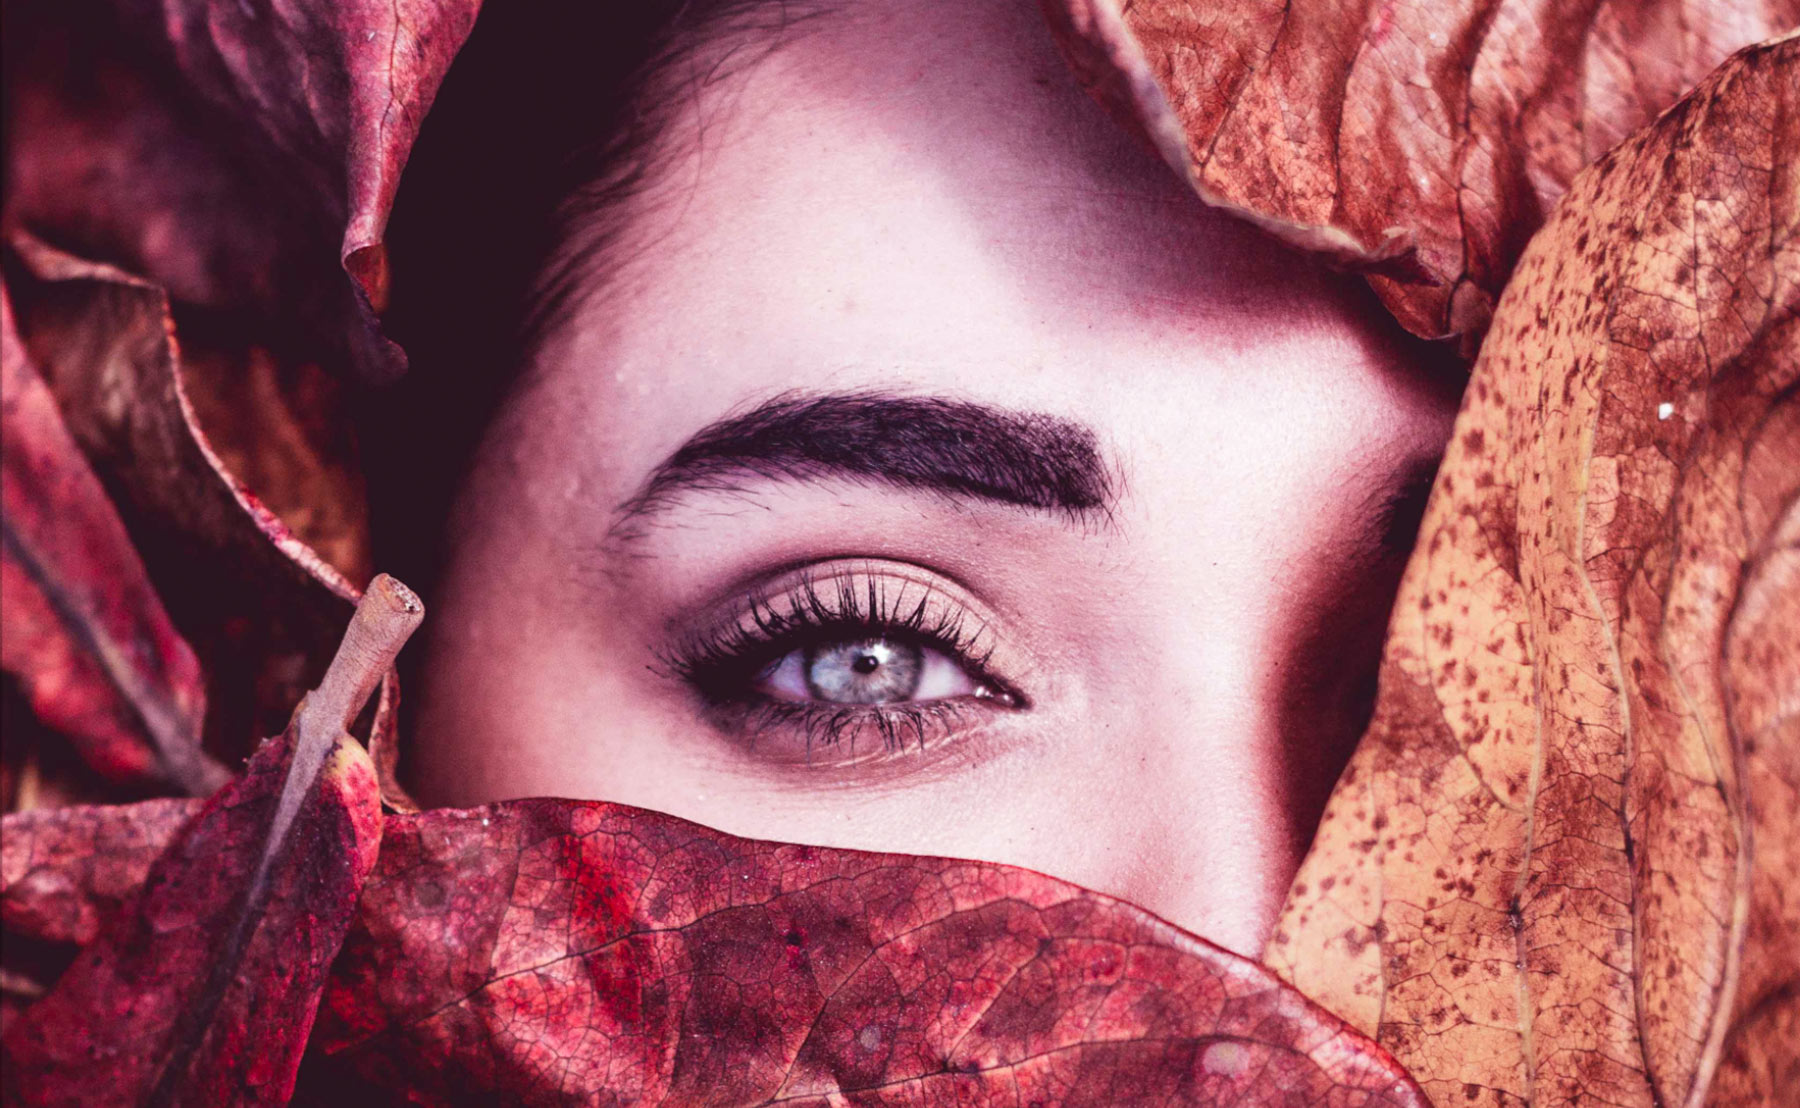
Change the mood of your photos or give them a trendy look using the Split Toning sliders in Adobe Photoshop Lightroom Classic.

Choose File > Import Photos and Video and then add the sample photo, or use your own.
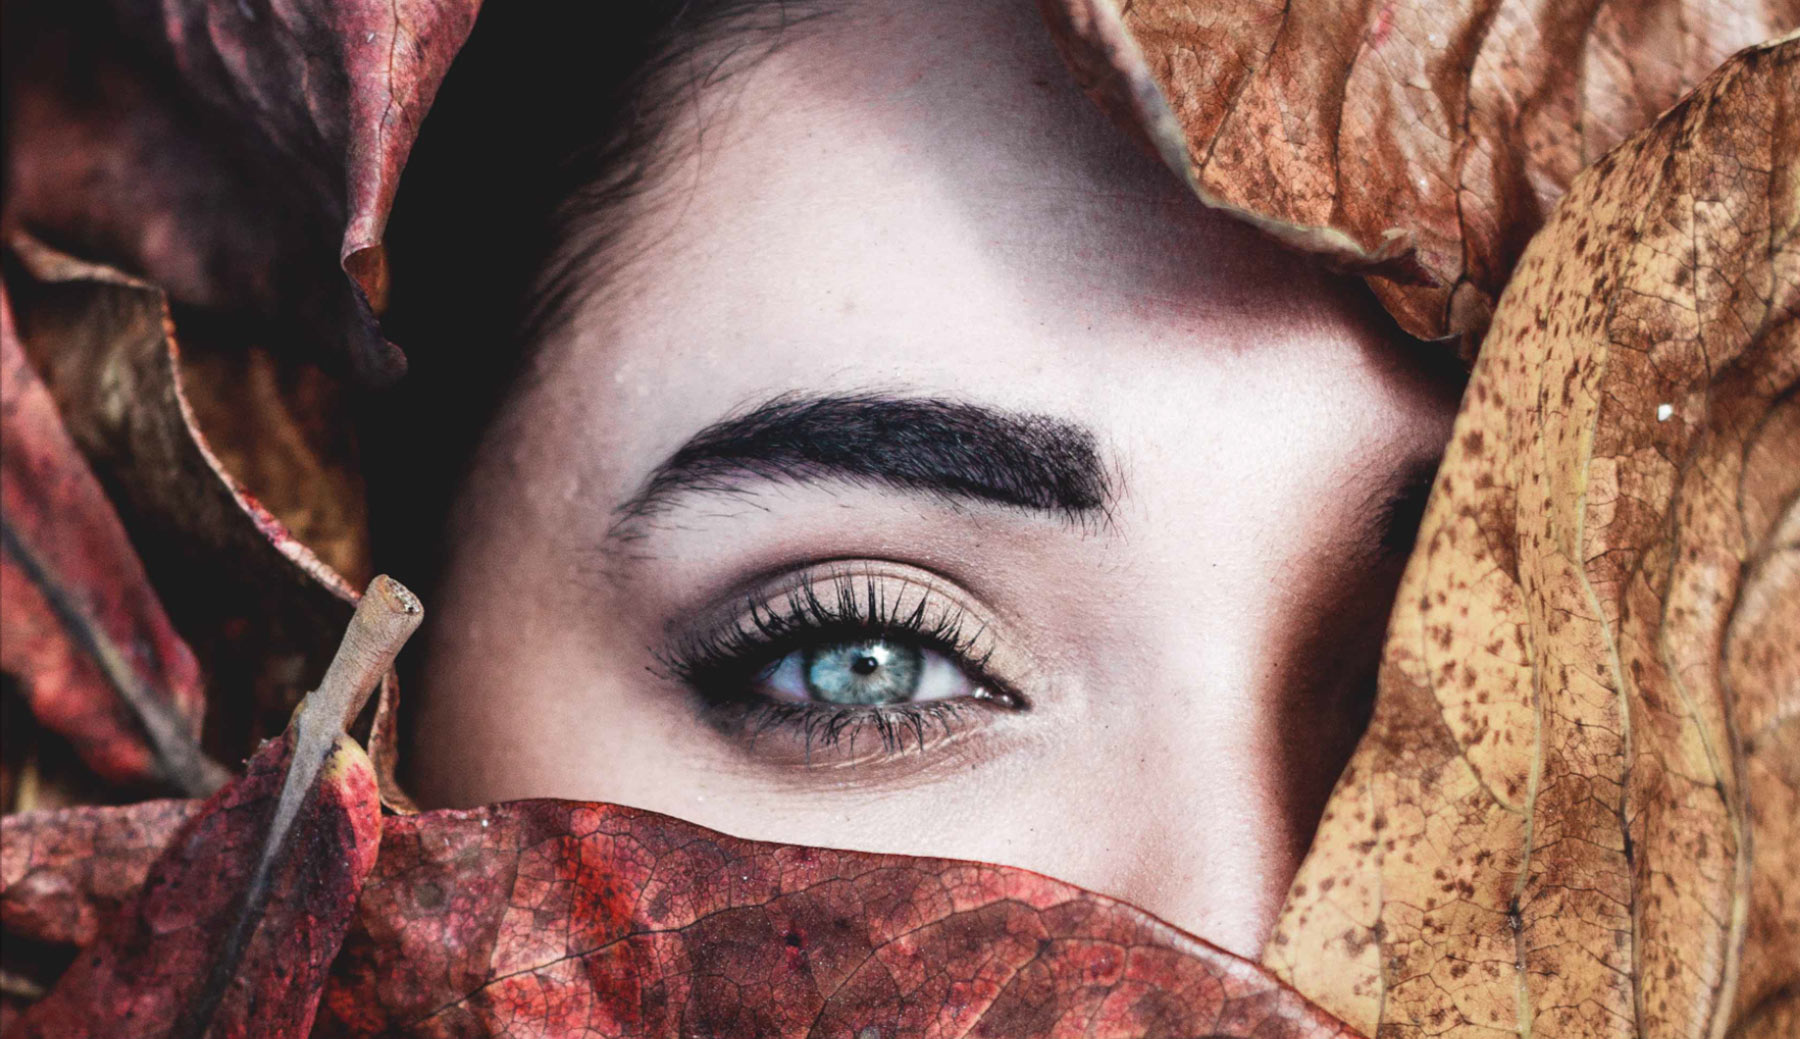
Start with a photo that has a noticeable contrast between the light areas and dark areas.
Experiment with the Split Toning controls in the Develop module to change the colors in the light (Highlights) and dark (Shadows) parts of the photo for different split toning effects.
Use the Hue slider under Highlights to set the color of the light parts of the photo. Then use the Saturation slider to determine how strong that color should be.
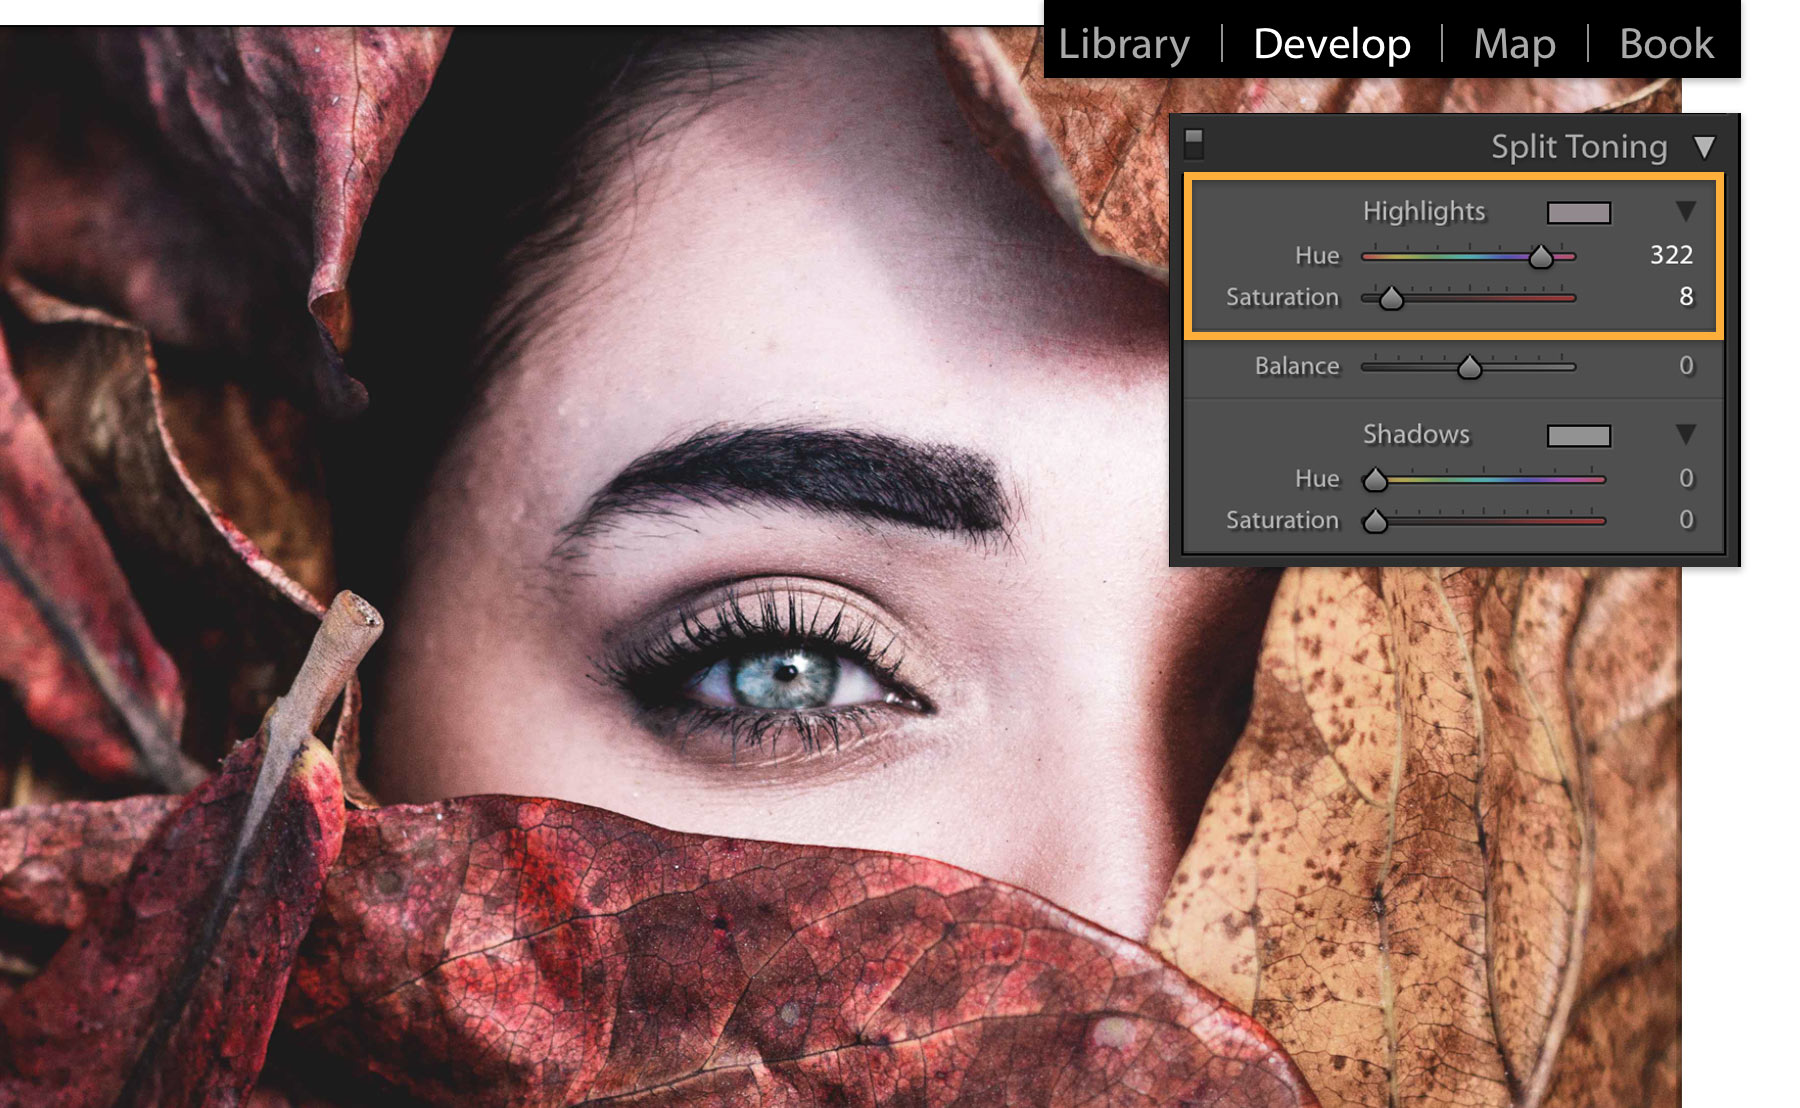
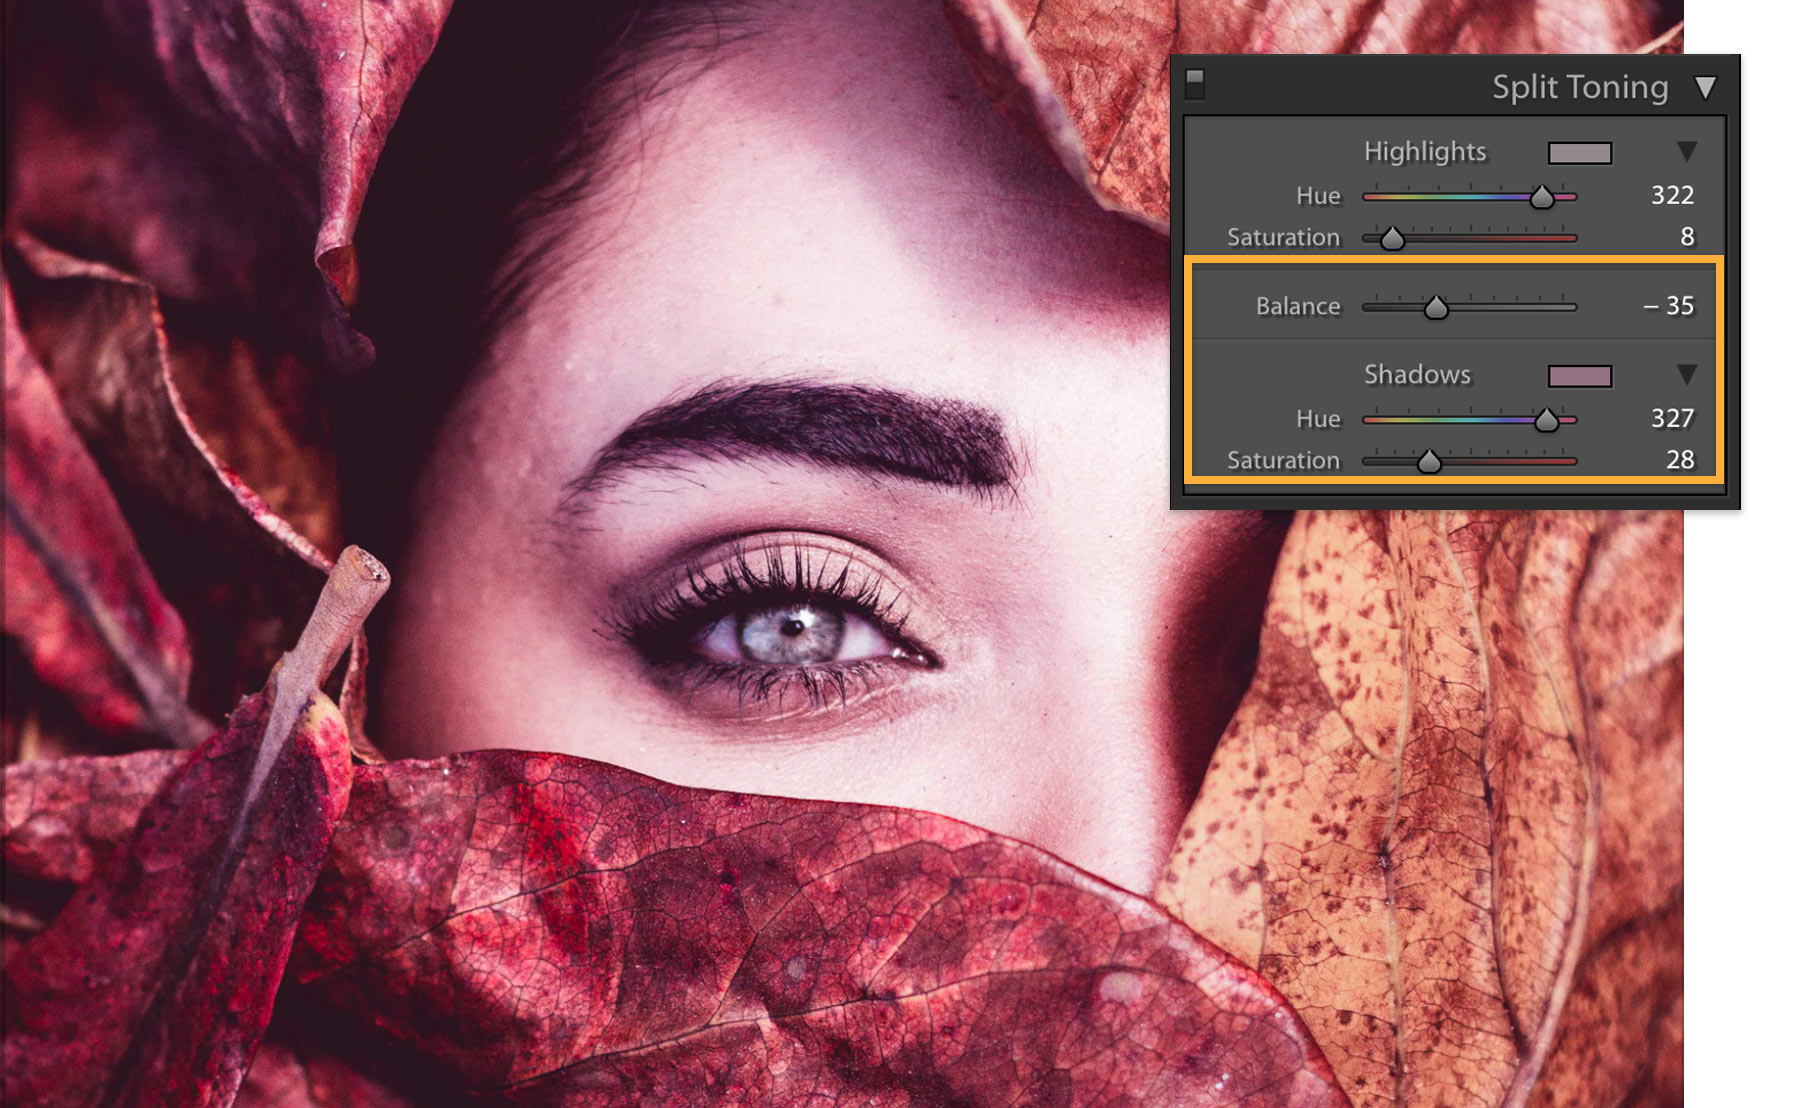
Use the same sliders in the Shadows section to change the color of the dark parts of the photo.
Experiment with the Balance slider to determine whether the Highlights or Shadows should be the dominant color.
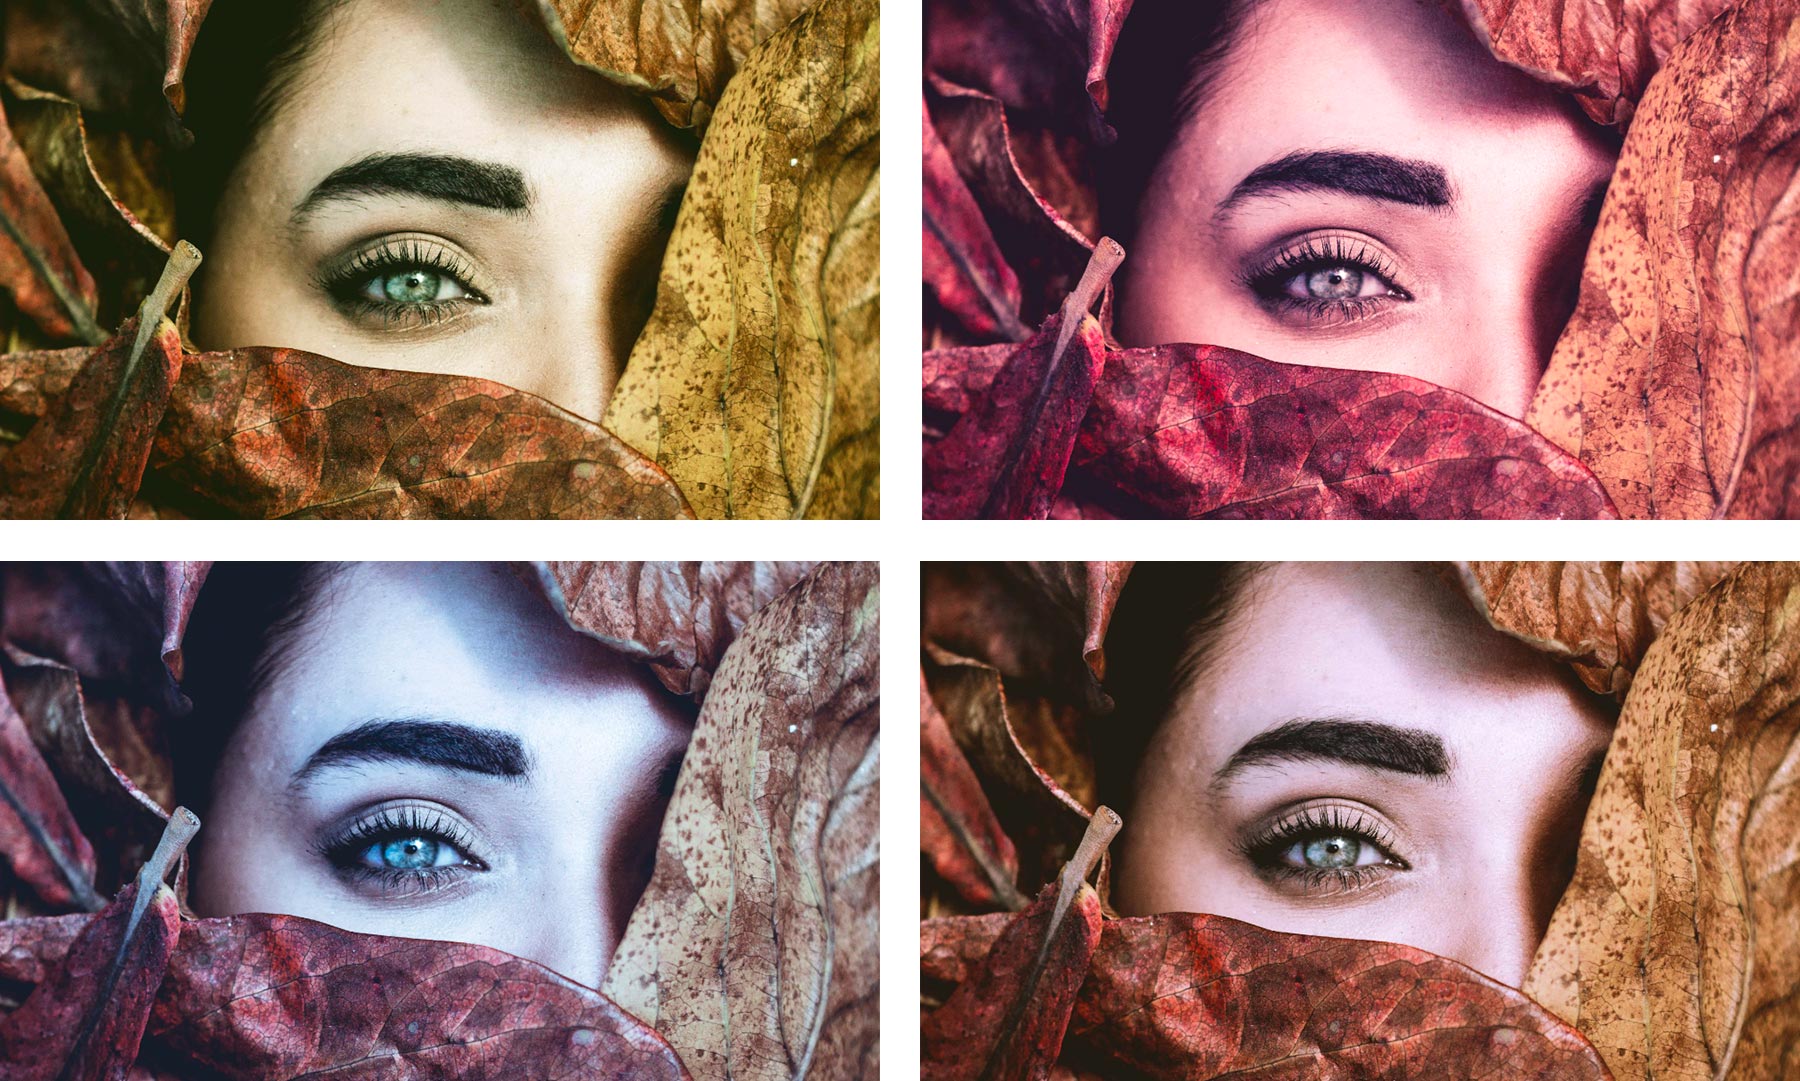
See the effect that split toning can have on your photo.

Now you can create a custom look for your photos by changing the colors.