Try these tutorials with Adobe Express
Create web pages, social media graphics, and videos.
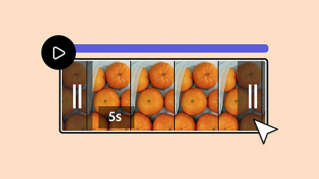
Learn all you need to know about layers. Get your visual elements in order with this intuitive visualization tool.

The layer stack is a helpful tool for visualizing, organizing, and arranging all the objects in a single design. Every object you add to your design — whether it’s text, image, video, or something else — will be represented as an individual layer in the layer stack.
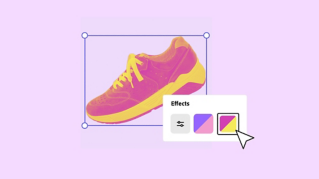
Because each object in your visual content is set up as a separate layer, the layer stack is what lets you move, modify, and work with content on one layer without affecting content on other layers. If you want to remove or swap out a background, edit or apply a filter to a photo, move an object behind text, or add a video, the layer stack is how you make it happen.

The objects that appear on your canvas in the Editor also appear as layers in the layer stack. Once you open a template, add text, or add media into your design, the layer stack will appear to the right of the canvas. You can close the layer stack when you’re not using it by clicking the Close icon.

Open it again by clicking the Layers icon.

Each object or group of objects is a layer. The number on a layer tells you how many objects are in that group.

Select an object to see where it is in the layer stack. The selected object has a bold outline around it. Drag the object up and down the layer stack and watch the preview adjust with your placement.
You can remove a layer in the stack by selecting it and pressing the Delete key.
A layer group helps tie together closely related design elements. Sometimes multiple objects in a template, such as text and shapes, come packaged in a group to make it more convenient to move them without disturbing their formatting. You can create your own layer group by holding down Shift on your keyboard and selecting multiple objects, then pressing the Group button.

If you want to delete or separate certain elements that are currently grouped as one layer, simply select the group from the layer stack and click Ungroup.