Learn how to draw unicorns.
Add a touch of fantasy to your illustration skill set by following this easy step-by-step drawing tutorial.
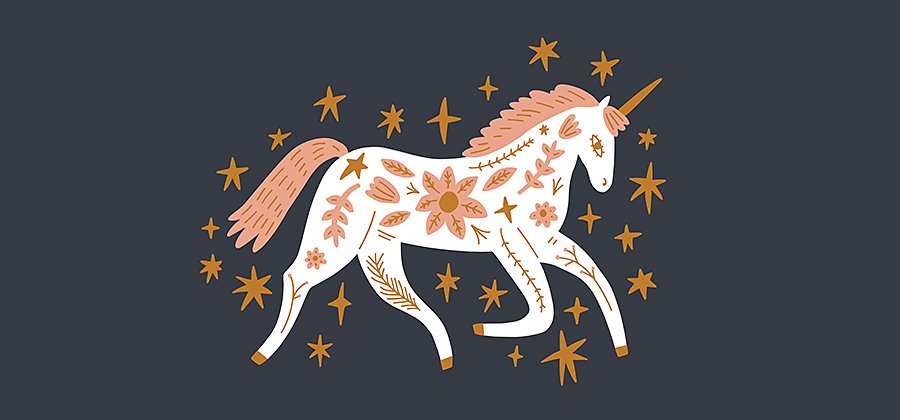
Make magic with a cute unicorn drawing.
Since ancient times, images of unicorns have been splashed across murals, paintings, and tapestries as the ultimate symbol of beauty and grace. And now, current artists are taking a cue from history’s greats to put a modern spin on the famed mythical creature. Whether you like cute cartoon unicorns or want to stay true to tradition, here are a few tips for drawing the unicorn of your dreams.
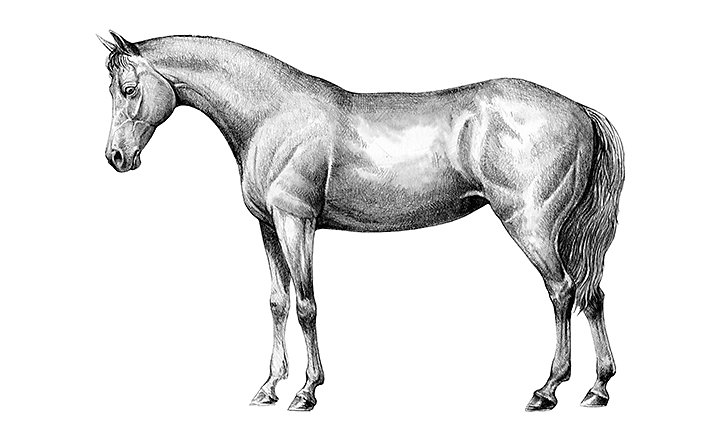
First, brush up on your horse anatomy.
As illustrator Lucas Elliott puts it, “Unicorns are just fancy horses.” So, it’s helpful to know your horse anatomy, like their bone and muscle structure and how they walk or canter. Before you pick up those colored pencils and dive into your unicorn drawing, get familiar with how to draw the head, body, and legs of a horse. Then adapt those parts into a creature that’s a bit more fantastical.
Reference other unicorn drawings.
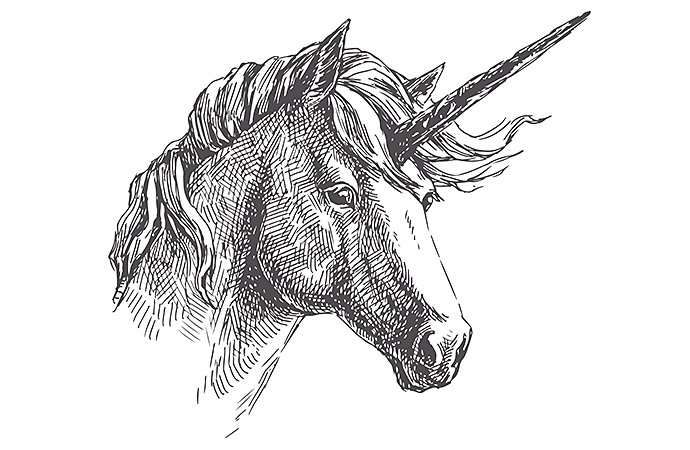
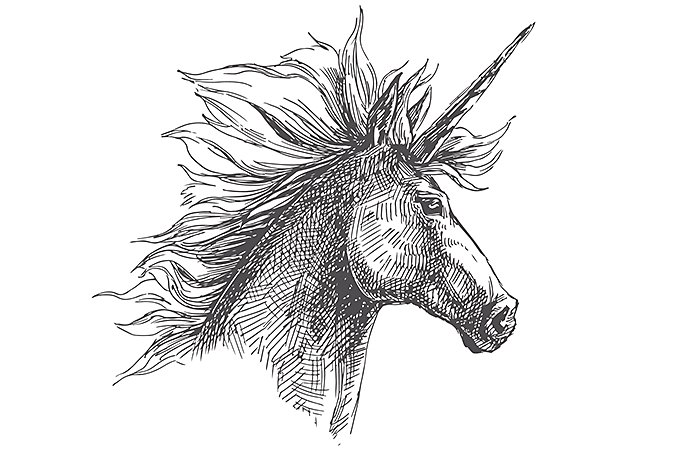
“Some novice drawers think that if you have to use a reference photo, you’re not a real artist,” says Elliott. “But I’m a professional illustrator and I do.” As for illustrator Ben House, Western-style paintings serve as the ultimate inspiration: “Studying the poses of different horses helps me a lot when I’m visualizing a unicorn. Remington’s Old American West paintings really capture the expression of their form.”
Think about the space your unicorn will inhabit.
“It’s important to step back and look at the big picture. Where is your subject going to live? That will help dictate some of the different features it will have,” says Elliott. For example, if your unicorn lives in a city, it could wear a tie and carry a briefcase. Perhaps you envisioned it in a classic medieval scene or a Lisa Frank–inspired setting? Or it could be hanging out with a panda, mermaid, and snowman. From traditional to cute chibi-style and kawaii unicorns, the opportunities for creativity are endless. Just make sure you have a plan before you start to sketch.
Follow along and draw a unicorn step by step.
Once you have the style and setting in mind, put pencil to paper or use digital drawing tools to bring your unicorn to life one simple step at a time.
Step 1: Sketch your basic shapes.
“It’s important to have a basic grasp of the shapes you’re working with as a beginner,” advises Elliott. Sketch simple circles first so you can think about where the different lines in the drawing will live.
Draw three large circles to serve as the foundation for the unicorn head and body, then move on to smaller circles to lay out the snout and legs.
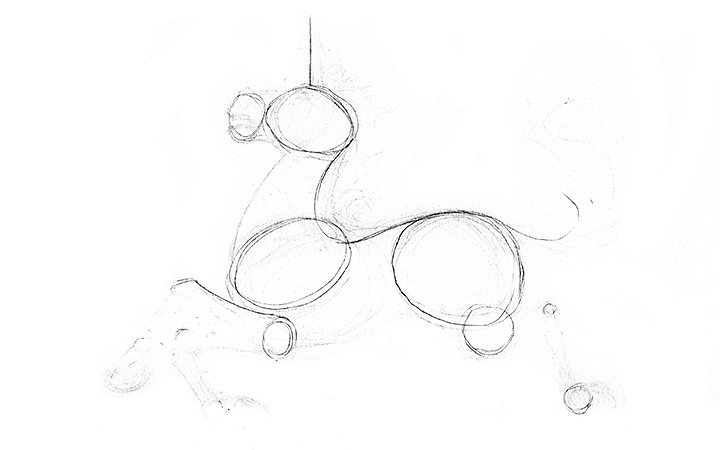
Image by Ben House
Step 2: Connect the shapes with lines.
Once you’ve sketched your basic shapes, connect them with linework. “I like to start drawing a line of action in major body mass areas like the shoulders, rear hips, and head area. That curved line indicates movement and helps unify the whole figure,” explains House.
Carve out the space along the circles you’ve drawn, but keep your curved lines loose. Then start to fill in more details, including the outline of the tail, horn, mouth, and hooves. Pro tip: Use a blue pencil first and then go over your drawing with a regular graphite pencil after. “It keeps your drawing clean from the get-go, and you can easily erase the color when you’re all done,” advises House.
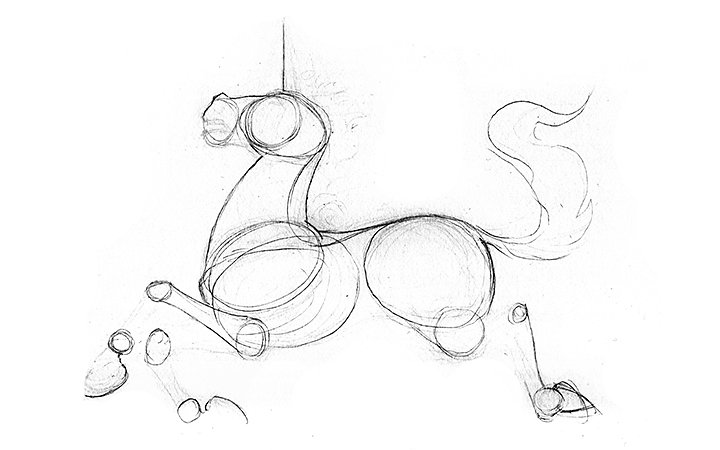
Image by Ben House
Step 3: Determine which lines are important.
At this stage in your drawing, you want to have all your basic shapes connected with lines so the form of your unicorn is solid. Not entirely happy with your linework? That’s when using digital software like Adobe Fresco is most helpful. “With its simple tools, you can redo your lines in a snap. So if you’re not happy with that final line, just hit redo and draw it again,” explains Elliott.
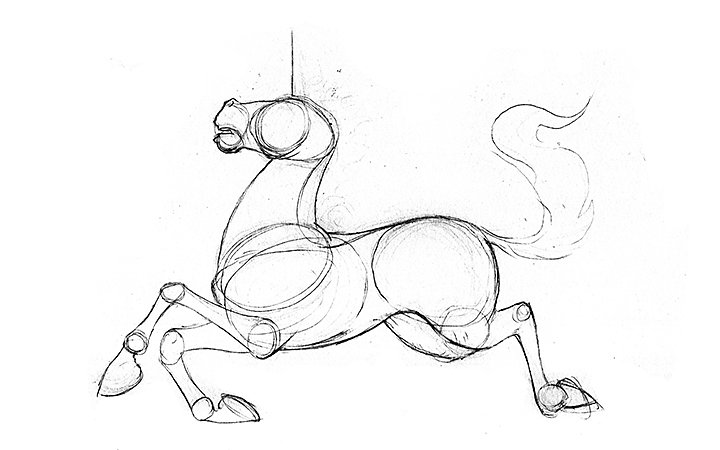
Image by Ben House
Step 4: Add some dimension.
That simple vertical line you already sketched is going to come in handy right now. This is the step where you create a unicorn’s defining feature: the horn. Add spiral details and wisps of hair to make it stand out.
Before moving on to the mouth and hind legs, take note of your line weight. “I might make the line on the underside of the belly and the legs a little bit thicker, just to give more foundation to the character itself. If you choose to make the lines on the top of the body heavier than the lines on the bottom, it might throw your form off balance,” advises Elliott. Finally, give your unicorn a more three-dimensional look by drawing teeth and outlining the hind leg that’s farthest from view.
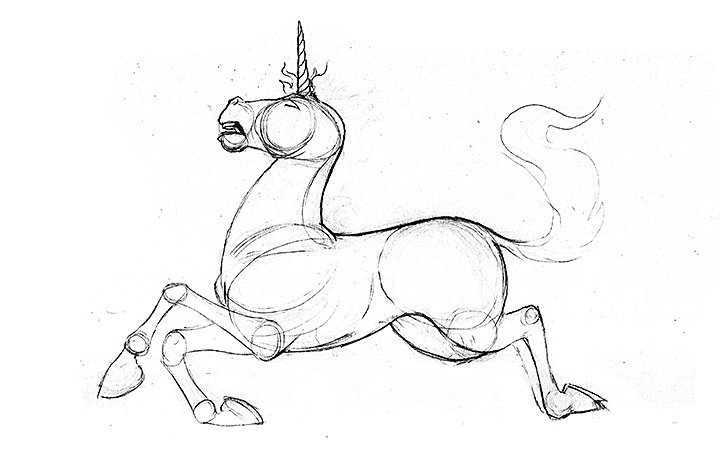
Image by Ben House
Step 5: Fill in more details.
Time to pick up your eraser and get rid of all those working lines so your unicorn looks clean. “Then you can start drawing a detailed nose and highlighting some of the larger muscular areas on the face, like the cheek,” says House.
And how about the hair? It’s part of what makes horses and unicorns so majestic. “Look at the arch of its back,” says Elliott. “Continue the flow of that line by filling out the mane. Then direct your focus to the tail and add curved lines to give it movement and depth. You should always be thinking about how the hair relates to the rest of the body.”
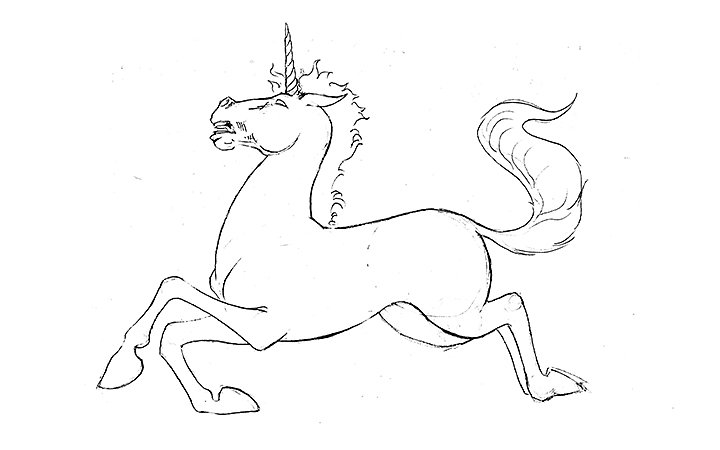
Image by Ben House
Step 6: Bring it to life with shading.
Shading is the most challenging and the most rewarding. “It’s where you get to play with the planes and valleys of the actual shape of the image,” says House. And there are a lot of ways you can go about it. “Think of going from light to dark,” explains Elliott. “If I’m using watercolor, I’ll determine where my lighter spots are and add more color to fill the opacity of them. With acrylic, I’ll work in sections of color and then add highlights on top. But with digital, I will add and remove layers as need be.” Take a cue from Elliott and learn how to work with layers in Adobe Fresco to perfect your shading process.
To keep things simple, start by adding shading to parts of the body that are the farthest away, including the back leg and under the neck. And when in doubt, House advises: “Always be thinking about how light is hitting the subject. It’s your north star for bringing balance and life to your unicorn drawing.”
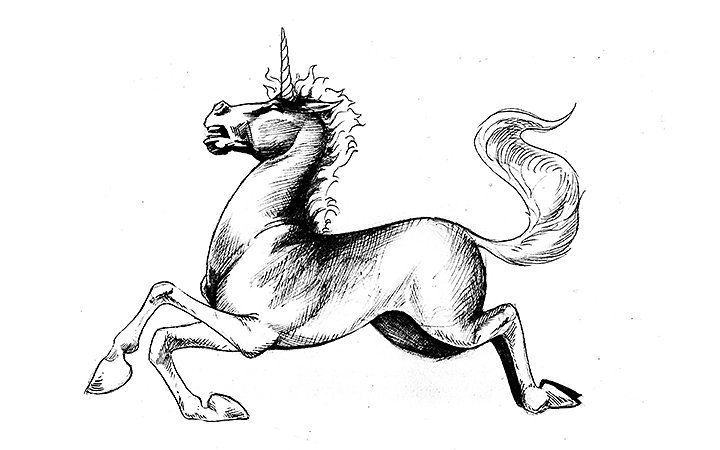
Image by Ben House
Go DIY and have fun during the process.
It’s easy to get caught up in the details of step-by-step instructions, but the key to a stunning sketch is less about perfection and more about fun. “I think a lot of people get stuck on the idea that it has to look a certain way because of what other people have done,” says Elliott. “Make it your own. Have fun with it.”
Contributors
You might also be interested in…
Working with digital pens and other digital drawing tools.
See how you can bring the freedom and convenience of digital drawing technology into your workflow.
