How to draw a shark.
From sketching your own cartoon shark to painting a realistic great white shark, dive in for tips on how to create detailed shark drawings.
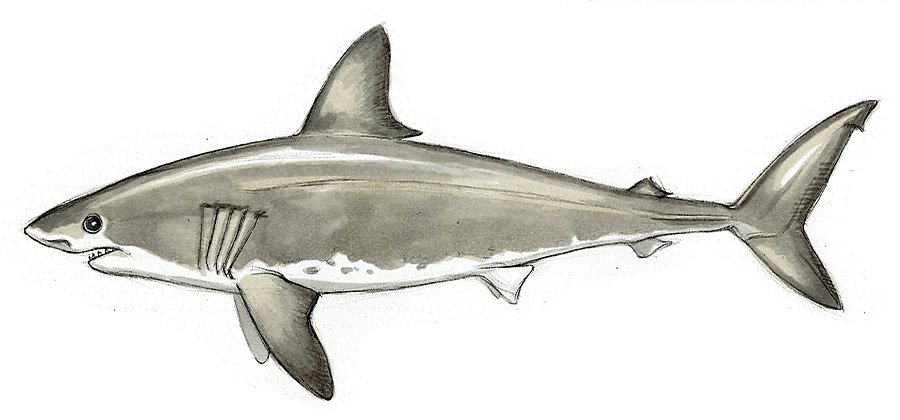
Image by Terry Whitlatch
Learn to draw sharks with this step-by-step tutorial.
Sharks are studied in great detail by biologists who spend years researching specific types of sharks. To draw one, you should approach your research and observation in a similar way. Whether your goal is drawing a whale shark, bull shark, prehistoric megalodon or even a trendy baby shark, an ocean of options is available: over 400 different species of shark to be exact. All sharks have slightly different features, so choose the type of shark you want to draw and pay attention to the details.

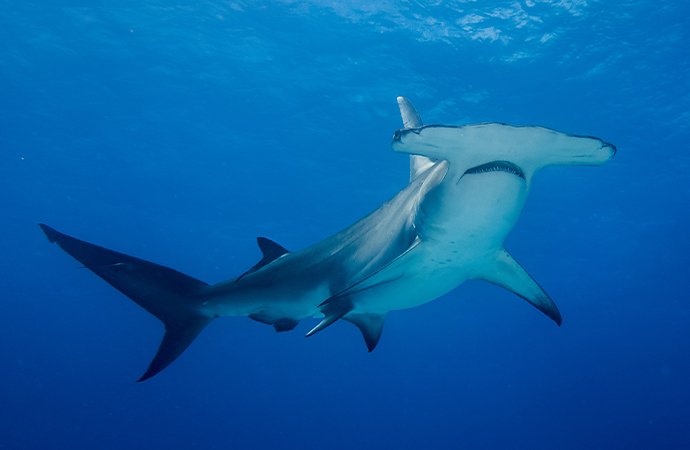
Reel in reference material.
A hammerhead shark has a very different head shape from that of a tiger shark or a great white. Studying detailed examples of your preferred species will help you to see its unique characteristics. To successfully capture distinct shapes, intricate skin details and the exact shape of those razor sharp teeth, you have to examine them closely.
With the exception of a local aquarium visit, observing these fish in person may not be a possibility. Thankfully, an endless supply of reference materials exists, like books, photos, models or even toys. You can explore thousands of reference images with resources like Adobe Stock.
Step 1: Start drawing.
Begin by drawing a rough initial sketch of the shark's body. “The body is like a spindle or a teardrop laid on its side,” says artist Terryl Whitlatch. “This goes for all sharks. The curved lines of the body create a spindle shape with one end slightly wider than the other end. The slightly wider end is the shark’s head and the narrower end is the tail.”
Sharks also have what's called a lateral line that runs from the gills to the end of the tail. It’s visible on the side of the body. “The lateral line is really important when you draw any fish,” says Whitlatch. “It’s a sensory organ that helps keep the shark oriented in the water, so it knows what's up, what's down and what’s sideways.” Add this element to your drawing to make it as realistic as possible. You can also add a thicker line in various places to give more weight to any area of the body.
When you set up a new canvas in Adobe Fresco, you can place your reference photos right next to your digital drawing and painting area. Learn how to add and work in layers, a great way to use reference images, in this step-by-step Adobe Fresco tutorial.
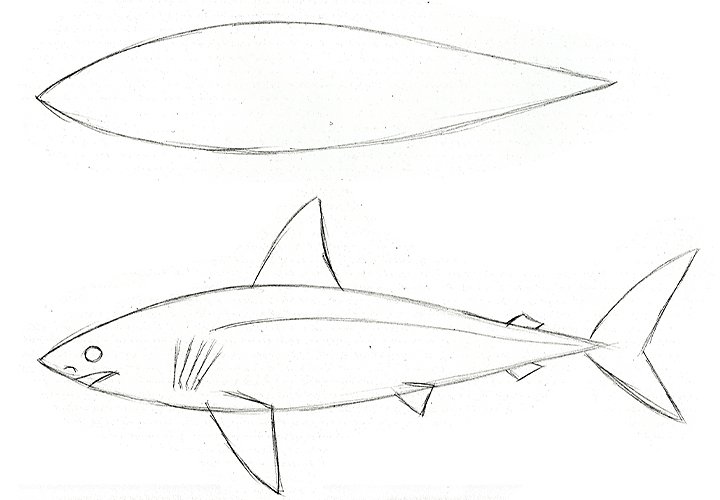
Image by Yellena James
Next, add in the details.
- The fins: Start by drawing the general triangular shape of each fin, noting that the dorsal fin, pectoral fin, pelvic fin and caudal fin (also called the tail fin) will all differ in shape and proportion. Pay particular attention to the details of the tail fin. “The fins are pretty triangular in shape,” says Whitlatch. “The interesting thing about the tail fin is that the upper lobe of the fan is usually longer than the lower lobe. That crescent shape is very characteristic of sharks.”
- The gills: Sharks have five to seven pairs of gill slits located on each side of their head. These vertical splits on the neck are an important characteristic to include. Pay attention to your reference images to ensure that you draw the proper number of gills for the breed of shark you’re drawing.
- The face: Reference your photo again and make slight adjustments to bring your shark drawing to life. Take notice of the eye placement, profile and snout. Is there a slight dip on the top of the head? What about that skinfold at the corner of the mouth or the bits of teeth peeking out? The jaw is undershot on sharks, so don’t overlook that underbite.
- The eyes: Add a pupil by drawing a simple white dot on the shark’s eye. This gives it dimension and keeps it from looking flat. If you want to colour it, use a variety of shades of grey (dark to light) to add depth and shadow. When it comes to defining the iris, Whitlatch likes to use a blue colour instead of a black shade which can make it look flat. “If you use a lighter colour, like a nice grey blue that can come through, it adds more richness.”
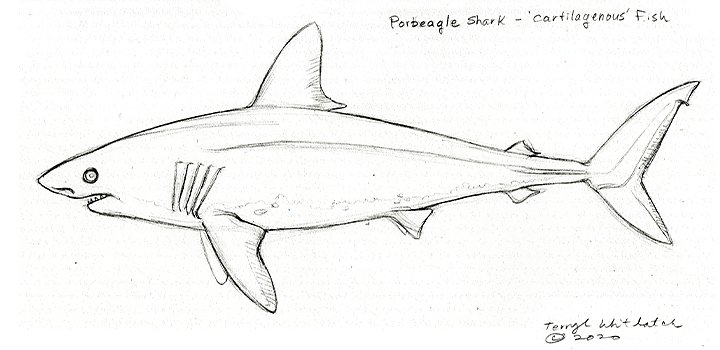
Image by Terry Whitlatch
Add some ocean-inspired colour.
Sharks, most often seen in water, will look more natural when you use colour. Cartoonist Scoot McMahon says that even a little bit of colour and shading can help to give great dimension to any scene. “Adding shadows, such as a thicker line on the dorsal fin, helps give the illusion of movement so the viewer gets the feeling that things are moving in front and behind.”
Everyone has a favourite medium and different ways of using colour. Some people like to use watercolours or markers, while others like to do it digitally by breaking out the digital brushes in Adobe Fresco. In the app, you can use the Eyedropper tool to select multiple colours at once and expand your colour swatches beyond the basics. “With the Eyedropper tool, I can easily fill the screen and play with adding gradients,” says McMahon. “I’ll pick the same colour, then darken it up and create a new layer in case I don't like how the gradient looks later.”
You can also extract colours and gradients from your reference photo to create your own customised colour palette. Then save your under-the-sea colour themes to use any time in Adobe Photoshop, Illustrator and Adobe Fresco. Nature has no perfectly smooth colours, so feel free to explore different colour textures and schemes. Just let the paint do what it will and see where it takes you.
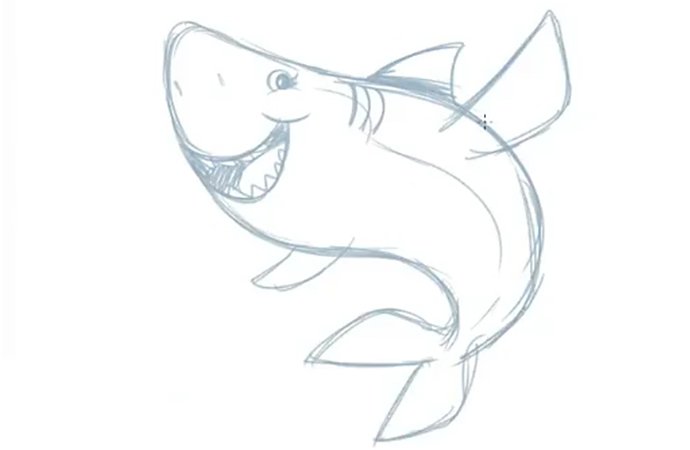
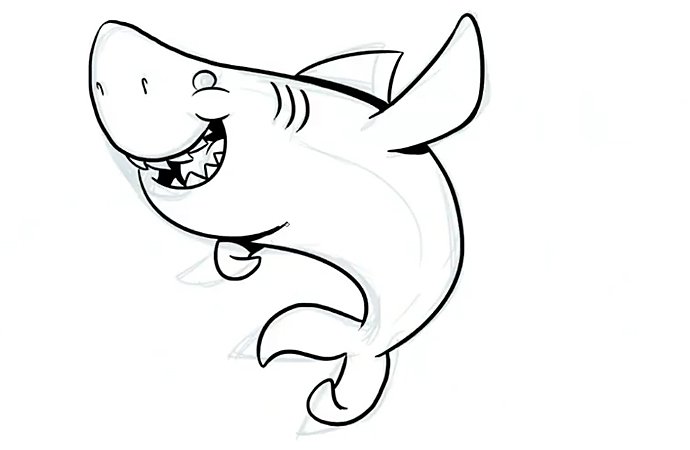
Image by Scoot McMahon
Create an underwater world.
To draw a shark in action, swimming in different undersea environments, check out photos of sharks in motion, eating, breaching or interacting with other fish. Your environment can tell a story and it can dictate how your shark will look or what it will be doing. Draw the background first or have one in mind to inform your shark drawing. This works for any type of shark illustration, cartoon to realistic or whatever you dream up.
“Because I’m drawing an underwater cartoon character, it’s fun to use brushes,” says McMahon. “Photoshop has some good pencil-like texture brushes. I use the Kyle ultimate pencil (hard) to do my sketching.”
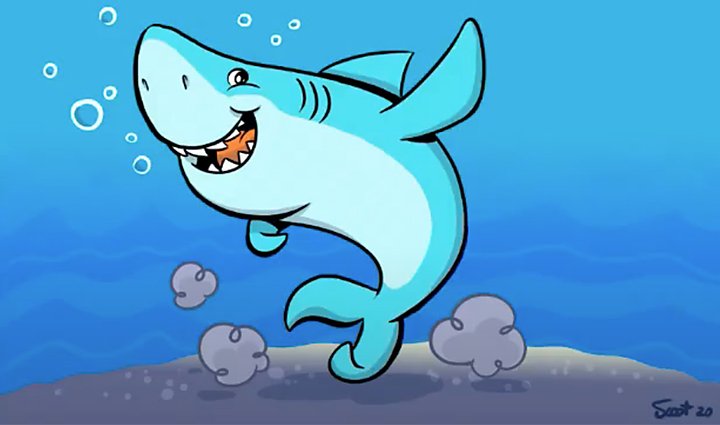
Image by Scoot McMahon
Continue to practice drawing sharks.
With one shark drawing down, you have about 399 other species to practice on. Or you can take your chosen species, continue perfecting its look and even place it in different situations, actions and environments. Once you feel good about your progress, try your hand at a land animal by drawing a horse or spread your wings and sketch a bird.
Contributors
You might also be interested in…
How to become a professional illustrator.
Get tips on portfolio creation and art presentation to help you kick off a new career.
Take your skills to the next level with drawing exercises and advice from professional illustrators.
How to draw a wolf.
Capture the wild spirit of the wolf with these drawing tips.
How to draw an eyes.
Simple tips for crafting realistic eyes can help you to get better at drawing this emotive feature.

