Create high dynamic range (HDR) photos.
Certain areas of a scene may appear darker or lighter to your camera than to your eye. Discover how, when, and why to solve this issue with the capture and merge techniques of HDR software so you can showcase every light level in your shot.
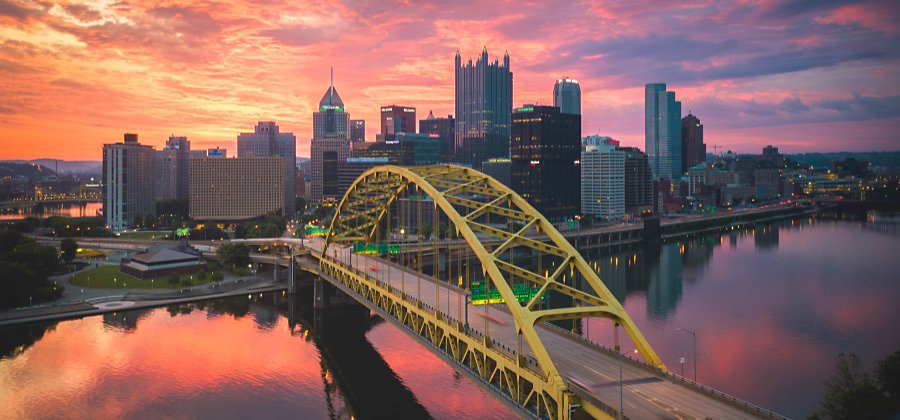
Image by Lukas Kosslow
What is HDR photography?
HDR stands for high dynamic range, and these types of images display more exposure levels than cameras can typically capture with one shot.
If you take a picture of a sunset and let the camera decide on the exposure, the foreground of the image will likely be too dark to make out. If you expose on a person in the foreground, the sky will be too bright and washed out. An HDR image of that same scene preserves both the details of the sunset and the foreground.
Why are HDR photos necessary?
Certain types of scenes require HDR image capture and HDR image editing to appear in a photo the way they do to the naked eye. Cameras capture less tonal range or different exposure levels than we can see, so working with HDR is a great way to expand what we can create.
“The human eye has about 30 stops of dynamic range it can process, while your top cameras nowadays have only anywhere between 12 and 15,” explains photographer Lukas Kosslow. While the human eye can look at a scene and adjust very quickly as it looks into the shadows and brighter areas of that dynamic range, that adjustment is not something cameras can do.
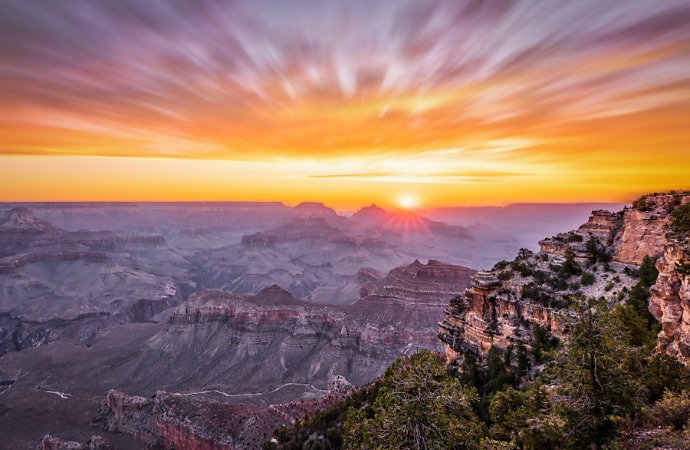
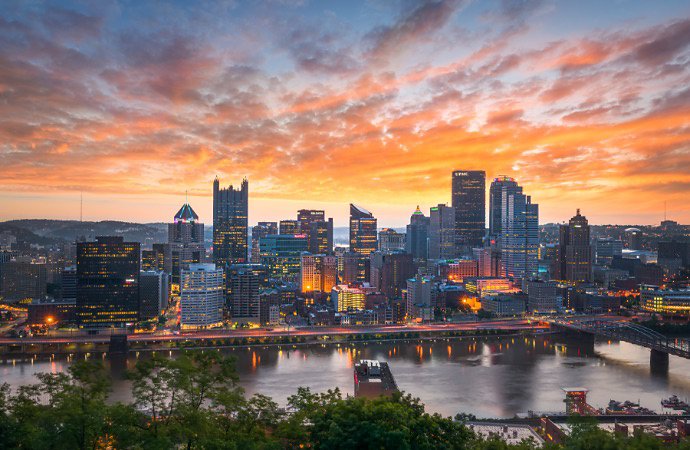
Images by Lukas Kosslow
When are HDR photos most useful?
The HDR workflow is common in landscape photography and architecture photography. The sky is often too bright to see when you take a picture of a building or a landscape on a sunny day. Similarly, when photographing the inside of a room with windows, the light coming in from the windows can blow out the photo. By photographing an exposure bracket and merging the frames, you can create a single image that shows both the interior of the room and the view outside.
How to shoot HDR images.
HDR image processing starts with a minimum of three photos of the same scene, photographed with different exposures to capture the highlights, midtone, and shadow information. You will then merge these into one final image using photo editing software, like Adobe Photoshop or Lightroom.
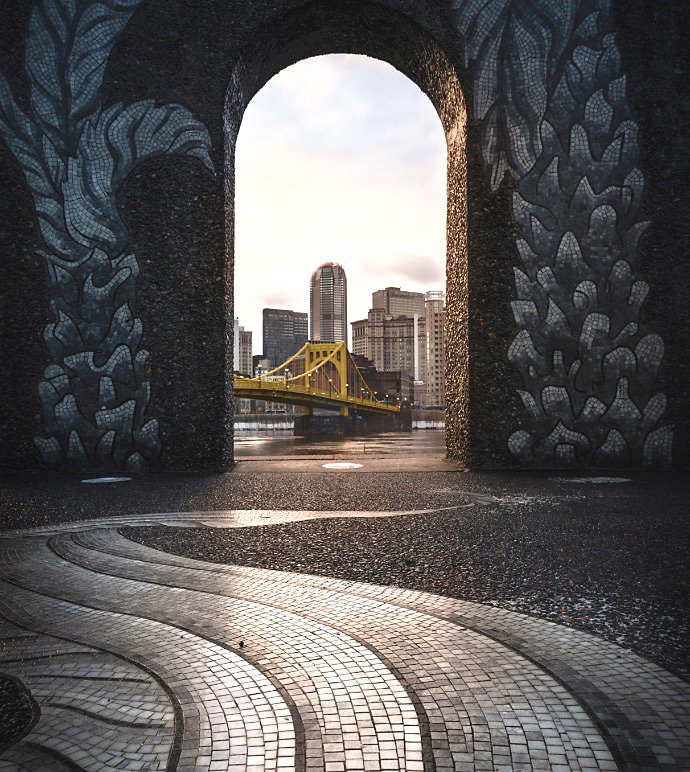
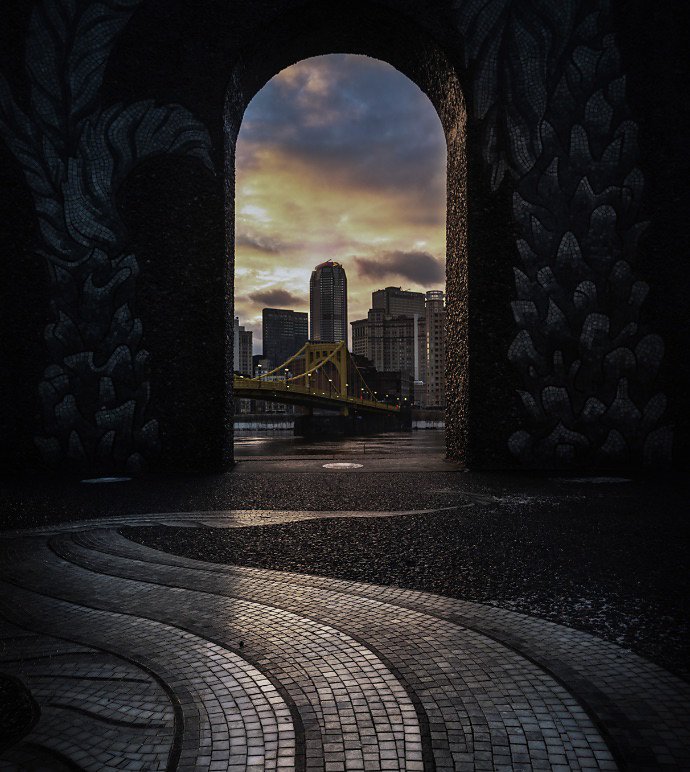
Images by Lukas Kosslow
Take HDR shots manually.
A tripod is essential to keep your camera steady and ensure image alignment. Shoot the following three types of photos, one after another in quick succession:
- Base shot: One photo of the scene with your camera adjusted to the base exposure or the midrange between the bright and dark areas.
- Darker shot: One photo with the shutter speed adjusted for the brightest areas of the scene. In this shot, you’ll capture all the details in your bright area (such as the sky), and your dark area will appear in silhouette.
- Lighter shot: One photo with the shutter speed adjusted for the darkest areas of the scene. In this shot, you’ll capture all the details in your darker area (such as the ground), and your bright area will appear blown out.
Take HDR shots automatically with bracketing.
Many cameras have a bracketing function, which you can set to take three or more shots automatically. “The camera will take a base image, then the next image (slightly underexposed), and then the next image (slightly overexposed),” explains Kosslow. “It will do all three in a row when you click the shutter button just once.”
Depending on its functionality, your camera may also allow you to choose how varied your bracketing shots are. For example, a 1.0 bracketing setting means the darker shot will have an exposure of -1.0 from the base shot, and your lighter shot will have an exposure of +1.0 from the base shot.
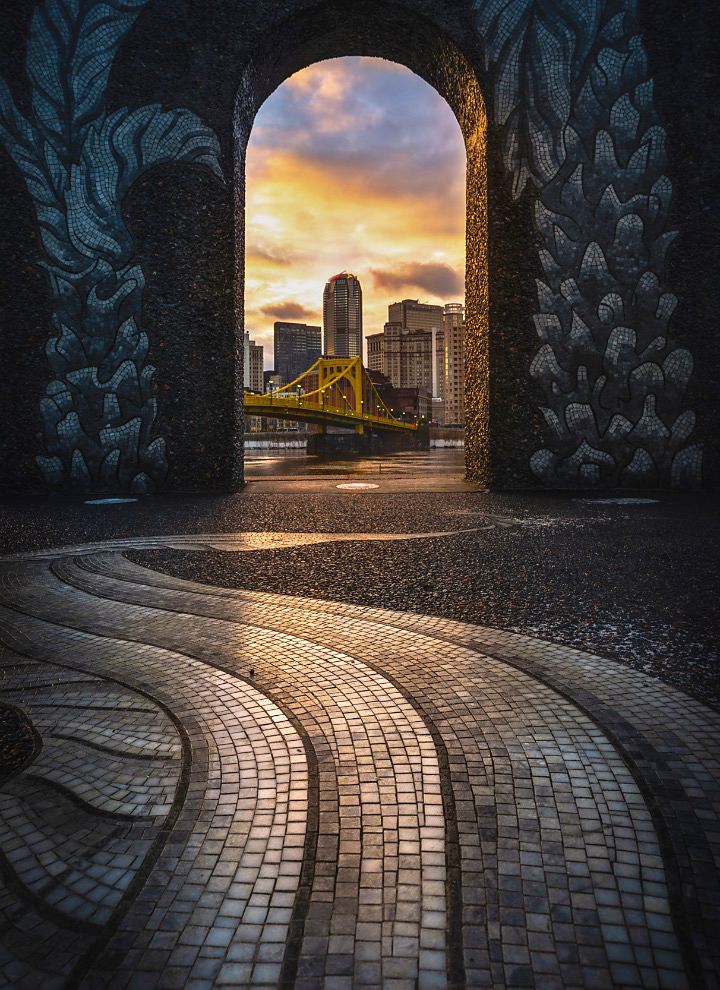
Image by Lukas Kosslow
Things to look out for.
Your main goal in achieving a high-quality HDR image is to keep everything in your three exposures as consistent as possible. This way, your photos will merge more easily into a single image. Take your shots as close together in time as possible to help with this, and keep in mind the following issues:
- Ghosting: Anything that moves in your frame between shots — like clouds or trees on a windy day — will appear blurry in your merged image. You can also mitigate camera movement by using a tripod and taking your shots quickly. But some ghosting is unavoidable and can be corrected with editing tools.
- White balance: Set your white balance manually, to avoid color shifts between shots. You can fine-tune color with Photoshop and Lightroom, but you should try to capture the most consistent original files as possible.
- Shutter speed: To control the exposure of your photos for HDR merging, shutter speed adjustments are the way to go. Leave your aperture (f-stop) the same for each shot.
- RAW files: Shoot your photos in raw mode. These files contain greater tonal information and more accurate pixel values. After editing, you can convert your image into a TIFF, JPG (or JPEG), or other format as needed.
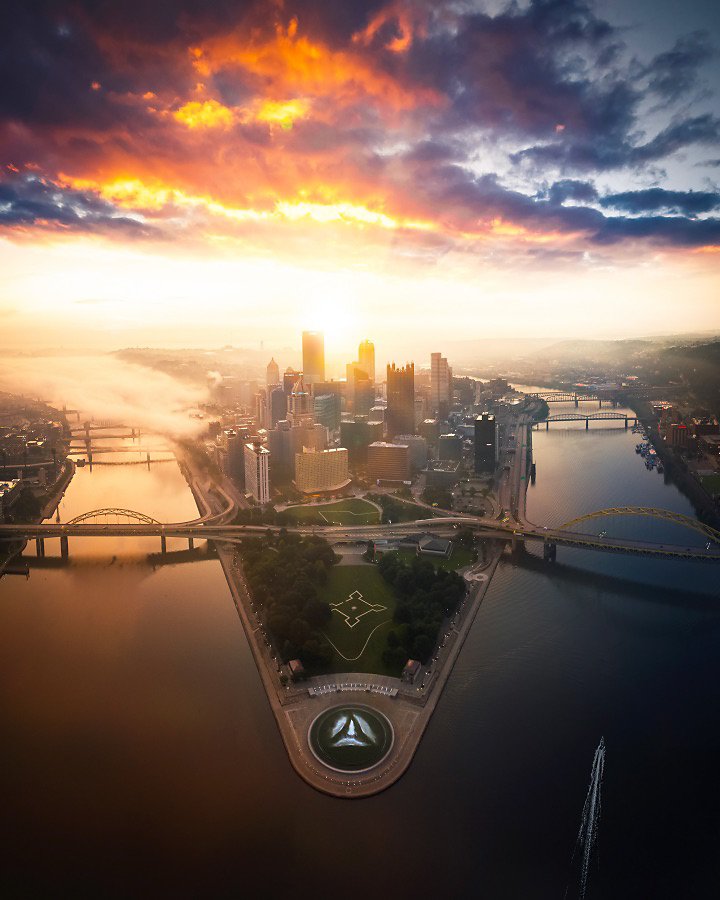
Image by Lukas Kosslow
Use Adobe Photoshop Lightroom as your HDR software.
All HDR projects require post-processing tools to combine multiple shots into a final single photo. However, standalone HDR programs or plug-ins aren’t necessary. You can find the best HDR software options for most projects right in Adobe Photoshop and Lightroom.
How to merge photos to create HDRs in Lightroom.
This quick tutorial will help you merge HDR photos in Lightroom:
1. Select your images: Select multiple exposure bracketed photos in Photo Grid, Square Grid, and Detail view.
2. Start your merge: Select Photo › Photo Merge › HDR.
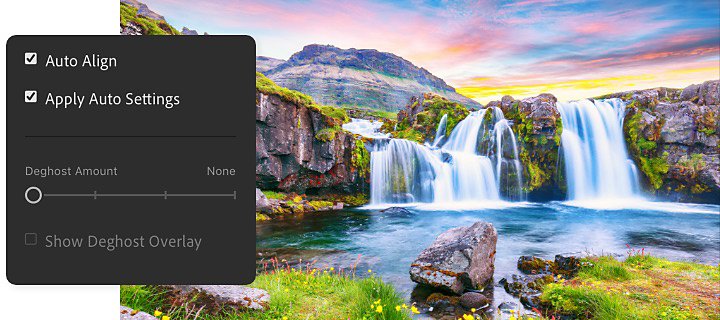
3. Adjust HDR merge settings: In the HDR merge menu you can select Auto Align, tweak Auto Settings, and adjust deghosting.
- Auto align can help easily merge images shot with a handheld camera.
- Auto settings allow you to preview and edit the effects that evenly tone images in your HDR merge.
- Deghost settings allow you to fine-tune unnaturally semitransparent parts of the photo in your merge due to movement between photos. You can select None, Low, Medium, or High to remove the necessary amount of ghosting artifacts in your image.
4. Finalize it: Click Merge and a new file of the merged image with a DNG suffix will be saved.
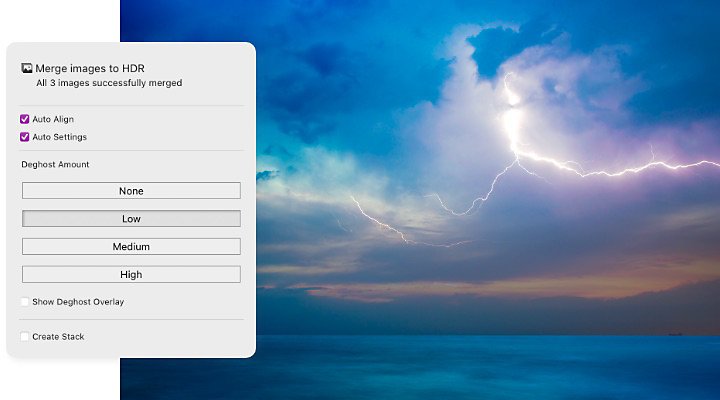
How to merge HDR photos in Lightroom Classic.
Follow the steps below to create HDR images in Lightroom Classic:
1. Import your images: Then highlight your bracketed shots in the Library panel to select them.
2. Select Photo Merge: Select Photo › Photo Merge › HDR (Shortcut Ctrl+H).
3. Check the HDR Merge Preview: Leave Auto Align checked to help with alignment. Leave Auto Tone checked to create a very good starting point. After merging you’ll be able to further refine the image.
4. Choose deghosting options: If you have blur from things that moved between frames, choose Low, Medium, or High deghosting to correct ghosting artifacts as necessary. Lightroom will find the blurry subject and render its placement from the base image only, to remove blur.
5. Click Merge: Lightroom will merge the files and create and save a DNG file.
6. Fine-tune your image: Open your new HDR image in the Develop Module to manually adjust exposure, saturation, and more.
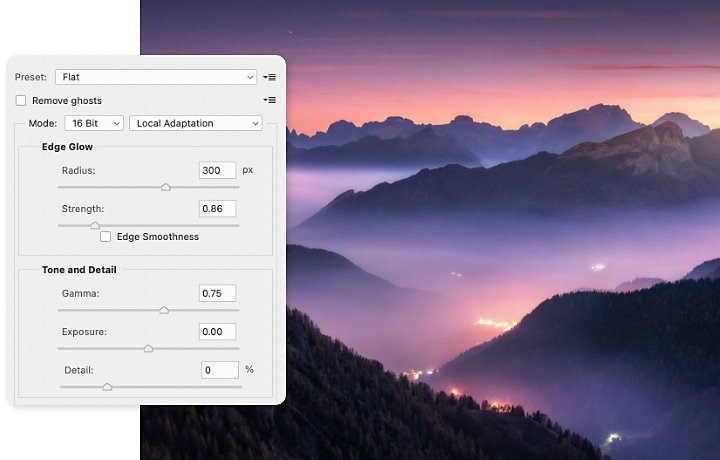
How to merge HDR photos in Photoshop.
You can also combine images into HDR with Photoshop.
1. Get started: In Photoshop, select Choose File › Automate › Merge To HDR Pro. If you want to import images from Adobe Bridge, select Tools › Photoshop › Merge To HDR Pro.
2. Adjust your merge: In the Merge To HDR Pro menu, select the images you want to merge. You can also select Attempt To Automatically Align Source Images if the images were taken without a tripod.
3. Choose your bit depth: Select 32-bit, 16-bit, or 8-bit. Note: 32-bit can store the entire dynamic range of the HDR image.
4. Adjust tones: Check a box for ghost removal, and pick an option for various methods of tone mapping. This automatically adjusts the tone of your final image in accordance with the output file size you chose.
5. Save your work: Then easily save your tone settings as presets to simplify batch processing.
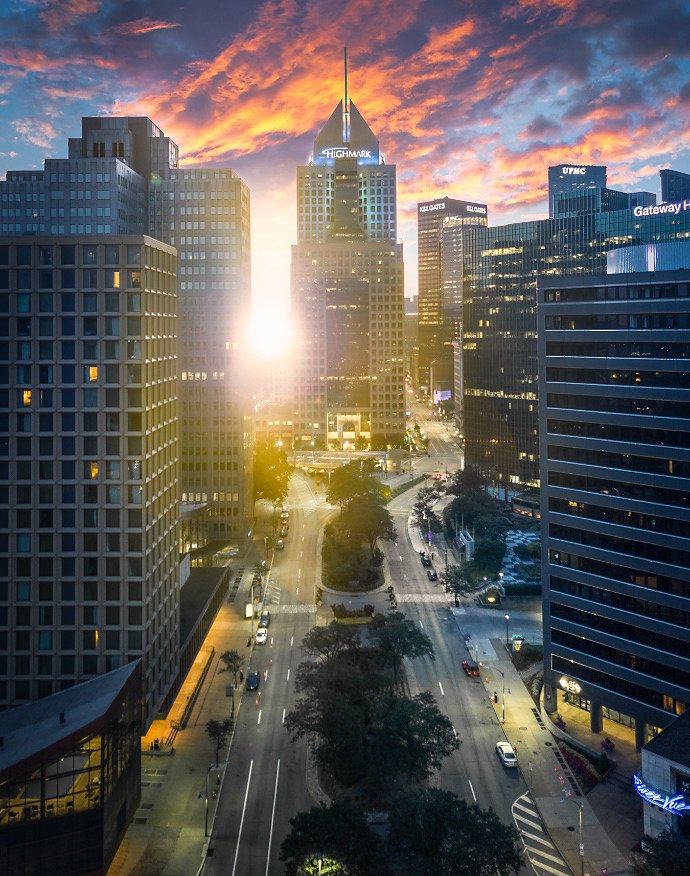
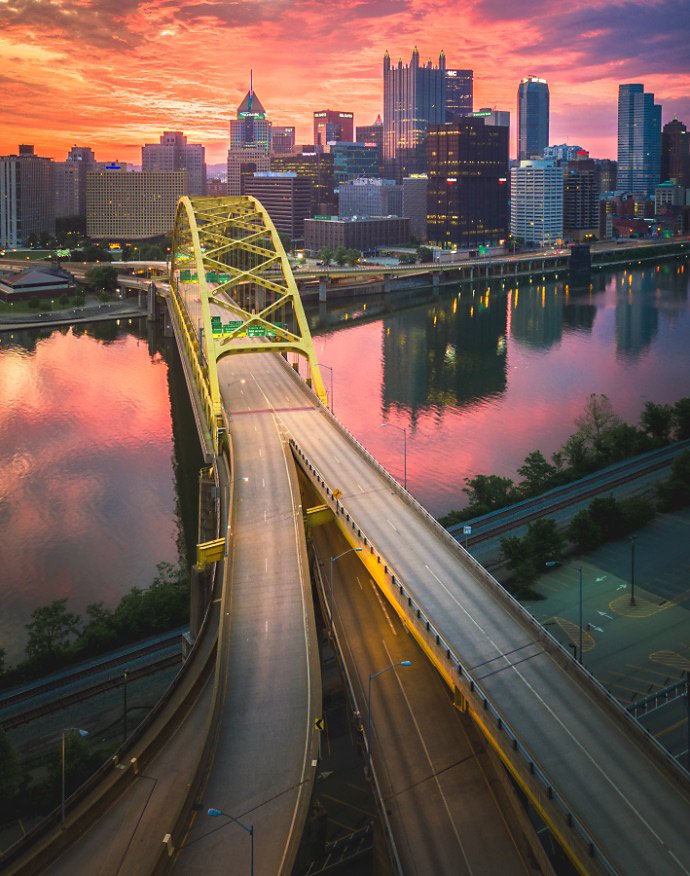
Images by Lukas Kosslow
Go further with HDR photography.
Shoot HDR photos on mobile with one click.
With Lightroom for mobile, you can capture real-time, HDR-style photos in one click. Simply launch the in-app camera from a compatible mobile device and activate HDR mode.
- In Lightroom mobile, click Library and then select the camera icon in the lower right corner.
- Press and hold to the left of the shutter button to select HDR. Now the Lightroom camera will automatically capture an exposure bracket and will align, merge, and deghost the files.
For the best results when shooting HDR on mobile, use a tripod or brace the camera to keep it extremely still.
Easily stitch together HDR panoramas.
Shoot each piece of a panoramic scene using the same exposure bracketing, and Lightroom will combine the exposure bracketed files and stitch together an HDR panorama, all in one step.
With intuitive user interfaces and a wealth of online tutorials to browse, Photoshop and Lightroom have all you need to make stunning HDR photos that truly capture the essence of a high-contrast scene. Get started today and see what you can create.
Contributor
Do more with Adobe Photoshop Lightroom.
Edit photos easily with Lightroom presets, Super Resolution, easily share photos from any device, and access your projects anywhere with cloud photo storage management.
You might also be interested in…
The basics of the DSLR camera.
Learn more about the pros and cons of this type of digital camera.
Dunia fotografi eksposur ganda.
Jelajahi fotografi eksposur ganda dan pelajari cara membuatnya sendiri.
Night Photography.
Low light doesn’t have to equal low quality with these tips for successful nighttime photos.
How to focus stack in Lightroom.
Create the sharpest images with multiple subjects in focus by focus stacking with auto-blend layers.
Paket Lightroom
Edit, kelola, simpan, dan bagikan foto dari mana saja.
Gratis selama 7 hari, selanjutnya Termasuk PPN.
Fotografi
Dapatkan Lightroom, Lightroom Classic, Photoshop, dan penyimpanan cloud sebesar 20 GB. 7 hari gratis, selanjutnya Termasuk PPN
Semua Aplikasi
Dapatkan seluruh 20+ aplikasi kreatif desktop dan seluler
Gratis selama 7 hari, selanjutnya Rp868.686/bulan.
All Apps
Get all 20+ creative desktop and mobile apps.
7 days free, then Termasuk PPN


