Bird photography for beginners.
Digital cameras have made great bird photos possible for everyone. Build your skills with these bird photography tips from expert wildlife photographers.
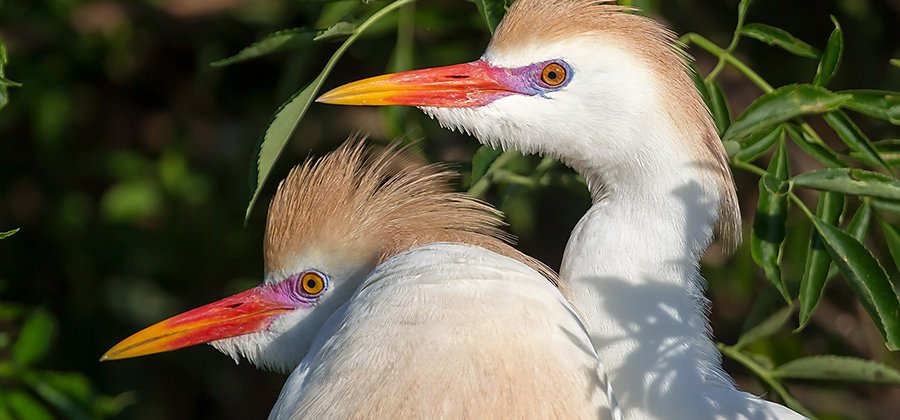
Photo by Joseph Filer
Learn to photograph living dinosaurs.
Early in the 20th century, birding (the practice of observing wild birds) grew in popularity. Early cameras were slow and cumbersome, so good photos of live birds were harder to get than other nature photography subjects. Most birders were just watchers of bird behavior. Even with the introduction of autofocus in the 1980s, the cost of telephoto lenses and film made bird photography too expensive for most budding nature photographers.
These days, most digital cameras have fast and accurate autofocus systems and shutter speeds of less than a thousandth of a second. That speed, paired with the greater ISO capabilities, means more bird photographers can capture sharp images of birds in motion. Add burst mode (taking several photos in quick succession) and freedom from expensive film costs, and you can take hundreds of free photos in your quest for that one perfect shot.
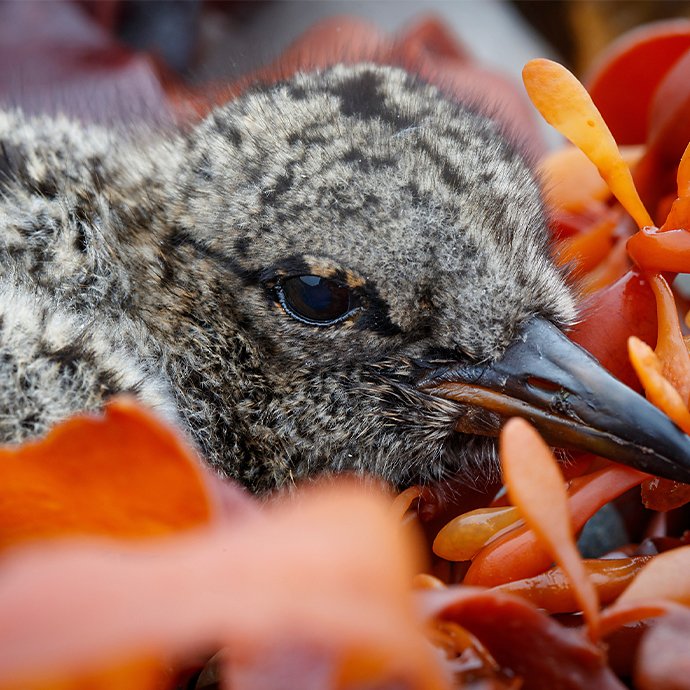
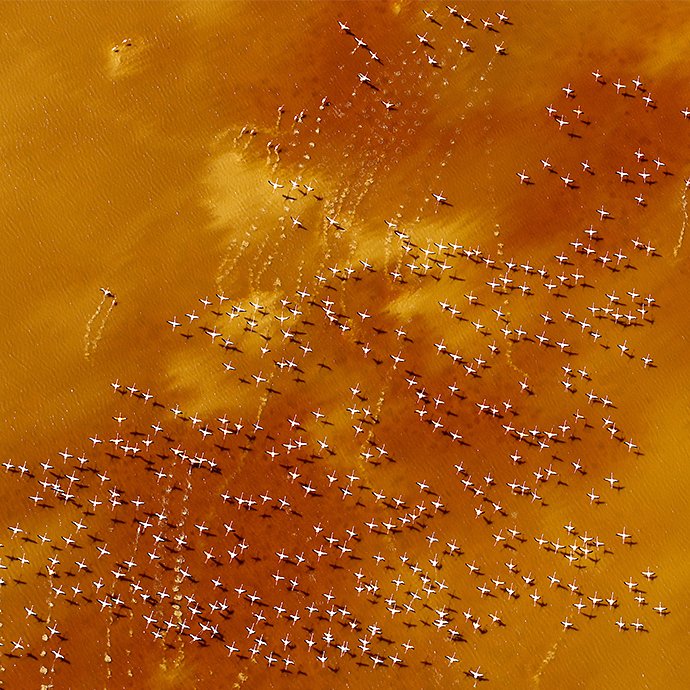
Photos by Gerrit Vyn
Equipment matters.
It’s possible to get quality shots of birds on any digital camera, but these are what professionals recommend for the best results.
Cameras
Your camera body can be DSLR or mirrorless, but it must be able to achieve a shutter speed of 1/2000 of a second or faster. At that speed, you might even be able to capture a hummingbird’s wings without motion blur.
Just as important is focus acquisition — the speed at which the motors in your camera and lens focus on your subject. The faster you can take multiple pictures, the more likely you are to get one that captures your subject the way you want. It helps to have a camera with a burst mode that can shoot six to nine frames per second (FPS) and that has a big enough buffer to handle large bursts before the camera has to pause shooting.
Lenses
Long lenses can be expensive and heavy, but in order to get crisp, close-up photos, you need a long focal length. You can increase your focal length with a teleconverter, a secondary lens mounted between the camera body and another lens.
For his bird photos, wildlife and landscape photographer Joseph Filer uses a DSLR camera with an 800mm lens. Photographer Gerrit Vyn says you need both long focal length and close proximity to the bird. “To get a full-frame hawk from 60 feet away, you need a 500mm lens and a 1.4x teleconverter,” Vyn notes. “To get a warbler that’s five or six inches long, you need to be 15 feet away from it.”
ISO
The ISO setting determines the amount of light your camera sensor takes in. For portraiture (photos of birds standing still), you can use a lower ISO setting, like ISO 400, and slow down your shutter speed to capture as much detail as possible. For birds in motion, you can go up to ISO 800 or more, high enough to receive a lot of light in a tiny fraction of a second. “If I’m waiting for behavior, I’m at a higher ISO and faster shutter speed, prepared for that moment,” says Vyn.
Aperture
Aperture describes the opening in the lens that allows light to pass through to the camera’s sensor, measured in f-stops. (Remember, the lower the f-stop number, the larger the opening.) Aperture priority mode is a camera setting (A or Av on the camera dial) that you can use to set the aperture manually, and your camera will automatically select the optimal shutter speed to match it. If the camera senses too much light, it will increase the shutter speed.
Tripod
If you want photographs of birds perched, sitting in nests, or standing in water, you can get better photos with a tripod. The extra steadiness allows you to slow the shutter speed and increase depth of field. “It’s more fun not to use the tripod and move around,” Filer says, “but if it’s a portrait you want, then it makes sense.”
If you want to capture flying birds or birds moving quickly on the ground, camera stabilization is key, but a tripod may be too unwieldy. With a lighter 200–500mm telephoto zoom lens and a fast shutter speed, you may be able to get good photos without the tripod.
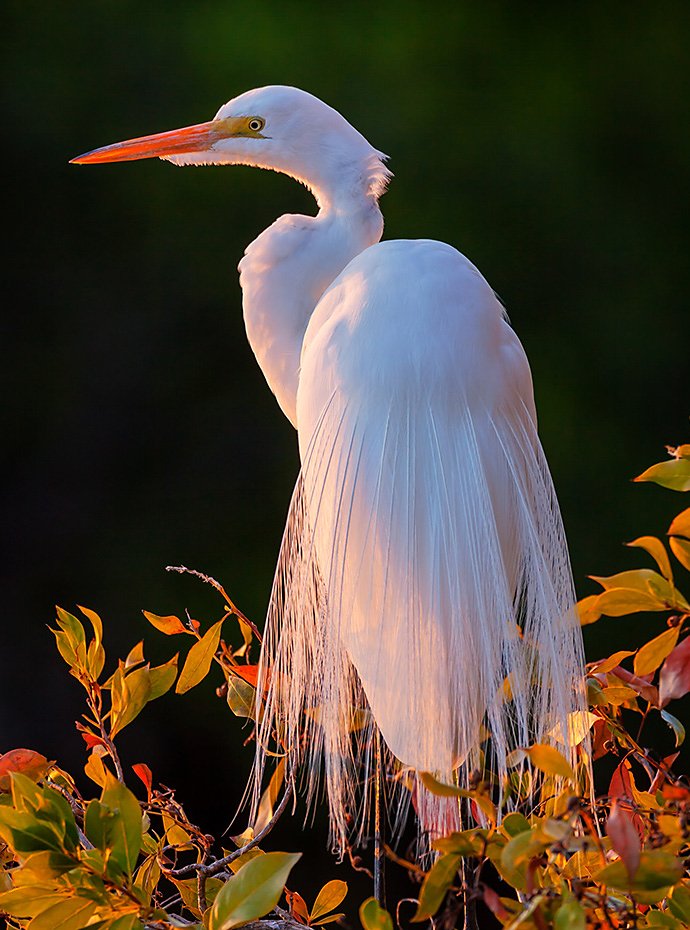
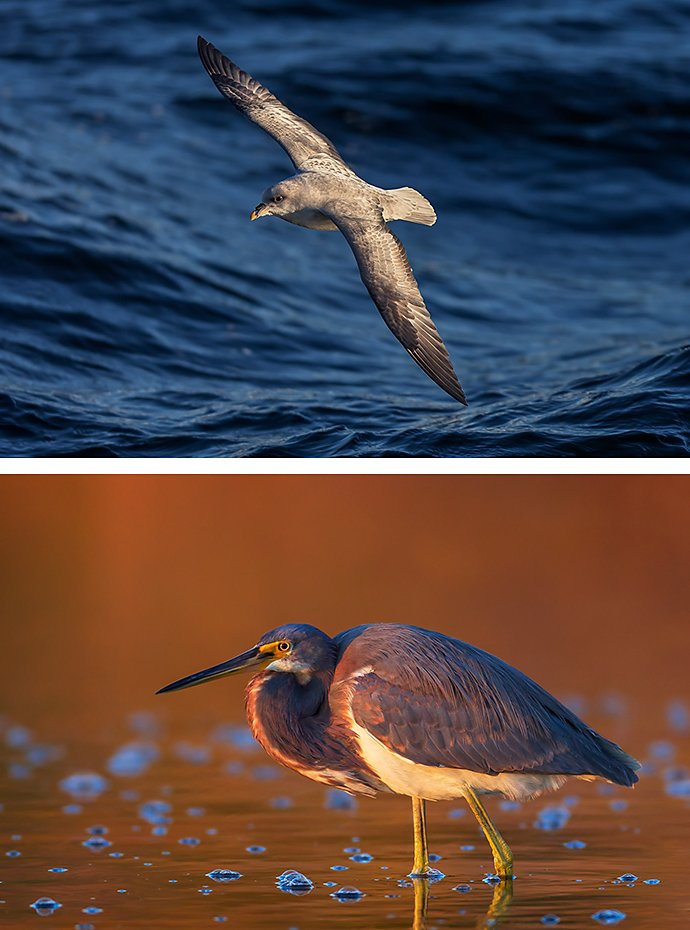
Photos by Joseph Filer
Tips from the field.
For the best image quality, consider the following advice before you dive into a bird photoshoot.
Plan ahead.
Whether common birds or rare species are your goal, research the birds you hope to photograph. You can find affordable field guides that will tell you where to find the birds and when they’re most colorful for mating season. Then scout your location. “I haven’t had many trips where I was shooting landscapes and then said, ‘Oh, there’s an animal, I’ll go shoot it,’” says Filer. “It just doesn’t work that way. You have to target.”
Filer recommends starting at beaches or wildlife refuges or taking a photography workshop that has photography blinds set up for you. Blinds are tents or more permanent structures that shield the photographer from the animal’s view.
Adapt to the bird’s habitat.
How you set up depends on the birds you want to shoot and how tolerant they are of human proximity. “If you want to photograph a marsh wren, you can sit in the cattails, and they’ll eventually perch somewhere close to you,” Vyn says.
For backyard birds, you might set up bird feeders near some natural perches and wait in a blind for the birds to perch. For ducks, you can sit at the edge of a pond in a blind or other form of camouflage, and then wait. “It all depends on the habitat, species, and time of year, so the comprehensive knowledge of bird life exponentially improves your ability to find birds, get close, and get the images you’re imagining,” Vyn says.
Go early or late.
Don’t shoot in the middle of the day. “You’ve got to be out there early morning or late afternoon with those low soft sun angles,” Filer says. If you try to photograph a white bird in the middle of the day, there won’t be enough contrast between the bird’s feathers and the sky.
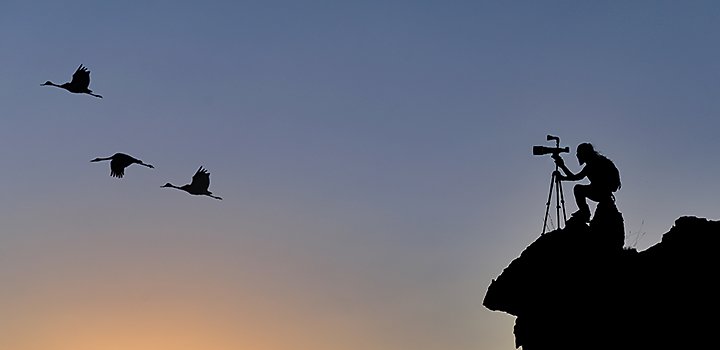
Shoot photos at the bird’s eye level.
You won’t get great images pointing down at birds from above or shooting at them from far below. “You’ve got to be lying on your belly if they’re in a pond or on the ground, and not shooting too far up at a bird in a tree,” Vyn says.
Shoot in RAW mode.
“There is so much more detail and variance in tones in RAW than in JPEG,” Filer says. “You’re just dealing with more data, and the more data you have in that photo for gradients and tones and colors, the better off you’ll be.”
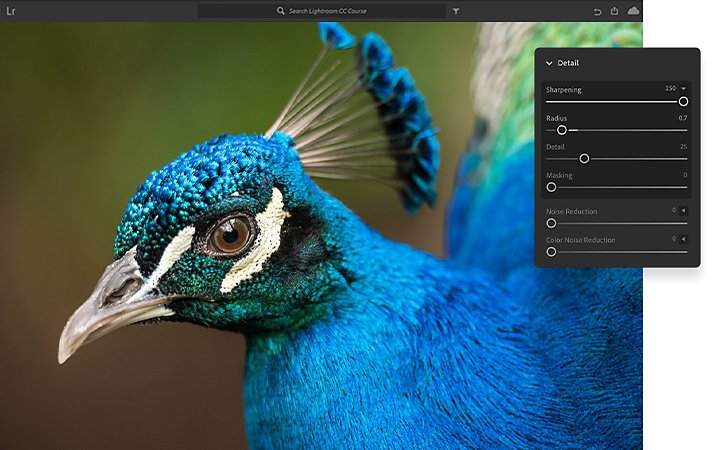
Edit in Adobe Photoshop Lightroom.
Elevate your bird pictures in Lightroom. With tutorials on everything from how to sharpen your photos to ways to edit photos using gradients, it’s easy to pick up new skills.
For his photo processing, Filer uses the Lightroom RAW converter and works in 32-bit mode to make his edits. Vyn uses Photoshop Lightroom for image editing, but he also uses it for the metadata. He includes names of the bird species, the location, and time the photo was captured. “Lightroom is definitely the go-to software,” Vyn agrees. “All the functions for keywording and captioning make it so much easier.”
Think of it all as practice.
The more photos you take, the better you’ll get. “You’re going to experiment and you’re going to mess up, and you’ll learn,” Filer says. “Pretty much everything I shot in the early years is gone, replaced by things that are better. But that’s part of the fun: just trying to get better.”
Contributors
Do more with Adobe Photoshop Lightroom.
Edit photos easily with Lightroom presets, Super Resolution, easily share photos from any device, and access your projects anywhere with cloud photo storage management.
You might also be interested in…
Building a great landscape photo.
Explore ways to artistically capture scenic views with tips on landscape photography.
Discover the ins and outs of capturing stunning images of the night sky.
Journey to a new world and make small subjects larger than life with macro photography tips.
An introduction to documentary photography.
Document major events and capture of everyday life in a mixture of fine art and photojournalism.


