illustrator
How to draw people of all shapes and sizes.
Get to know the human form and improve your figure-drawing skills with a step-by-step drawing tutorial.
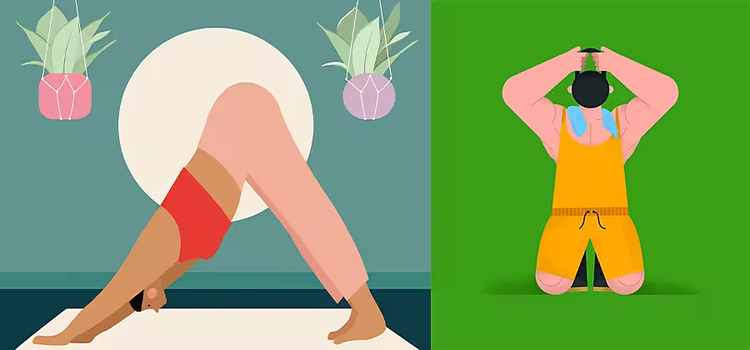
The basics of drawing people realistically.
To draw a human figure well, you have to understand proportion, gesture, and human anatomy. “Gesture is most important,” says artist Jonathan Dockery, “but we have to start with proportion.”
Proportion
The proportions of human bodies vary widely, but these basic rules can help you keep body parts to scale. “The basic proportion of the average person is seven heads tall,” Dockery says. If you draw a front view of a standing person and you start with the head, you can measure out the full length of the body as seven of those head lengths. The underside of the pectoralis major, or the chest muscles, is about two heads down. The third head down lines up with the belly button, and the fourth lines up with the bottom of the pelvis.
If you return your attention to the head, you can begin to sketch the facial features. The eyes tend to be slightly above the midpoint, and the tip of the nose ends halfway between the eyes and the chin. The distance from the nose to the top of the head is the same as the distance from the nose down to the top of the rib cage. “Remember that this varies from person to person,” Dockery says. “Observation is more important than using a system, and you don’t want everybody you draw to look the exact same.”
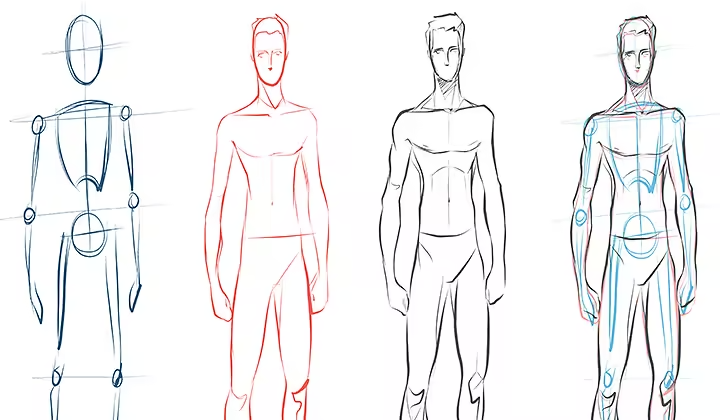
From the top of the head, you can measure five heads down in a straight line, and start the knees a bit below that. The calves or the shins should be about midway through the sixth head down. Finally, the feet will end at the bottom of that seventh head length. “For the feet, it’s often helpful to think about them as general triangle shapes,” Dockery says.
Go back up to the top of the rib cage, build out collarbones like bicycle handlebars. The arms grow out of those. “In general,” Dockery says, “the wrist is going to line up with the pelvic bone, and the hand will build out underneath that.”
Draw the neck as a cylinder. If you draw a side view, remember that the neck leans forward a little from the rib cage, and the ear begins halfway between the forehead and the back of the head.
Gesture
“Gesture equals the rhythm of the body,” Dockery says. The angle of the hips, arching of the back, and positioning of the limbs can breathe life into a drawing of a person. Once you’ve located those three main masses of the head, rib cage, and pelvis, you have the basic structure of the upper body. But, Dockery says, “we need to start by finding the rhythmic relationship between the first two masses, the head and rib cage.”
Find the top of the rib cage at the pit of the neck, and follow a line down the sternum, past the center of the stomach and right to the top of the legs. You can use the collarbones to show the angle of the upper body and direct the overall shape of the rib cage. From there you can then find the angle of the final mass, the pelvis.
Once you’ve established how these forms relate to one another, you can plan the legs. For Dockery, detail is far less important than gesture. “Gesture is where the life of the pose is found or lost,” he says. “It’s the story behind the pose. And the point of drawing is to tell some kind of a story, even if it’s just the story of an emotion or a passion or an experience.”
Anatomy
Knowledge of human anatomy can help you build realistic muscle onto the skeleton of your drawing. Study your subject, reference photos, or even diagrams of the human body to help you get the musculature correct. “In general,” Dockery says, “the shoulders of broader, more muscular people will extend about one head’s width out.” Narrower shoulders might go about half a head’s width out, but it’s important to observe your subject and trust your eyes.
Step-by-step digital drawing tips.
Put your understanding of body proportions, gesture, and anatomy to use in a digital drawing app like Adobe Fresco. Artist Eli Johnson offers some basic instructions on how to approach your figure drawing.

Image by Eli Johnson
01. On the canvas size of your choice, create a new layer, and start with a simple sketch using only the basic brushes. “Get in the habit of naming your layers as soon as you start drawing or things will get very confusing very quickly,” Johnson says.

Image by Eli Johnson
02. Lower the opacity of the first layer, and make another layer for a secondary sketch. “It’s always good to go over your options, because a good pose can make or break your image. If it doesn’t catch your eye from the jump, don’t settle on it,” Johnson says. For his sketch, Johnson initially went with long, flowing hair to convey a nice sense of motion, but he decided to switch it up and give his subject “a nice, puffy Afro that can bounce in the wind.” He also adjusted the arm position to give the Afro more space.

Image by Eli Johnson
03. Work on the most important element of any figure drawing: the face. “It’s always good to play with your options. And your art is whatever you make it, so make it interesting.” Johnson says. ”Once you lock into a look you want, that informs a lot of the design and personality down the line.”

Image by Eli Johnson
04. Once you’re satisfied with the face, make a new layer on top, rename it, and add clothing and other details.
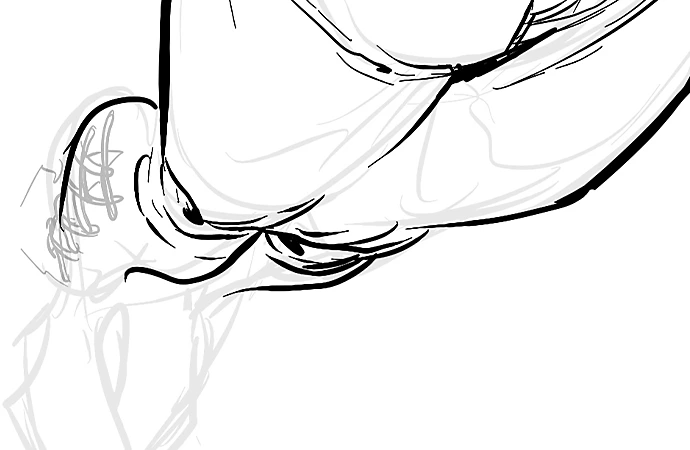
Images by Eli Johnson
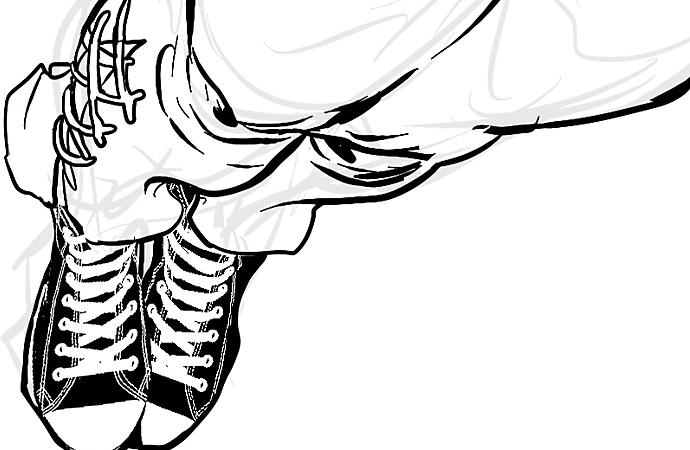
05. For tricky elements like shoe laces, Johnson recommends adding another new layer. “This way we can figure out a good design and keep our previous layers nice and clean. Drop the opacity and always sketch over your main layer to add decorations that realistically wrap around and fit on your characters,” he adds. With separate layers, you can change elements without affecting other aspects of the drawing.

Image by Eli Johnson
06. Next, you can add color. “People have different coloring styles,” Johnson says, “but I prefer working from dark to light — start with a base color and work up to the highlights.”

Image by Eli Johnson
07. One of the advantages of digital drawing is that you can play with backgrounds without affecting your subject. For more tips, watch a tutorial on how to work with layer groups in Fresco.
Whatever your first attempts at drawing people look like, just keep practicing. Draw with a live model to capture the characteristics and facial expressions that make that person unique. Remember to focus on gesture and movement, and try to tell a story with each drawing you create.
