Make slideshows out of photos with a video editor.
Use video makers from Adobe to turn images into a video file. Blend still shots with video clips or show off your latest snapshots with panning movement, transitions, and sound.
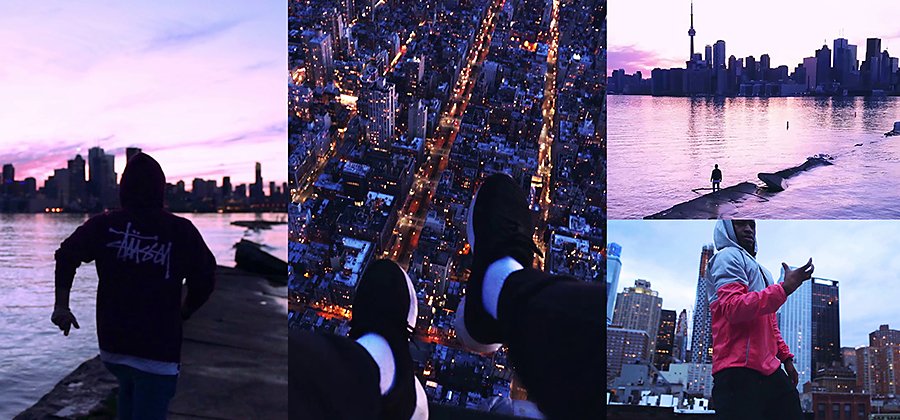
Easily convert images into customizable video slideshows.
Videos are a great way to show off a series of photos. Use Adobe Premiere Rush to easily transform a series of images into a slideshow-style video on any device. Turn to Adobe Premiere Pro to make more nuanced edits of large batches of photos in a video format. Or use either app to add still images on top of or alongside your motion clips for captivating multimedia projects.

Create slideshows quickly on any device.
Premiere Rush is the best video slideshow maker for when you’re on the go. This editing tool is available in the app store and can be used on iPhones, Android devices, or desktop computers. Export an unlimited number of watermark-free MP4 video projects on mobile or three projects on desktop for free before you upgrade.
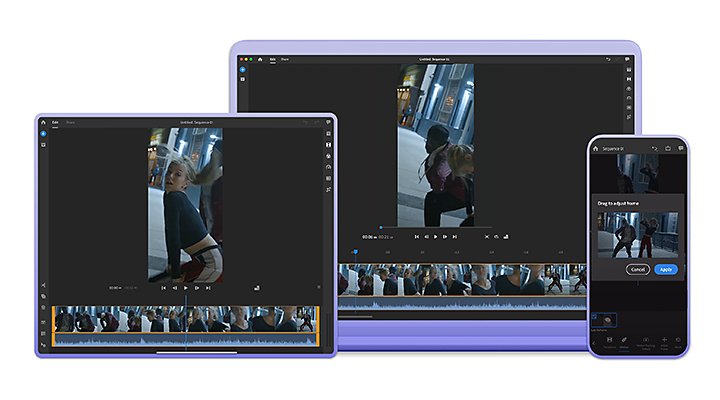
How to make a photo slideshow in Premiere Rush:

Create a new project and tap Add Media to choose photos from your device.

Drag your photos onto the timeline to reorder them. Hold then stretch the outer edge of each still to increase the time it stays on screen.

To resize each image within the video frame, highlight the clip and then tap and drag the edges in the playback window. Or click Transform › Fill (to fill the frame) or Fit (to fit the frame).

Default panning and zooming should be automatically applied to most images. Select one image at a time and go to Effects › Motion › Pan and Zoom to customize where panning and zooming starts and ends on each image.

Once finished, select all your clips with the arrow-plus icon on the bottom right, then tap Effects › Transitions to choose a transition to apply between each photo.

Click the blue Plus sign to add sound to your video, like a song from your library or a voice-over you can record right within the app.

Save and export to share your new video online or send it to friends.
Adjust duration and effects one image at a time.
In the Effects panel, you can apply in-app presets to adjust the look of your shots. You can change the look or duration of only one image at a time. If you like the look of your images and are happy with the default two-second duration, Premiere Rush is a great tool.
However, if you need more control over the effects on your images or want to adjust the look and duration of large batches of photos all at once, you can do so in Premiere Pro for desktop.

Get more control with precise desktop edits.
With Premiere Rush, you get a fast way to apply default Pan and Zoom to each image, but with Premiere Pro, you get more precise controls around how your images are animated, plus more ways to add effects and duration changes to a large batch at once.
Premiere Pro has all the advanced video tools a professional moviemaker could want. You can import still images that are PNG, TIFF, JPG (JPEG), or PSD files, just as you would import video files. And transitions work similarly to the way they do in Premiere Rush: If you highlight multiple clips before you add a transition, it will apply to each one.
Adjust the duration of multiple images at once.
The default amount of time a photo shows on screen in a Premiere Pro project is five seconds. To change the default, go to Preferences › Timeline and adjust the Still Image Default Duration. Adjust this before you import images, so they will each be set at your desired duration.
Add effects and presets to multiple images at once.
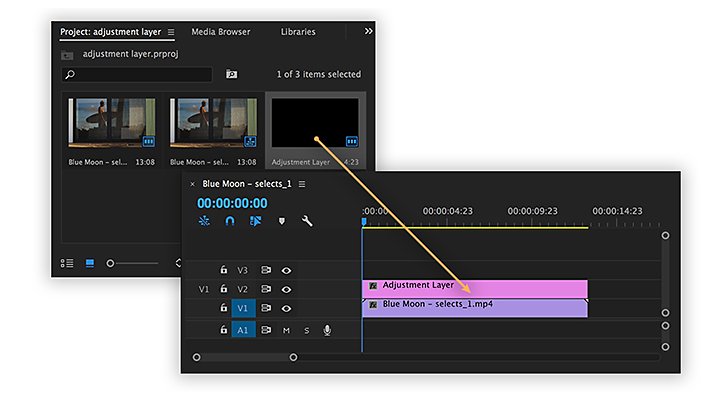
You can apply visual adjustments to many images at once in a few different ways: Adjust one image and save it as a preset to apply to multiple clips, nest your images together so they act as one clip (after other adjustments like transitions are done), or add an adjustment layer to your timeline that spans the entire length of your project.
Add keyframes to change properties of each photo over time.
Keyframes are an advanced animation tool, which you can use in place of automatic panning and zooming adjustments in order to specify how each image will change as it sits on screen. Keyframes can be applied for several different properties, such as scale, opacity, position, rotation, and other visual effects.
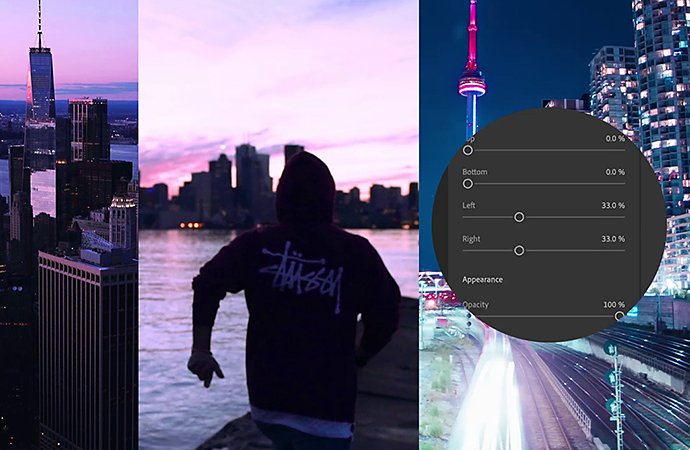
Add photos alongside or on top of motion footage.
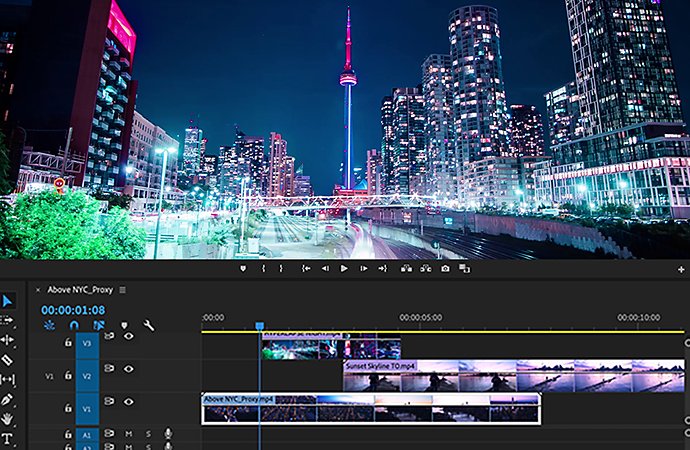
If your goal is to layer still images and video together for a visually interesting motion piece, you can achieve that with either Premiere Rush or Premiere Pro. Simply follow the same steps as you would to overlay multiple videos.
When you drag still image clips or video clips onto different video tracks on the same point within the timeline, they will appear on top of one another in the frame. Simply tap Transform and adjust their size and position within the playback window frame to reveal whichever images you like at a given time.
However you choose to showcase your photos, Premiere Rush and Premiere Pro have all the tools you need to create something all your own.
Do more with Adobe Premiere Pro.
Make visually stunning videos virtually anywhere — for film, TV, and web.
You might also be interested in…
Share your smarts with educational videos.
Learn how to make educational videos to help beginners tackle new skills.
Delight friends with custom birthday videos.
Craft one-of-a-kind video messages for your loved ones using Adobe Premiere Rush.
How to create a YouTube video.
Make better videos by learning best practices from professional videographers and content creators.
How to start a YouTube channel.
Stand out from the crowd and find success for your videos with these tips.
Get Adobe Premiere Pro
Create flawless productions with the industry-leading video editing software.
7 days free, then €27,08/mo.


