Introduction to video editing.
Turning raw footage into engaging content in post-production is no easy feat. Learn basic editing philosophy and practical tips for both the big and small screen.

The principles of video editing.
The human brain constantly seeks narrative. If you create a montage (a sequence of different images), your audience will infer a relationship between the images. In the 1910s, Soviet filmmaker Lev Kuleshov demonstrated this phenomenon by juxtaposing the image of a man with three other, alternating images: a bowl of soup, a child in a coffin, and a woman on a divan. Kuleshov’s audience thought the man’s expression changed with each juxtaposition — first hungry, then sad, then romantic — but the footage of the man was always the same. “The Kuleshov Effect,” as it came to be known, demonstrates the power an editor can wield.
Murch’s Rule of Six.
Oscar-winning editor Walter Murch, known for Apocalypse Now and The English Patient, came up with six rules for cutting film. When you begin editing, consider each of the following (in descending order of importance):
1. Emotion: How do you want the audience to feel?
2. Story: Are you advancing the story in a meaningful way?
3. Rhythm: Does your timing feel right?
4. Eye trace: Where is the viewer’s focus on the screen? It shouldn’t have to travel too far from one shot to the next.
5. 2D plane of screen: Can the audience keep track of the spatial orientation of the on-screen characters and objects?
6. 3D space: Is the cut true to established spatial relationships?
Note: Experienced filmmakers learn these rules and then learn when and how to successfully break them.

Practical tips to help you edit videos.
1. Organize your footage.
Whatever video-editing software you use, whether you’re on a Mac or a Windows machine, organization is the key to success. “If you don't set up your project and your media in an organized way, it will kill you in the long run,” says feature film editor Maurissa Horwitz. Be sure to label video files, audio files, and even still images clearly and keep them on the same drive for easy access.
2. Watch everything.
This is the first step in the editing process. Writer and filmmaker David Andrew Stoler says there’s gold to be found in the unlikeliest of places: “Watch every single thing from the beginning to the end, because you never know. Even after the director calls for a cut, you want to watch everything. Some of the most beautiful expressions you’re going to get from the actors are after the cut.”
3. Assemble, then make a rough cut.
Drag and drop all of your video footage into a timeline and make sure your frame size and frame rates are consistent. Begin a new timeline and drag and drop the best takes into what will become your assembly cut. Then copy that timeline and begin to make the hard choices, choosing your best video clips to form a rough cut — a loose version of the story you want to tell. (Remember to frequently save your work in the cloud and on a hard drive, and to note the date and time of each version.)
4. Refine.
This is where your rough cut starts to resemble a cohesive work. Adjust the sound and color, make sure the dialogue is audible, and add music, titles, or graphics in this phase.
5. Refine some more.
Pacing can make or break a film. A slow scene can ratchet up tension or bore the audience to tears. A fast scene can raise the audience’s heart rates or just give them headaches. Some editors cut scenes several different ways before they find the right pacing, so don’t be disheartened if you have to recut a few times. Remember that a drama can be slower, lingering on the characters — their expressions and body language — but if you’re making a comedy, speed is especially important.
Once you’ve got a final cut that you’re happy with, you can focus on finalizing sound, color, and special effects.

Editing for social media.
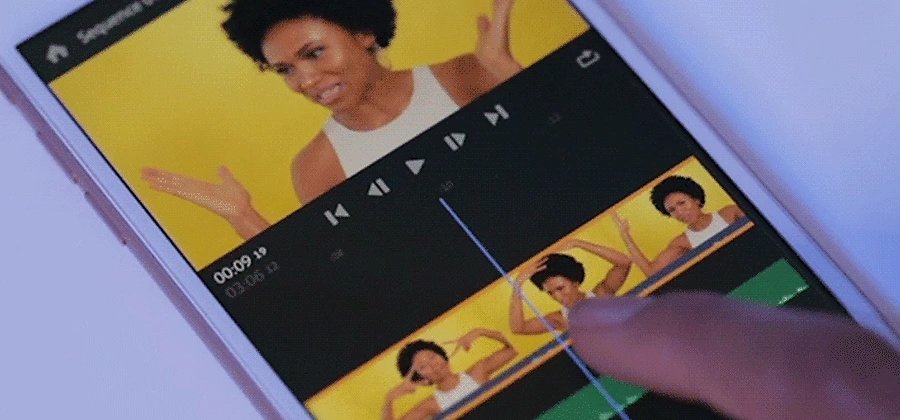
All the rules of editing video apply to social media. If you’re editing and sharing Facebook, Instagram, or YouTube videos, keep in mind the screen size of a typical smartphone and the shortened attention span of someone looking at their phone.
Don’t waste time. You’ve got only about two or three seconds to hook your viewer. “Movement is really helpful. If you’re doing a 30-second sizzle (a short promotional video) for a music video, it should have fast cuts and interesting transitions,” audio and video editor Lo Boutillette says. It’s important to show some highlights but not give everything away — you want people to click to see more.

“These have to be fast, bright, and they don’t need to make any sense at all. Don’t sit anywhere for too long,” agrees Stoler, who has edited teasers and sizzle reels for social media. He suggests getting right to the punchline. Don’t even bother with the setup and don’t linger on the reaction.
Whatever the project, take your time while you edit video. When you get stuck or you find you’ve lost all perspective, show your work to someone you trust. What will keep the audience interested? How will you reward them for the time they’re giving you? No matter the audience, they'll respond to cuts that move the story forward and make logical and emotional sense.
Contributors
Do more with Adobe Premiere Pro.
Create and edit video from anywhere—phone, tablet, and desktop. Edit and share for social your professional-looking videos.
You might also be interested in…
Learn how to create a shot list that guides the crew through all of the day’s camera setups.
Establishing shots are crucial because they tell us where, and often when, the action is happening.
Lossy or lossless? Compressed or uncompressed? Find the audio format that fits your needs.
Learn about the dynamic range of your camera and how to manipulate it to create the images you want.


