Photography
Bend light and color with prism photography.
See how you can enliven portraits, landscapes, and wedding photography with a glass prism and a bit of rainbow light.
Photography
See how you can enliven portraits, landscapes, and wedding photography with a glass prism and a bit of rainbow light.
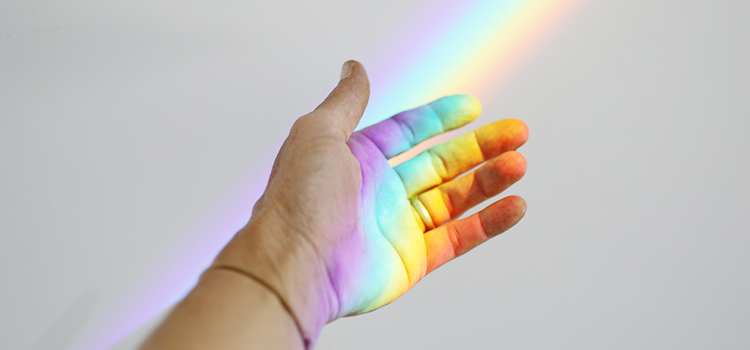
Prism photography is a technique that uses a prism to bend, refract, or scatter light on a subject. A portrait, an album cover, or a wedding photo might be amplified by a bit of rainbow light floating in the foreground. Or a subject could appear to be at the center of a kaleidoscope or in a psychedelic dreamscape. All of these effects come from prisms made from pieces of glass, plastic, or other material. “It’s an in-camera effect that allows you to create organic, real-life distortions and flare,” says photographer Sam Hurd.

Prisms refract light. White light is made of a variety of colors: red, orange, yellow, green, blue, indigo, and violet are all present in every ray of sunlight. When mixed together, these colors appear to be white. A prism bends that white light and can turn it into colored light.
Like a filter, if you place a prism between your camera lens and your subject, you can capture some of the distortions and rainbow light that a prism creates in your photos.

A good prism photograph still has to be a good photograph. For the best prism photography results, do everything you’d normally do to set up a good portrait, headshot, or wedding photoshoot. “I never start with the prism right out of the gate,” says Hurd. “I always make sure the subjects are in a good light. All of the fundamentals that make a good portrait need to be the foundation.”
The amount of light that enters your camera is critical to achieve good results with a prism. You want to focus on close-proximity subjects while using a lens that’s made for nearby subjects. “It really helps to have a prime lens with a shallow depth of field. I don’t really recommend it with a zoom lens,” says Hurd. “Any focal length is fine. The aperture is the most critical part of it.” Aperture is the opening in the camera that determines how much light hits your camera sensor. This can be adjusted in your camera settings. Hurd recommends using an aperture of at least 2.8, which lets in a fair amount of light.
Work with a manual focus to get the most out of prism effects. This will allow you to quickly adjust the relation of your lens to the prism, your subject, and the light.
While prism photography thrives on sunlight, direct overhead light, like outdoors at noon, is not optimal for prism effects. “Shooting in direct light is very different with a prism,” says photographer Stephanie DeFranco. “It’s very, very harsh. My advice is to find something like fairy lights or a flashlight and shoot toward it to see what effect it makes.”

Once the prism is in front of your camera lens, adjust the focus so that you can see clearly through the prism. Move the prism to create rainbows and other effects. There’s no one position or specific photography technique for achieving a given prism effect. It’s trial and error. Every prisming session is different, and you can learn how to achieve your desired outcomes through practice. It will help you build the intuitive sense of how your tools interact. “Don’t expect everything to happen instantly,” says DeFranco. “It takes practice. Learn when you see certain light works best for it.”
Keep in mind that you should avoid aiming focused sunlight from your prism at your subject’s face. Don’t spoil the magic by making them squint in pain.
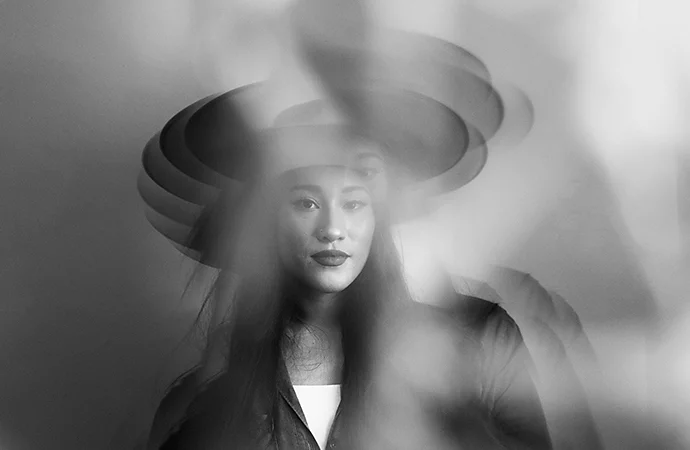
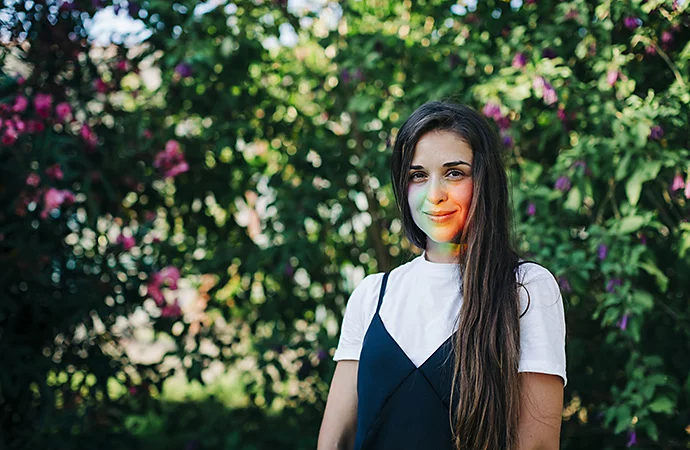
A variety of prisms are available for prisming photography, but the most common tool is a small, six-inch triangular prism that you can easily hold in one hand in front of the lens. Prisms like this are easy to come by. Camera shops tend to have them and other tools for prisming, and they are easy to find in science shops or online via retailers like Amazon.
“Use a prism that’s long enough that you don’t get your own fingers in the shot,” says Hurd. Remember, the prism must be big enough that its edges aren’t in the frame.
Triangular prisms aren’t the only things that create rainbow light, though. Anything that refracts light can potentially be a tool for filling a scene with color. Plastic water bottles are cheap and easy to come by, and ordinary panes of glass or bits of clear plastic can also scatter light to make a rainbow.
“You can put virtually anything in front of the camera to create some kind of effect,” says DeFranco. “If you place the bottom of your smartphone on the bottom of your lens you can create a cool little reflection effect,” says DeFranco.
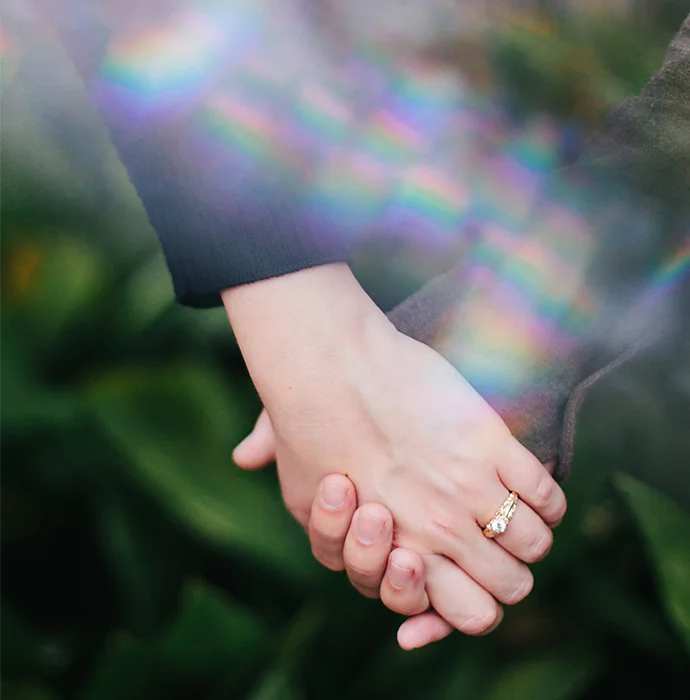
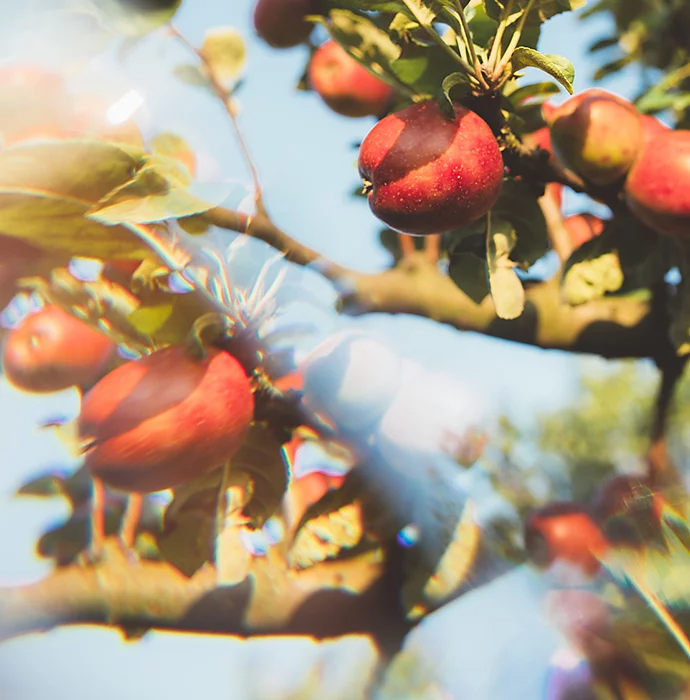
Once you are familiar with the basics of prism photography, you’ll find it an easy, quick way to add creative effects to your work. Portrait and wedding photographers often need to create unique and memorable images for their clients. Rainbows and psychedelic light can become one more effect to offer clients. They might help you stand out as a photographer who has mastered creating magic with light. Plus, a six-inch prism can be a small, inexpensive addition to your repertoire and your camera bag.
It’s also possible to add rainbow effects and other flourishes in Adobe Photoshop, and with practice, any photographer can add and amplify effects both in front of the camera and in post-production.
Contributors
Based on your location, we think you may prefer the United States website, where you'll get regional content, offerings, and pricing.