Photography
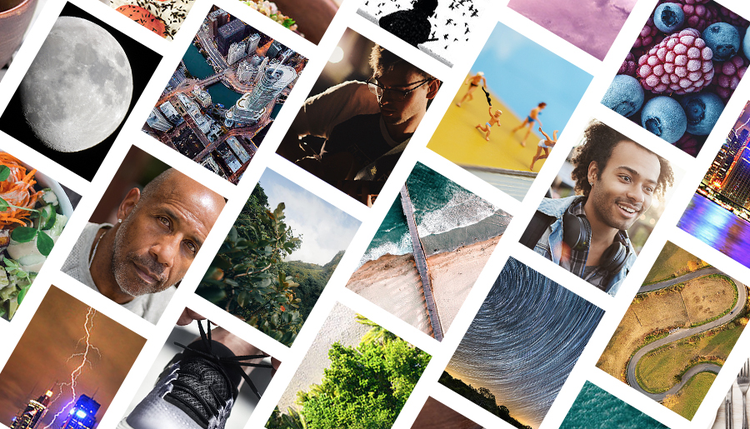
28 types of photography styles.
From portraiture to photojournalism to product photography, there are a vast number of genres you can pursue. Learn about your options before you select a style to focus on.
Which kind of photography is right for you?
Whatever you’re interested in, be it people, animals, nature, food, or fashion, there’s a type of photography geared around that specific subject matter. Everything under the sun, literally, is something you can photograph. And the sheer volume of options can be overwhelming. Discover your path with this list of genres open to hobbyists and professional photographers alike.
Photograph the natural world.
If plants, animals, or the outdoors interest you, these types of photography might be right for you.
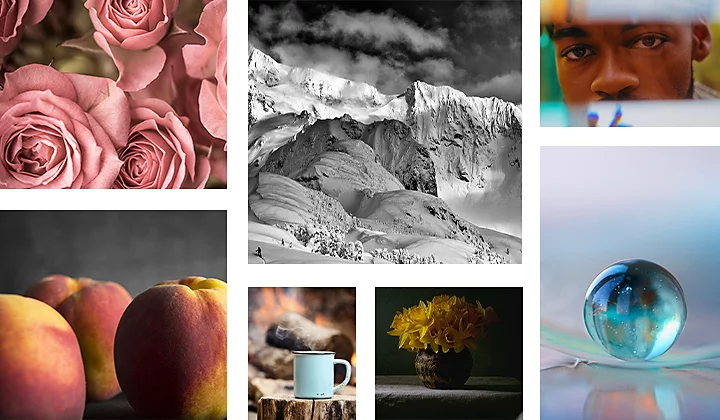
Nature photography: Get tips for capturing the great outdoors and wildlife photography. With weather to work around and lighting you can’t always control, it’s important to plan ahead and bring the right gear, whether your aim is photos of mountains, trees, or deer.
Landscape photography: Learn more about the timing, lighting, and technical challenges of capturing beautiful vistas, dense forests, or vast deserts. Get tips from landscape photographers on the necessity of a tripod and which lenses and shutter speeds are best.
Astrophotography: For those who find themselves staring into the night sky in wonder, astrophotography (a form of long exposure photography) is a good photography genre to explore. With tripods and extremely long shutter speeds, you can capture stunning starscapes, time-lapse images, and light paintings that show how stars move in the sky as the Earth rotates.
Storm photography: If the sky within our troposphere piques your interest, you can study weather and take incredible photos through lighting and storm photography. The right gear and safety precautions are essential when shooting weather. With patience, practice, and the right timing, electrifying pictures are in your future.
Pet photography: Get up close and personal with animals and take photos of people’s pets. Animal photography comes with its own special challenges, but preparation and an ability to adapt during a shoot will help you snap great shots. Plus, learn some post-processing techniques to make photos of dogs and cats with dark fur pop.
Macro photography: From insects and small birds to extreme close-ups of flowers and fruits, macro photos make the small appear larger than life. These photos can require a macro lens to capture, and the plane of focus is very narrow, making a steady workspace essential. But with photography tips and advice from pros, you can investigate this window into a smaller world.
Flower photography: For those more interested in flora than fauna, flower photos are a great genre of photography to explore. These passive subjects are a good way for beginners to learn about shallow depth of field, lighting, exposure, and other skills.
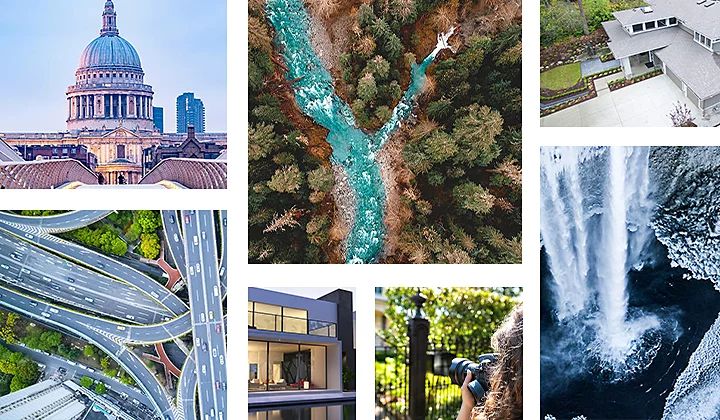
Capture cityscapes and structures.
It can be artistic or commercial when you photograph man-made structures, and the tips for showing buildings in their most compelling light vary depending on your goal.
Architecture photography: From shots of skyscrapers to gothic gargoyles, architectural photography is all about how to showcase the interesting vantage points of buildings and highlighting their intriguing features. A wide-angle lens and knowledge of how to shoot in natural light will help.
Real estate photography: For a more commercial take on building photography, real estate photography provides an opportunity to build a career capturing home photos. Advice on technical choices surrounding gear and lighting can help you build a foundation to grow your real estate photography skills.
Drone photography: You can take nature photos from the air, but drones bring an especially unique perspective to photographs of buildings, highways, and bridges. Discover the challenges involved when you pilot a drone to snap pictures and gain advice on how to get the best images from this bird’s eye view.
Aerial photography: Aerial photography encompasses any photo taken from an elevated perspective, including drones. Whether you want to try your hand at photography from a helicopter or the top of a skyscraper, investigate the ins and outs of this sky-bound method of shooting.
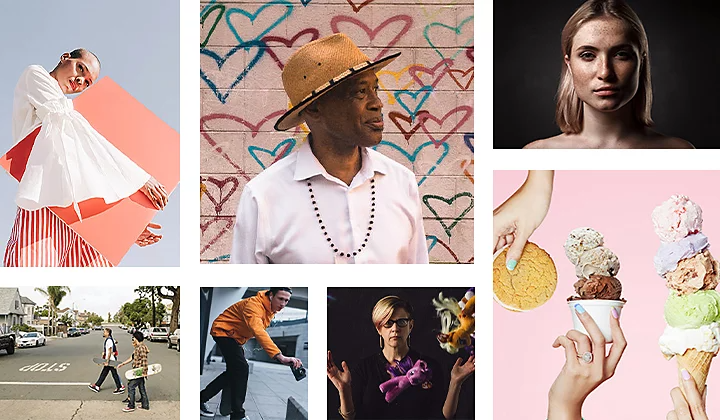
Work with people.
From fashion photography to personal portraits, these types of photography are perfect if you want to take aim at people.
Portrait photography: Portrait photographers need a mastery of their camera and an ability to make a subject feel at ease. A great portrait is more than a good picture of someone, it tells their story. Get more information on portrait lighting and sitting and hand poses for your subjects to help improve your shoots.
Headshot photography: A more commercial form of portrait photography, headshots are professional photos used for resumes, websites, and social media profiles. Learn how headshots differ from portraits and how to snap a great business-ready shot of a subject.
Fashion photography: Work with models to create stylish photoshoots. Whether your aim is runway photography, catalog, or editorial shots, the ability to take client direction and give guidance to models, all while snapping great shots, is key.
Sports photography: While documenting live sports falls more into the realm of photojournalism, more commercial sports photography can showcase apparel and products, typically worn by an athlete. Whichever type of sports photos you hope to take, the ability to work in fast-paced environments with and around people is essential.
Documentary photography: Chronicle community events and other important aspects of people’s lives in this genre for aspiring photojournalists or anyone with an inquiring nature. Unlike a curated photoshoot where a photographer can tweak and adjust a model or their surroundings, documentary photography aims to capture reality and, through photos, tell a true story.

Take lifestyle photos.
From momentous occasions to the little moments of everyday life, get snapshots of the world and people around you with these styles of candid photography.
Street photography: A perfect place to start for budding photographers, this form of lifestyle photography focuses on capturing life in a certain setting. From a bustling market to a scene from a local park, if you can be agile enough to find new perspectives while being observant of your surroundings, you can shoot intriguing street photography.
Wedding photography: Event photography of the biggest day of a couple’s life is a big responsibility. But with the right equipment, practice, and preparation, you can get great wedding photos. Learn the technical and environmental details wedding photographers need to shoot photos during a long, busy wedding day.
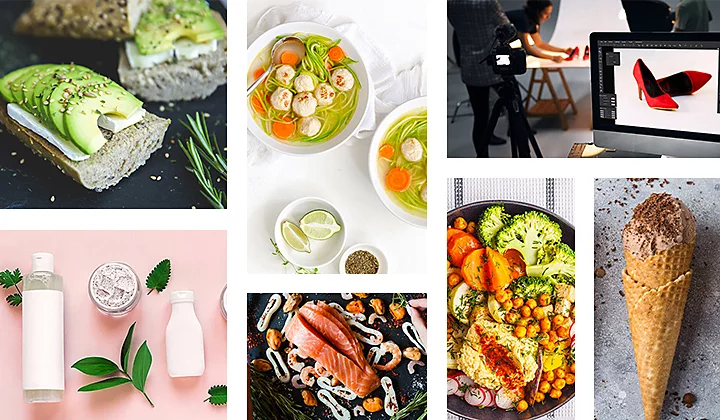
Learn commercial photography skills.
If you want to turn a photography hobby into a source of income, these types of photography might be up your alley.
Food photography: The ability to take mouthwatering shots of food can help you score commercial gigs creating restaurant ads, menu photos, and images for hospitality websites. It’s also a great skill to build if you want to post appetizing shots on social media. Food photographers can even license out their work as stock photography. Learn the tricks of the trade to help you cook up some good food photos.
Product photography: From sneakers to camping equipment to makeup, product photographers showcase the wares of different brands in clear, enticing photos. Explore tips for styling and editing shots of products.
Create artistic shots.
Discover new ways to craft intriguing images through these different explorations of photographic art.
Still life photography: Like the style of painting of the same name, still life photography encompasses photos of inanimate objects arranged in a specific composition. From the traditional bowl of fruit to an assortment of intriguing garage sale items, still life is a broad category. The skills needed to do still life can also help on a career path to food and product photography.
Black-and-white photography: This stark form of photography can be perfect for inspiring artistic output, but it’s also a helpful practice for learning the foundational skills of photo composition, without the distraction of color.
Fine art photography: From still life to landscapes and even portraits, this kind of photographic expression is defined by the photographer. Subjects and shots pursued simply for the artistic purpose of the photographer is what puts these photos in the fine art category.
Double exposure photography: Double exposure, a once-manual photo effect made more accessible by digital editing software, stacks two images to create a new piece. Learn the technique, then follow your inspiration to try and create new kinds of double-exposed photos.
Surreal photography: If provocative images are your goal, surreal photography is a great genre to explore. Surrealism displays recognizable images in unique, dream-like ways. This is a perfect medium to pursue if you’re interested in creating composite images from existing photos.
Abstract photography: Abstracts are all about point of view. Zoom in close on the cracked earth or zoom out on an aerial shot to find intriguing perspectives. If you’re interested in capturing novel views of familiar objects and landscapes, this is the type of photography for you.
No matter which of these popular types of photography you choose to pursue, a good understanding of foundational photography skills will help you. Learn more about focal length, shutter speed, ISO, aperture, and depth of field. And hone your skills with different photo composition guidelines, like the rule of thirds. For absolute beginners, learn more about whether a DSLR or mirrorless camera is right for you. However you start, with editing tools like Adobe Lightroom and Photoshop at your disposal, you can enhance or add filters to photos, and much more. There’s so much to discover, but the first step is to select a subject or genre and get out there and shoot.
https://main--cc--adobecom.hlx.page/cc-shared/fragments/seo-articles/do-more-lightroom-color-blade
You may also like