PHOTOGRAPHY
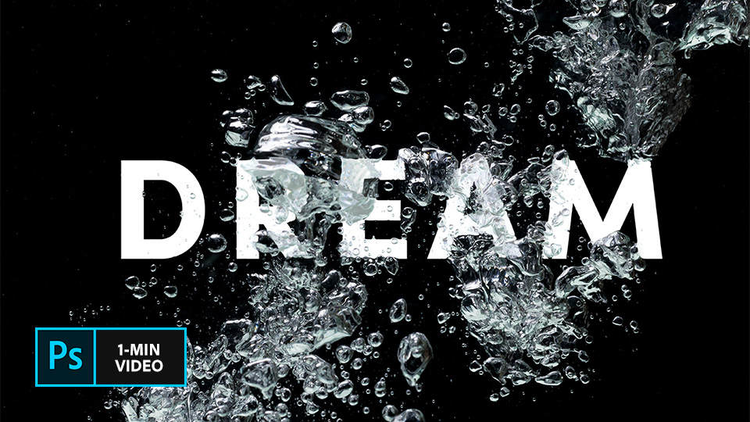
Use Adobe Photoshop to create an underwater text effect.
You don’t have to swim upstream to add an underwater effect to your next design. In this short tutorial, see how Adobe Senior Art Director Lidia Lukianova creates a displacement map in Adobe Photoshop to blend vector text for vivid results.

Lidia Lukianova is an artist and designer in the Adobe Studio specializing in iPad illustration. Her illustrations run the gamut from lettering to animation.
Before you start creating an underwater text effect.
Use these sample images or practice with your own.
Step 1: Prep the image
Start by creating a displacement map of the bubbles by applying a Hue/Saturation adjustment layer. Lukianova desaturated her image and applied a Gaussian Blur before saving the file as a new Photoshop document.

Step 2: Choose the word
Back in the original water image, Lukianova typed the word DREAM and converted the text layer to a Smart Object.

Step 3: Start the effect
To form the text around the bubbles, apply the Displace filter (Filter > Distort > Displace) and adjust the settings for your desired effect. Next, when prompted, select the Photoshop document you saved earlier to use as the displacement map.

Step 4: Refine the look
Lukianova duplicated the water layer and moved it to the top layer to distort the bubbles around the letters. She then created a clipping mask (Layers > Make A Clipping Mask) so the water would fit around the shape of the letters. She then set the Blend Mode to Exclusion and reduced the Fill percentage. She finished the look by changing the Blend Mode of the type layer to Luminosity.

Keep your creativity flowing.
Use this technique to apply texture to flat images and add depth to your compositions.

Note: Project files included with this tutorial are for practice purposes only.
You may also like