PHOTOGRAPHY
How to turn photos into pencil sketches using Photoshop.
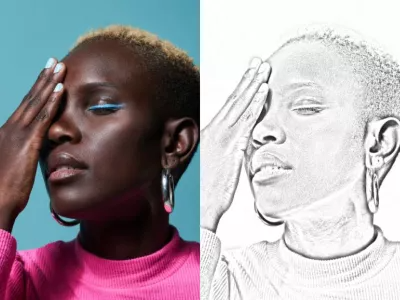
Whether it’s black and white or colorized, stylizing photographs into vivid and vibrant pencil sketches can happen in moments. Learn how.
PHOTOGRAPHY
Whether it’s black and white or colorized, stylizing photographs into vivid and vibrant pencil sketches can happen in moments. Learn how.

There are plenty of reasons to turn a photograph into a pencil sketch with photo effects. The most obvious is that conversion to a pencil sketch might match the theme you’re going for, but it can also just be a fun creative exercise to experiment with.
So you’ve decided you want to convert a photo into a sketch — the next step is deciding what kind of sketch you want to create. Apps like Adobe Photoshop give you a variety of choices for building an interesting sketch out of a photo, so it can be difficult to choose the one you want. Here are some of the most common options for creating photos in various sketch styles:
No matter the photo you start with — JPG, PNG, or another type of image file — you can upload and convert a photo to a sketch in record time.
First, make sure that you’ve picked a good original image for the process. Portrait photos are often a great place to start.
You’re going to want a high-resolution photo with lots of sharp contrast. When you’re using a filter to shift something from photo to drawing, blurriness is the enemy and contrast is your friend. You’ll have a sharper and more realistic-looking pencil drawing if you pick the right original image.
To start, you’re going to want to select all of the subject matter that you want to “sketchify.” (This is unnecessary if you’re doing the entire photo.) Use a selection tool to select the area you want to turn into a sketch. Try the Object Selection tool to take advantage of the Neural Filters in Photoshop.
Once you have your selection, copy and paste it to a new layer. If you’re copying an entire image, you can drag the layer with your image to the New Layer button for quick duplication.
Then, select your copied layer and navigate to Image › Adjustments › Desaturate. This will put your image into grayscale.


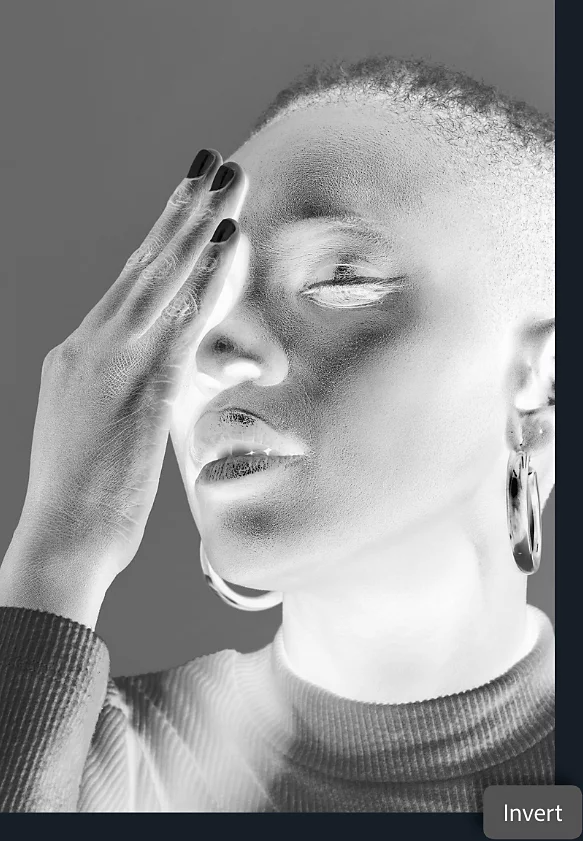
Once again, duplicate your desaturated layer. With that new layer selected, go to Image › Adjustments › Invert. Your project will look a little wild for a moment, but don’t worry. In the blending mode menu, change the selection to Color Dodge. This might make your image look completely white — that’s normal.
Right-click the layer and select Convert to Smart Object, which will enable some of the edits you’re about to do. With a Smart Object, you can always undo or take back work, just like with layer masks. The layer you’re working with might need to be reverted back or adjusted later, so this is a good step to get in the habit of doing.
With your newly created Smart Object selected, navigate to Filter › Gaussian Blur. This portion of the process depends on what kind of drawing you want your photo to mimic. Make sure the preview box is checked, and adjust the Radius slider to achieve the effect you want. A lower setting will approximate the look of charcoal, while a higher one will get you closer and closer to a fine-lined pencil or pen.
You likely have a pretty good sketch at this stage, but there are a few more steps that can make it look even better. First, add another adjustment layer. From the Layers panel, create a new adjustment layer, selecting Levels as the type. Then change the blending mode to Multiply.
From here, you can tweak both the opacity and the layer levels themselves to make any final adjustments or tweak gradients until you’ve got a great-looking pencil sketch.

Try these additional techniques to add more depth and texture to sketch conversions.
Add in some flourishes.
One way to make a sketch drawing look more natural is to add in some linework or doodles yourself. Use any of the drawing tools available in Photoshop to draw additional lines and rough up the drawing a bit. The more you do this, the more natural the artwork will look. You can even experiment with tools like generative fill to add texture and detail.
Add in colors.
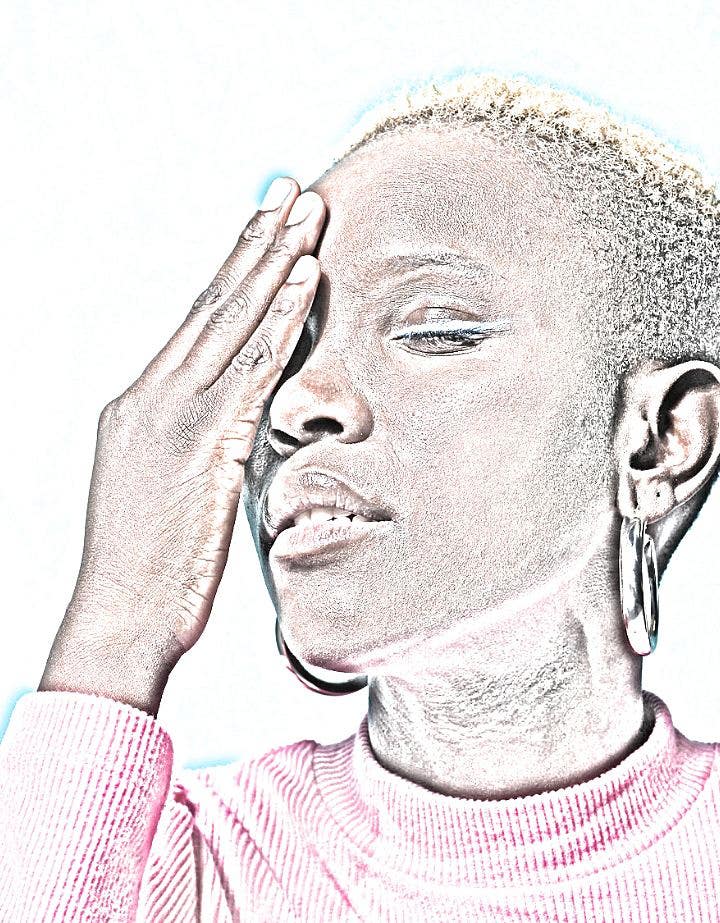
You can adjust the blending mode of the layers in your drawing to add in or highlight a specific color. Try adding an adjustment layer with a specific color or changing the blend mode to Color instead of Normal, and see how the drawing changes to look more like a colored-pencil sketch. Adjusting these elements can emulate a drawing with a blue pen, for example. See if you can create the look of an oil painting or watercolor instead.
Don’t fear mistakes.
Part of the joy of design is experimentation. Most of the tools used and described here are nondestructive, meaning they don’t change the actual data of the tiny picture elements (pixels) of your image. On top of that, you always have the Undo button to remove any changes you dislike. Start experimenting with Photoshop today with tutorials and guides, and you’ll be creating interesting sketches in no time.