#1e1e1e
PHOTOGRAPHY
Make your own DIY photography backdrops.
Give any photo the right background with an easy-to-assemble backdrop.
JUMP TO SECTION
Create a great-looking backdrop fast
Build a DIY photo backdrop stand in a few easy steps
A backdrop for every kind of image
Make a backdrop look its best in post-production
Enliven images with the right background
A good photo backdrop adds atmosphere and character to an image. Props, whimsical backdrops, and silly setups for a party photo booth create a festive mood. Muted backgrounds for business headshots suggest focus and professionalism, and product and fashion photography pop in front of a minimalist or blank background. Whatever feel you’re going for, there’s a background to match.
Create a great-looking backdrop fast.
Professional photo backdrops come in many forms, from specially painted walls to massive rolls of smooth, heavy paper that can be pulled down in the back of a studio to display different colors. However, you don’t have to construct a whole photography studio to get a good backdrop.
Build a DIY photo backdrop stand in a few easy steps.
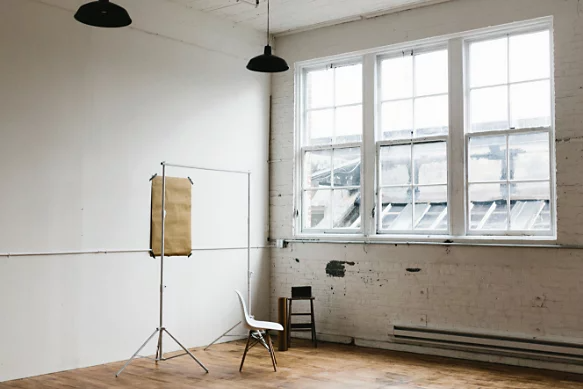
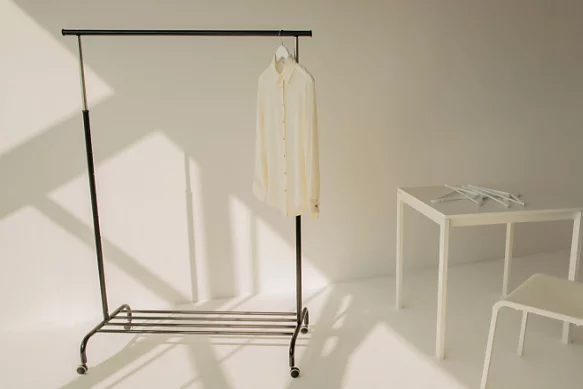
A simple background frame can hold all kinds of different backdrops, from bright colors or miniature flower walls to blank screens. A frame should resemble a simple, single-bar clothing rack that is taller than the people or subjects you’d like to photograph in front of it. If you’re not feeling handy, a large clothing rack can function as a backdrop frame in a pinch.
Constructing your own backdrop stand is quick and easy if you’re ready to get crafty with materials from a hardware store. You can choose the exact size and materials of your frame.
Gather materials to build your own photo backdrop frame:
- Miter saw or pipe cutter depending on what material you use
- Two pieces of wood, dowel, or PVC pipe each the same length (around six feet long)
- Four pieces of wood, dowel, or PVC pipe each the same length (around four feet long)
- Four pieces of PVC or dowel each cut the same length (around 12 inches)
- Four PVC or wooden T pieces
- Two PVC or dowel elbow pieces
#EFE7E1
Assemble your backdrop frame.
1. Attach your 12-inch pieces to two of your T pieces. These will be the base of the stand and lie flat on the ground.
2. Then connect one of your 4-foot pieces to the top of each part of the base. The 4-foot pieces should go upward, forming the legs of the stand.
3. Use your other T pieces at the top of each 4-foot piece to attach one of your 6-foot pieces horizontally, connecting the two vertical 4-foot pieces. This 6-foot piece is one of two “crossbar” pieces of the stand. It connects the legs together.
4. Attach another 4-foot piece to the top of each of these T pieces, pointing vertically upward from the 6-foot bar. You should have a background that’s about 8 feet high, which is a suitably tall background for most people.
5. Use your two elbow pieces to connect the second 6-foot piece on the very top of your frame. This is the top of the frame.
Once you have your backdrop stand, you can drape fabric or paper over it to create your photo backdrop. Almost anything will do. Even wrapping paper can work to make a great colorful addition to your frame.
A photo backdrop for every kind of image.
Different kinds of photoshoots need different types of backdrops. Fortunately, a simple DIY backdrop like the one described above can handle all kinds of props.
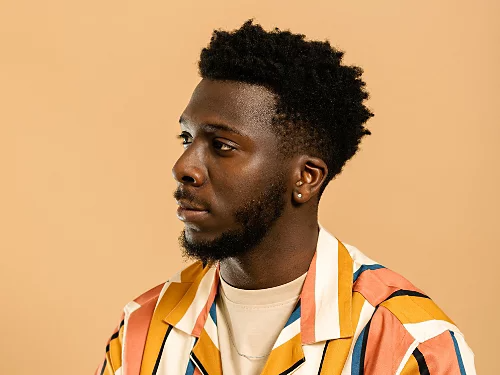
Project professionalism with a monochrome background.
A simple deep blue or beige background is low-key, unflashy, and perfect for business headshots. Keep a blank photo background on hand for work-oriented photoshoots where subjects have to look job-ready.
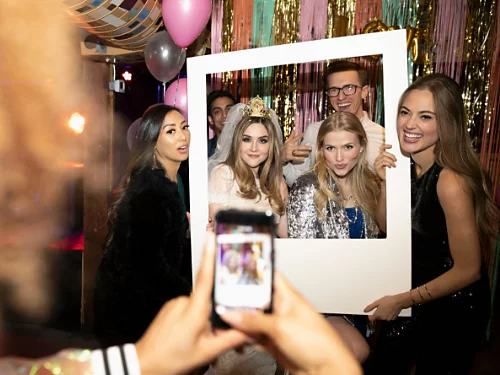
Make a photo booth with props and decorations.
Deck out your backdrop with tissue paper chains, sequins, paper flowers made of ombre tissue, and accessories like hats or masks. Liven up birthday parties, baby showers, and bridal showers with fun portrait photography.

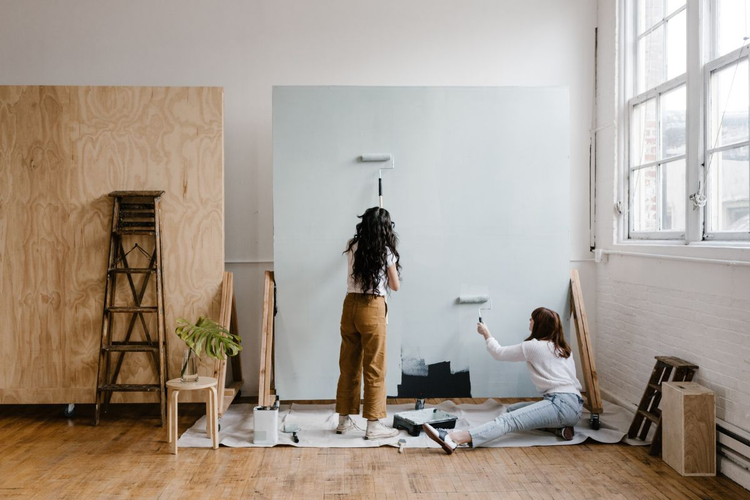
Create any kind of scene with a green screen.
A smooth wall painted a single color or a large sheet of single-color paper can be the springboard for countless fantastic scenes. Use background replacement features in Adobe Photoshop to make it look like you’re exploring the Amazon, blasting through space, or partying with dinosaurs.
Make a backdrop look its best in post-production.
A fabric or paper backdrop can sometimes have slight irregularities like wrinkles, sags, or indentations. Fortunately, you have a large array of tools in Adobe Photoshop and {{lightroom}} to help you smooth out or fine-tune a backdrop in post-production.
- Get rid of distracting elements. Banish unwanted objects and photobombers with Content-Aware Fill to get a crisp, clean background.
Remove objects › - Fix details with just the right shade. Select exactly the color you want for fill-ins and fixes with the Eyedropper tool, which can select just the right color from even the smallest area.
Clone a color › - Even out a backdrop’s surface. Smooth over wrinkles and such with the Spot Healing Brush.
Use the Spot Healing Brush › - Fix an overexposed photo. Get light just right so everything from foreground to background looks great.
Fix exposure › - Remove small objects from a photo. Take unwanted elements out of the background with the Spot Healing Brush tool.
Remove objects ›

Whether you’re throwing a bachelorette party and need a sparkly backdrop or want to take some professional-looking family photos, a DIY photo backdrop can take your images to the next level.
You may also like
title
How to make a DIY photography backdrop
ContentType
Article
tags
caas:content-type/article,caas:products/photoshop, caas:products/lightroom,caas:products/adobe-creative-cloud,caas:product-categories/photo
description
A good photo backdrop adds atmosphere and character to an image. Learn how to create a great-looking backdrop fast, and get tips for post-production.
cardImage
cardImageAltText
A photo of two people painting a photo backdrop.