使用 Photoshop 尝试这些教程
编辑照片以创建新的图像和图形。
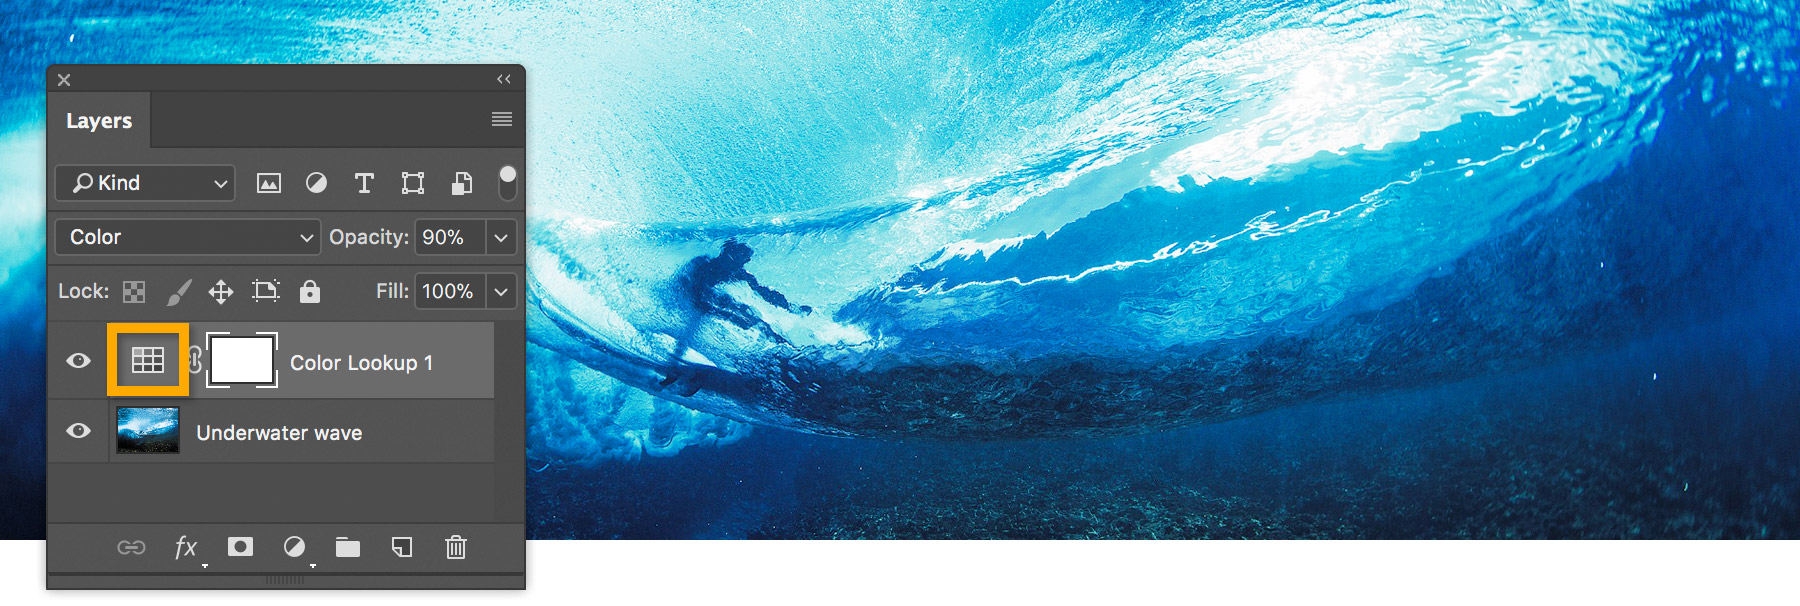
Create a subtle or dramatic change in your photo’s appearance by applying a Color Lookup adjustment layer in Adobe Photoshop.
Open an image in Photoshop. Then, click the Adjustment Layer icon in the Layers panel and choose Color Lookup.

In the Properties panel, choose one of the available Color Lookup tables.
Note: There are three categories of lookup tables each containing different presets you can try out on your photos. Most presets are available in the “3DLUT File” option. If this option is disabled, make sure your image is in the RGB Color mode (Image > Mode > RGB Color).

Choose a preset from the Color Lookup table you selected. Photoshop maps the existing colors in your photo with those in the preset to create a new look.
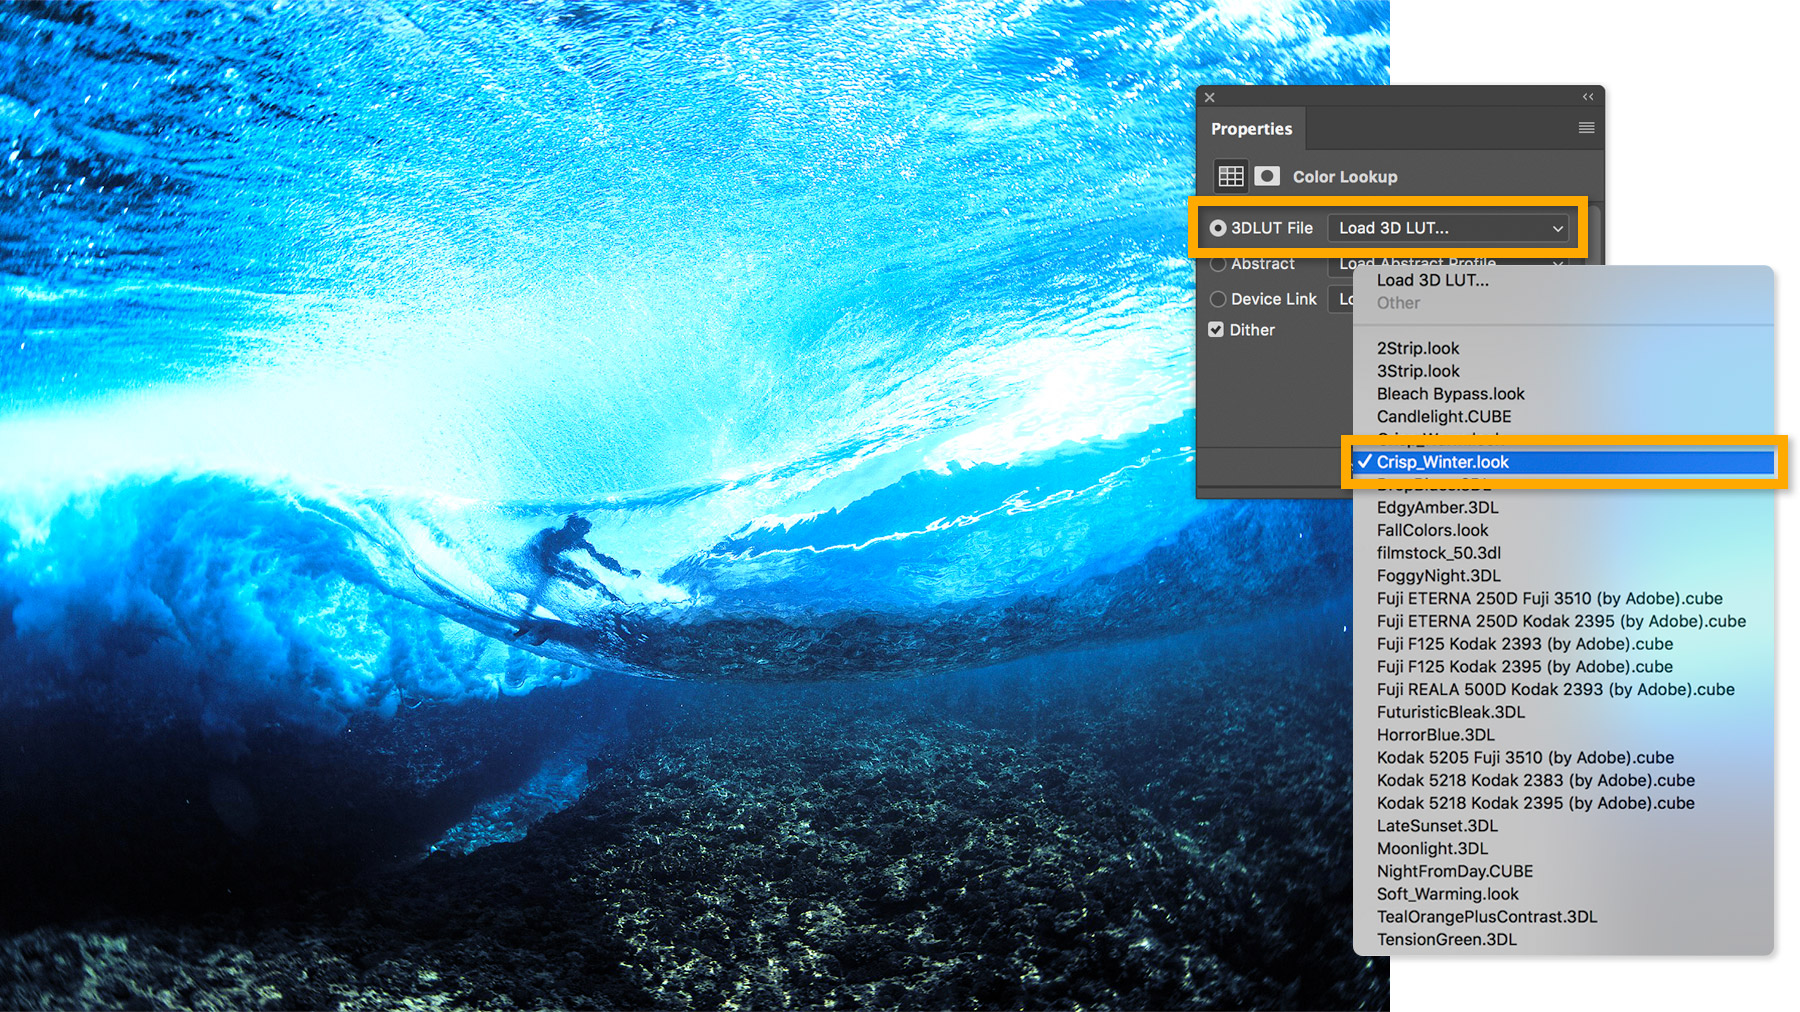
Experiment with different presets to see which one complements your image. For the sample photo, we chose “Crisp_Winter.look” to apply a bright blue cool tone to the image.

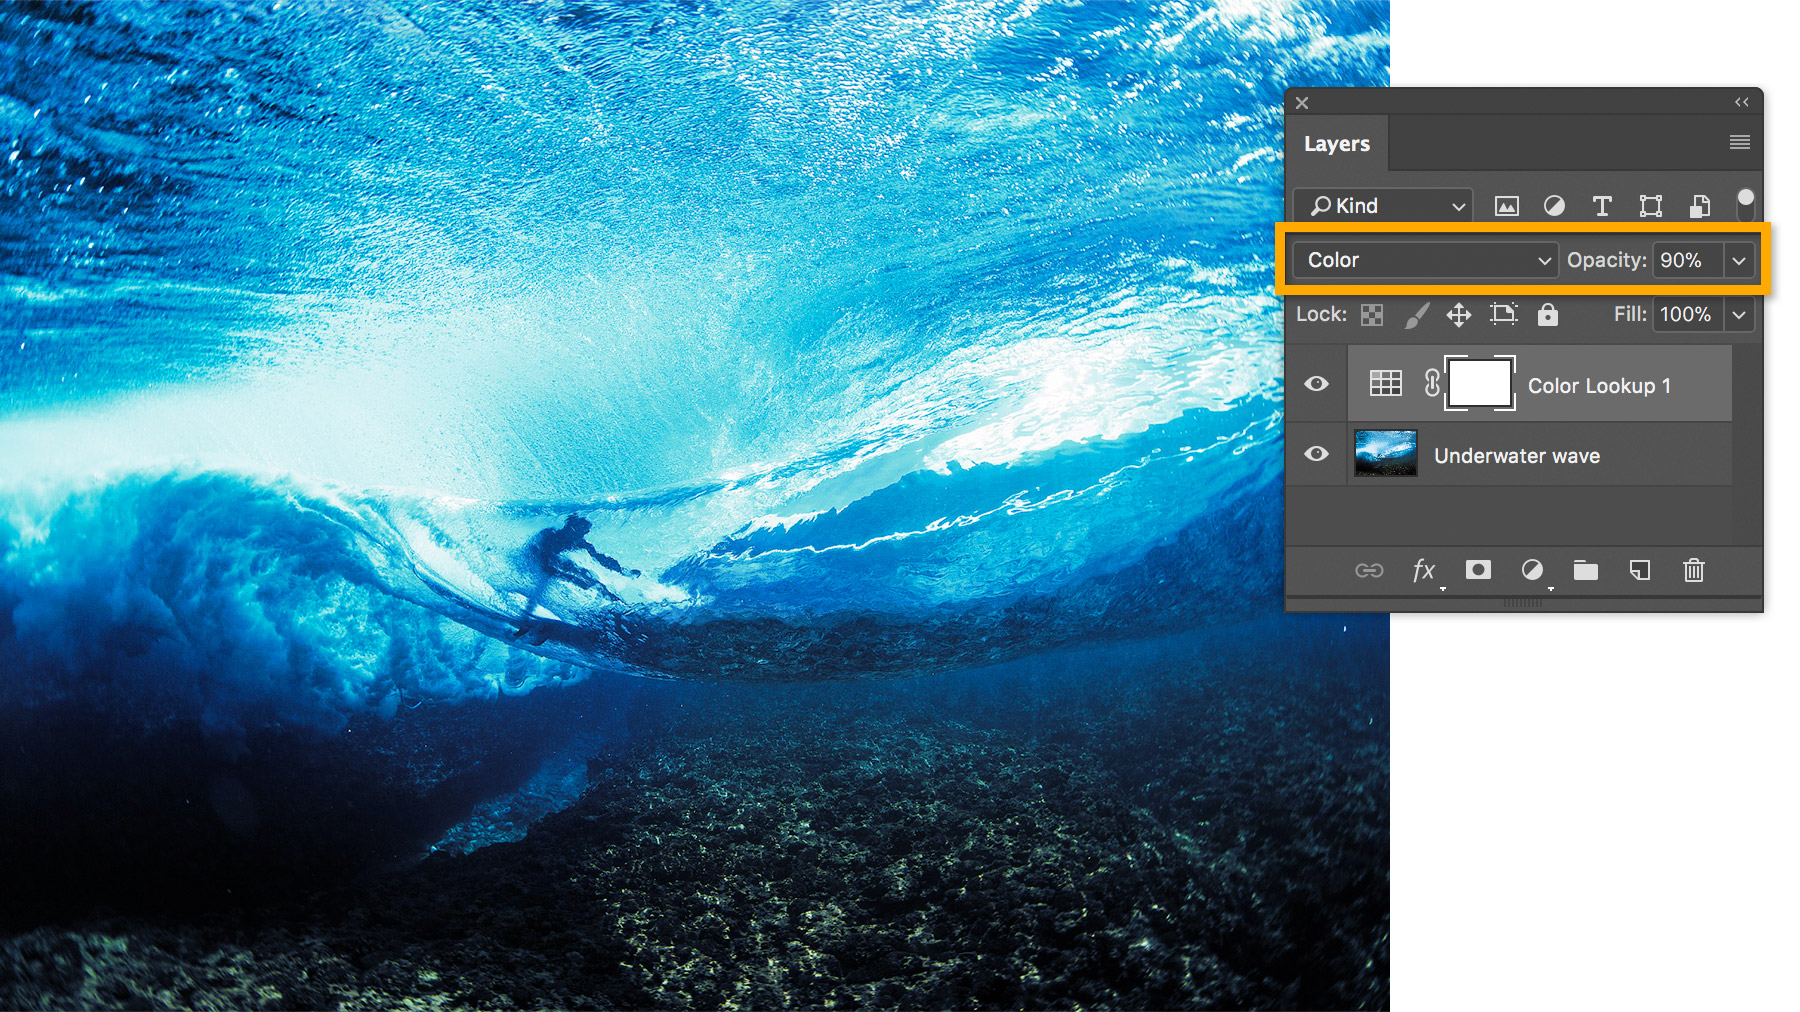
Use the Layer Blend Mode and Opacity options in the Layers panel to fine-tune the adjustment.
Tip: Save your image as a PSD or TIFF file so you can adjust the Color Lookup settings later. You can save an extra copy in a different format, such as JPEG or PNG, for posting online.
To adjust the Color Lookup settings, double-click the icon next to the Color Lookup layer in the Layers panel.