Essayez ces tutoriels avec Photoshop
Modifiez des photos pour créer de nouvelles images et graphiques.
1. Download the practice images . Open " model_130899020.jpg" in Photoshop and rename the layer's default name "Background" to "model photo".
2. Now drag and drop the second practice image "tattoo.png" on the Photoshop canvas and move the mouse cursor close to a corner handle until it changes to a double arrow rotation cursor.
Tip: When you drag a new image on the Photoshop canvas a blue outline with handles will appear around the image. You can click and drag on the handles to change size or come close to a corner handle to alter rotation of an image.
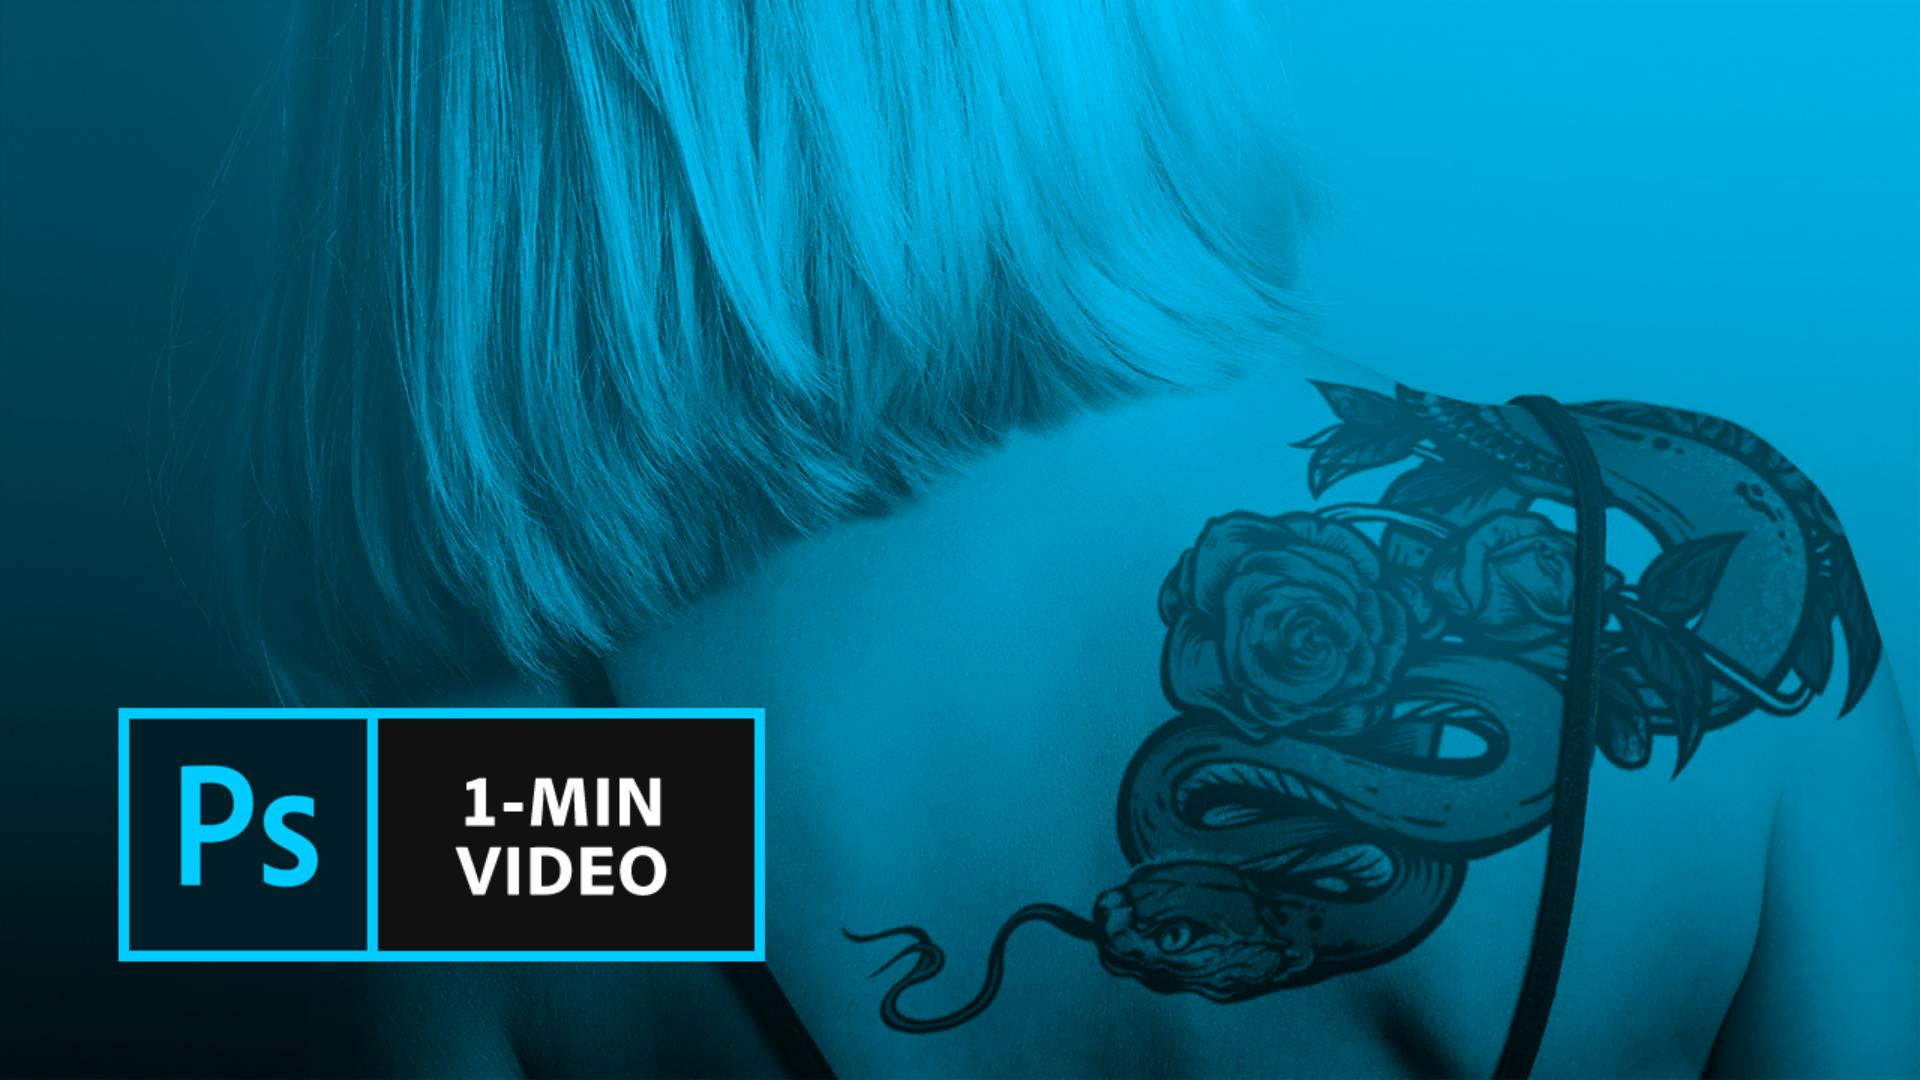
3. Rotate the image by approximately 57° then scale the tattoo graphic up to 160% and reposition it over the girls back and shoulder.
4. With the "tattoo" layer selected, chose Multiply from the Blend Modes drop down on the Layers panel, then lower the Opacity of the layer to about 80%.
5. Make sure that the "tattoo" layer is still selected, click Add vector mask at the bottom of the Layers panel. The outline around the white mask thumbnail indicates, that the mask – not the image – is now selected for editing.
6. From the toolbar on the left select the Brush Tool.
7. Set the brush size to 240 px and hardness to 80%.
8. At the bottom of the toolbar click on the double arrow to set the foreground color to black, if necessary.
Tip: When a layer mask is selected for editing you can chose between black and white color only. Paint with black on the layer mask to hide more detail on the layer, or paint with white to reveal detail again.
9. With the mask still selected, set the brush opacity to 10% and color to black, then paint over the part of the image you want to highlight.
Tip: You can paint multiple times over the tattoo part you want to highlight in order to increase the effect. Change back the color to white in case you want decrease the effect again.
10. In the Layers panel, click the Link icon to unlink the tattoo image from its mask, and then click the tattoo thumbnail to select it. This lets you edit the graphic independently from the mask.
11. Choose Edit – Transform – Warp.
12. Drag the handles to warp the image to the shape of the model’s body. Press Enter when you’re done.
13. Choose Filter – Blur – Gaussian Blur. Adjust the radius to create a subtle effect that will help unify the tattoo with the model’s skin.
That's it! Now it's your turn to add a tattoo to a person in Photoshop. Download the assets or use your own and share your image on Facebook, Twitter and Instagram using #MadewithPhotoshop to get feedback and connect with other creative minds.
Facebook: http://facebook.com/adobecreativecloud
Twitter: http://twitter.com/creativecloud
Instagram: http://www.instagram.com/adobecreativecloud
YouTube: https://www.youtube.com/channel/UCL0iAkpqV5YaIVG7xkDtS4Q
Behance: https://www.behance.net/live Join our regular livestreams with real pros, real projects in real time and find inspiration.