Probiere diese Tutorials mit Photoshop aus
Fotos bearbeiten, um neue Bilder und Grafiken zu schaffen
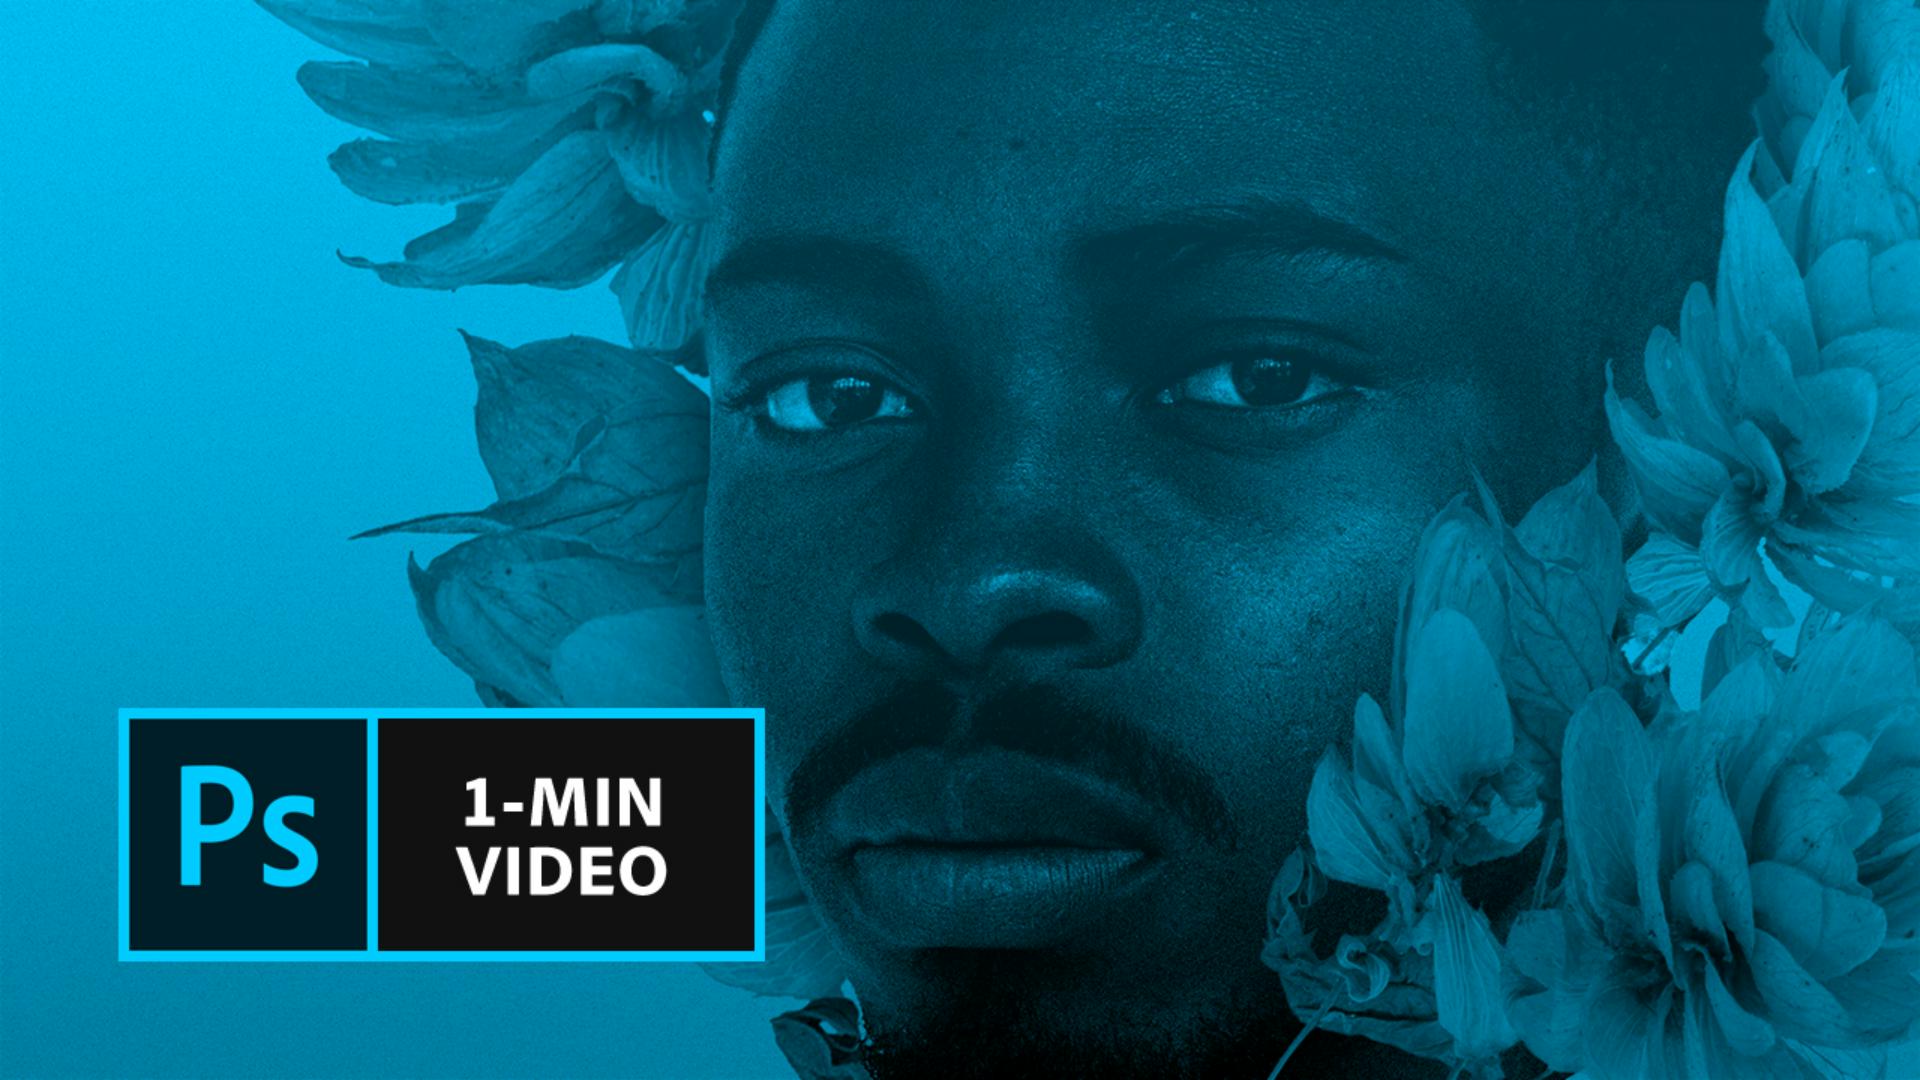
1. Download the practice images . Open "model_342552941.psd" in Photoshop.
2. Choose the Quick Selection Tool from the toolbar on the left.
3. With the Quick Selection tool selected, choose Select and Mask, which will open the Select and Mask workspace where you can isolate a subject in a photo more easily.
Tip: If you don't see the Quick Selection Tool icon on the toolbar, left click the icon and hold down the mouse. A context menu will appear allowing you to change the selection tool.
4. Choose the Quick Selection Tool in the Select and Mask workspace and brush over the model.
Tip: By default a transparent red mask highlights masked areas. Optional you can change the mask display by clicking on the arrow of the View Mode drop-down and select a different view mode.
5. Choose the Refine Edge Brush Tool to clean up the edges of your selection. Zoom in to see the details of the edges.
6. Scroll to the bottom of the Properties panel and choose Output to – Layer Mask. Click OK.
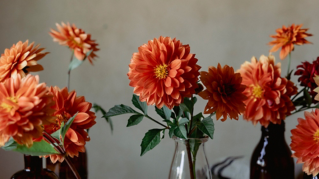
7. Drag the flower image from the practice files ("flowers_342552941.jpg") into the Photoshop document. Rotate and move the image into the desired position. Press Return or Enter to place the image.
Tip: When the flower image is still active, hover outside one of the corner handles and drag to rotate. Then click on the image and drag to move.
8. Choose the Quick Selection Tool, then Select Subject to select the flowers separate from the background.
9. Choose Select and Mask. Then use the Refine Edge Brush Tool and brush over the flower to remove the remaining bits of background.
10. Output the flower selection to a Layer Mask. Click OK.
Tip: To preview your selection you can choose On Layers from the View Modes drop down to see how the selection will appear when placed into the composition.
11. Duplicate the adjusted flower layer by dragging it several times down onto the Create new layer icon.
12. Press Control/Command + T, to rotate, flip, resize, and move the flower as desired. Repeat until you are happy with the arrangement.
Tip: Move a flower layer below the model layer to have the flowers appear behind the model.
13. With the model layer selected, click the Adjustment layer icon and choose Curves.
14. On the Properties panel pull down on the bottom left of the curve to adjust the dark tones for contrast.
15. Use Alt (or option) + click between the Curves adjustment layer and the model layer. This creates a clipping mask so the curves adjustment only applies to the model layer and not the layers below it.
16. Add a new layer above the curves adjustment layer and choose the Brush tool.
17. Use a wide brush (120 px) and set to a tone from the flowers (#c7773c), lower the Opacity (40%) and brush along the sides of the model’s face.
18. Use Alt (or option) and click between the new layer and the Curves adjustment layer to create a clipping mask.
19. Set the layer's Blend Mode to Color Dodge.
That's it! Now it's your turn to isolate a detailed subject from its background in Photoshop. Download the assets or use your own and share your image on Facebook, Twitter and Instagram using #MadewithPhotoshop to get feedback and connect with other creative minds.
Facebook: http://facebook.com/adobecreativecloud
Twitter: http://twitter.com/creativecloud
Instagram: http://www.instagram.com/adobecreativecloud
YouTube: https://www.youtube.com/channel/UCL0iAkpqV5YaIVG7xkDtS4Q
Behance: https://www.behance.net/live Join our regular livestreams with real pros, real projects in real time and find inspiration.