video
How to cut and trim videos with Adobe {{premiere}}.
Turn your video footage into compelling sequences with the expansive video editor tools in {{premiere}}.

Cut video with the right timing and engage your audience.
Timing is everything, and how you edit video will determine if your movie works. Once you’ve created a set of clips and put them into a sequence, timing will determine whether they make people laugh, cry, or sit there bored and disengaged. Adjusting the start and end times of one or more of your clips — called trimming — is how you perfect timing. In {{premiere}}, you can change the timing for a section of a single clip or one that’s already part of a sequence. It just takes a few easy steps.
How to trim video clips.
Create a new video project in Adobe {{premiere}}.
Start by launching {{premiere}} and clicking on New Project in the Start screen. Or, choose File › New › Project from the main menu. In the New Project dialog box, name your project and click Browse to choose where you want to save it. Click OK when you’re done.
Import your media.
Bring your video files or clips into {{premiere}}. Either go to Select File › Import from Media Browser or right-click the file in the Media Browser and select Import. You can also drag and drop files from the Media Browser into the Project panel or drag files from the Media Browser into a timeline. {{premiere}} supports AVI, MOV, MPEG, WMV, and many other file types and video formats.
Trim your clip.
Editors develop their own personal workflow preferences, but there are two video trimming methods for working on your sequence. You can trim your clips in your timeline sequence for a wider view of your edits, or you can use Trim mode in the Program Monitor for a two-up view that allows you to do frame-by-frame trimming.
There are two ways to trim a clip. You can trim a clip so that the whole video project is shorter — shortening the clip shortens the whole video. This is called a ripple edit. Or, you can move a cut by shortening one clip while you extend the clip next to it, trimming two clips at once. This is called a rolling edit. It keeps your whole project the same length.
Before you do any trimming, lock any tracks you don’t want changed. You can make edits and still keep the whole project in sync.
- To lock tracks, click the Padlock icon on the track. No changes can be made to tracks while they are locked.
- To enable and disable the Sync Lock for a track, click Toggle Sync Lock. When the Sync Lock is on, which is the default, clips will stay in sync with clips on a track that you’re ripple trimming or inserting.
- The audio and video parts of a linked clip remain together automatically, so they’ll stay in sync when you make adjustments. You can disable or enable Linked Selection in the Timeline panel by clicking the Linked Selection button at the top left of the Timeline panel.

How to trim a video using the Timeline.
When you want to adjust the cut between two clips, you can use either ripple edits or rolling edits. By using these tools, you can make adjustments in a single action. When you’re working in the Timeline in Trim mode, the clips affected by your edits appear in the Program Monitor side by side. In Trim mode, the Program Monitor helps you decide on the content you want to use by showing you the last frame of the clip that you’re trimming and the first frame of the next clip. Click and drag on the clip in the Timeline to make adjustments.
After you make your adjustment, there might be a gap in the Timeline from where you did the video trimming. Close this gap by highlighting it and doing a Ripple delete, which will close the gap and shorten the overall length of the sequence. Clicking the edit point between two clips with the Ripple Edit tool chooses a Ripple In or Ripple Out edit point selection, depending on the side of the edit point you click. If you use Control-click (Windows) or Command-click (Mac OS) on the edit point with the Ripple Edit tool, the cursor shows the Rolling Edit tool.
To maintain the overall length of a sequence, do a rolling edit. This adjusts two clips at the same time — shorten one and extend the next by exactly the same amount. Move the In point or Out point of a clip in a sequence to the playhead, without leaving gaps in the sequence.
How to trim a video using the Program Monitor.
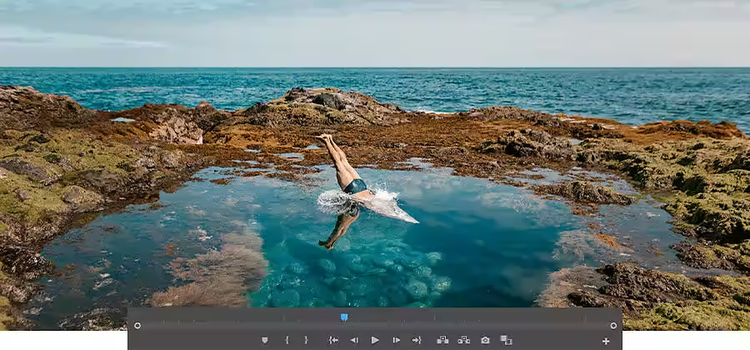
Precision cuts are best done using the Program Monitor. Double-click on the end point of the clip to change to Trim mode in the Program Monitor.
Click anywhere on a clip to trim. Using the Program Monitor gives you a much larger area for clicking to make precise edits. To adjust both clips in the Program Monitor, click between the clips and drag to adjust the length of both at the same time. Switch between ripple and rolling trimming in the Program Monitor by holding down the Control or Command key as you click.
The benefit of using the Program Monitor as a video trimmer is that there are precision adjustment buttons beneath the footage, allowing you to trim one or five frames at a time. Exit Trim mode to preview your work by clicking anywhere in the Timeline.
Whether you’re cutting together a sizzle reel, music video, or feature film, you can trim your video with just a few clicks in {{premiere}}. Remember that video editing can make all the difference for your project’s success.
