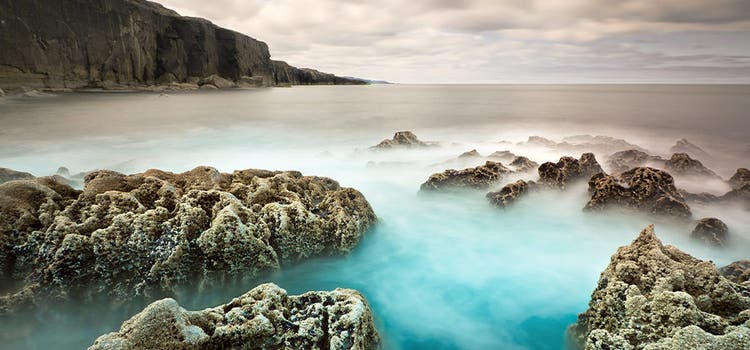
The problem with high-contrast images.
A high-contrast image is one with both dark shadows and bright highlights. The dynamic range of such an image can exceed your camera’s ability to capture it, which is why a photo of a person standing in front of a light-filled window fails to catch the details of the person’s face as well as the scene outside. Either you get the person’s features and the window is a bright blur, or you get the outside details but none of the person’s features. In this case, the dynamic range of the image is greater than that of the camera, forcing you to choose between focusing on the dark subject or the light window.
Explore the dynamic range of your camera.
Finding the right balance between light and dark will lead to better images, so test your camera’s limits. Try to capture highlights and shadow detail in various lighting conditions. Use the luminosity histogram, which you can view on your camera’s LCD, to help. It graphs the pixels you’re capturing at each intensity level. If the graph has spikes on the left or right and a valley in the middle, the image exceeds the dynamic range of your camera.
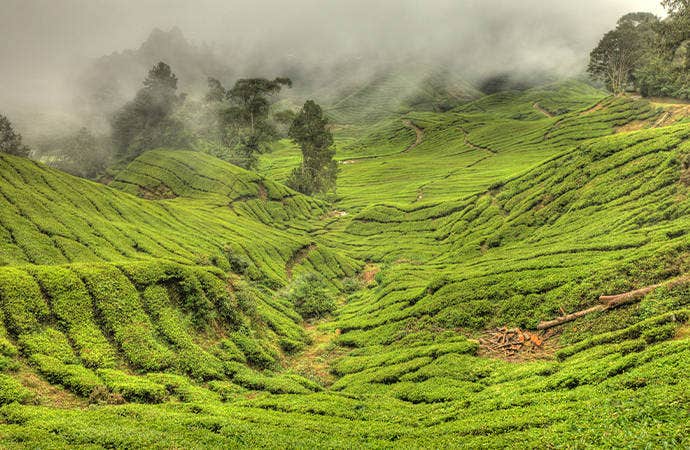
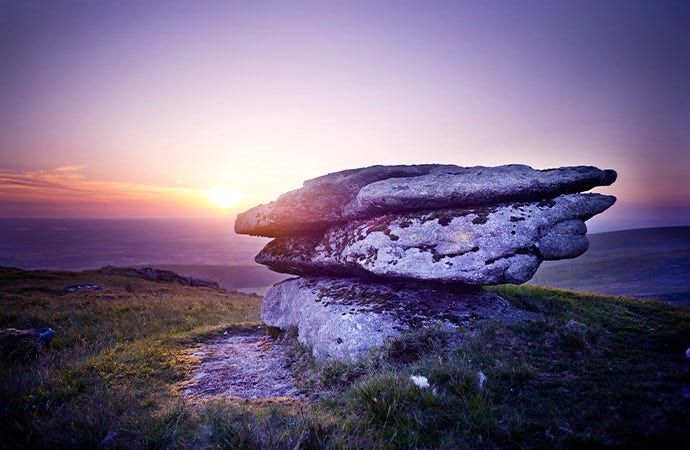
Use neutral-density filters to lower the light intensity.
A neutral-density filter (ND filter) is usually made of glass. It attaches to your camera lens and lessens the amount of light that passes through it. With less light coming in, you can adjust the shutter speed to lengthen exposure time or raise the camera’s image sensor or widen the aperture with less risk of washing out the image. Attach a neutral-density filter to your lens, and your overexposed sky will suddenly have more detail, but your shadows won’t be blacked out. In addition to getting more definition and sharpness from clouds, a neutral-density filter can help you capture motion blur and shallow depth of field in bright light.
Stretch your camera’s dynamic range with High Dynamic Range photography.
HDR photography involves taking multiple exposures of the same image while adjusting the f-stop on your camera. (The f-stop regulates the amount of light that passes through your lens.) It’s best to use a tripod so that the image composition is identical in each shot. Take a photo with your f-stop at a normal setting, then take one underexposed by one or more stops and one overexposed by one or more stops.
Discover how to capture HDR images.
Learn how much to vary your f-stop, how many exposures to use, and how to merge to HDR.
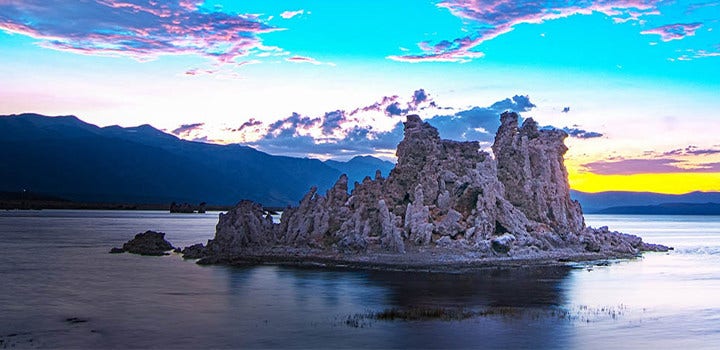
Merge multiple exposures with this step-by-step tutorial.
See how to use the HDR tool in Adobe Photoshop Lightroom to combine multiple exposures.
Try focus stacking in Adobe Photoshop.
Explore how taking multiple exposures allows you to switch your focus from one object to another, sharpening every element in the photo.
Dynamic range is just as important in videography.
Shooting high-contrast videos can be even more challenging than capturing still images. Wherever you’re shooting, pay close attention to how the light changes as your subjects and/or your camera move. “Don’t assume that what you see on your LCD screen is the image you’re getting,” documentary filmmaker Dominic Duchesneau says. “Understand how light is affecting your image and what you’re trying to expose for.”
The composition of your scene is also important for capturing a high dynamic range. To draw your audience into the story, you want to create layers — places for the eye to wander. This may require shifting focus and adjusting for changes in light intensity. Director and writer Van Jensen says, “It’s all about crafting individual images that have real beauty and depth to them. That depth is essential to crafting a world that feels big and real.”
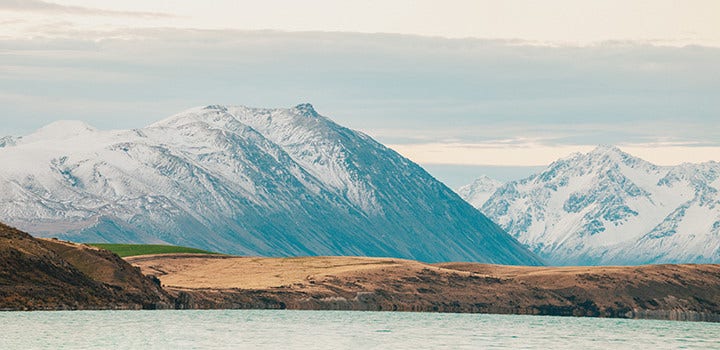
Shoot in a raw file format.
The pixels in modern cameras’ image sensors can capture a wide range of light, but if you shoot in a format like .wmv or .avi that results in compression, you may lose a lot of that dynamic range. “If you’re shooting raw, you have a ton of information in that image,” Duchesneau says. “When you pull it into the computer, you can get back a lot of the image that you could see with your eye.”
Post-processing is your friend.
Tools abound to help you get the images you want after you’re done shooting. As for adjusting the dynamic range of your video in post-production, you can learn to do your own color correction and balancing with tutorials and experimentation.
Remember that great images usually begin with good lighting. “It all starts on the front end,” Jensen says. “There are colorists who can save a bad bit of footage, but it’s a lot easier to give a colorist a good bit of footage that they can make better.”
How do you know when your lighting is right and when your camera is capturing the range that you want? Continue to practice, experiment, and learn from your mistakes to improve your skills.

