VIDEO
An introduction to audio compression.
Learn how to use compression to make your recordings sound more polished, so you can deliver the best quality audio files to your listeners.
Start free trial | Start free trial Audition Explore Audition
What is audio compression?
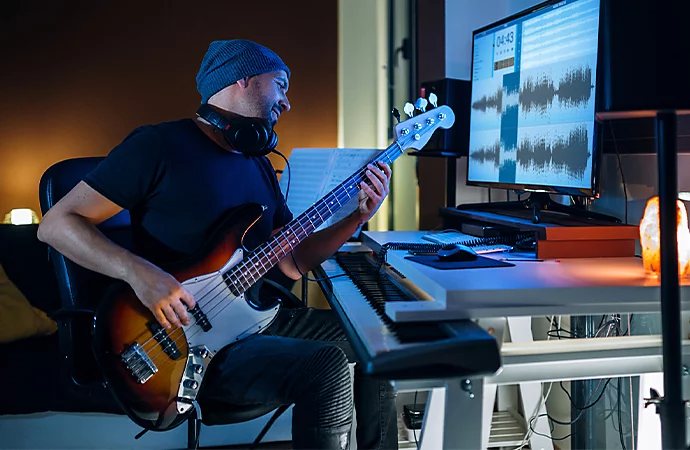
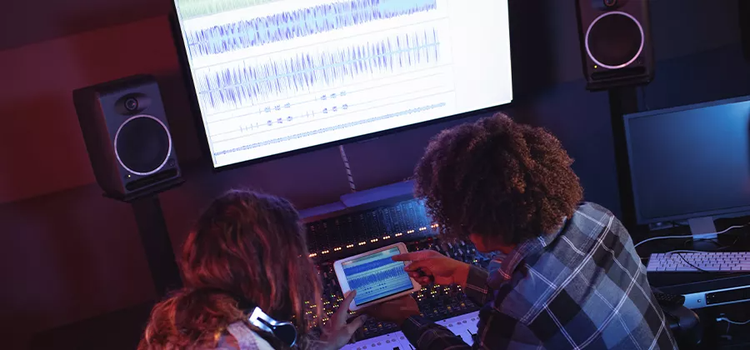
Whether you’re mixing a music track or recording a podcast, audio compression is a useful tool for sound engineers who want to smooth out the sound of instruments, vocals, and more. From an acoustic guitar with too much pick noise to a piano that doesn’t have any punch to it, an audio compressor has the power to decrease the dynamic range of an audio signal by making the loudest noises quieter and the quietest noises louder.
“You may set your levels so everything sounds good in one spot, but as the song goes on, some things may be hard to hear or get too loud and jump out of the mix,” explains producer and mixing engineer Peter Rodocker. “The most common use of compression is to keep this from happening so you can get a more cohesive sound.”
The fundamental controls of audio compressors.
Understanding the technical aspects and terminology of audio compression will allow you to work more comfortably with a wide range of compressors.
Threshold
The threshold is the level at which compression begins. Once a threshold level is set, any audio below the threshold will be unaffected, but any audio above the threshold will be compressed by the ratio set. “Imagine a guitarist that’s strumming at a constant volume, then hits a few notes super hard in the middle of the song. You would want the compressor to be set where the threshold grabs only that loudest part of the track,” says Rodocker.
Ratio
The ratio is the amount of attenuation — or downward compression — that will be applied once a signal reaches the threshold. Peter explains that “the volume of audio is measured in decibels (dB), so if you set a 3:1 compression ratio, every 3dB of input signal above the threshold will produce 1dB of output signal.”
Attack time
The attack time is how long it takes the audio signal to be fully compressed to the ratio set after it has crossed the threshold. “It’s going to affect the first part of the sound you hear,” says Rodocker. “So you can set a slower attack to create some punch from an instrument that’s softer, like a keyboard, or a fast attack to quickly compress the sound of a loud guitar pick.”


Release time
The release time is how long it takes the audio signal to revert from being affected to uncompressed. At low levels of gain reduction, fast release speeds sound the most natural. However, extreme compression with a fast release time can result in a pumping effect — or a sudden increase in volume — that can make the track sound uneven in some genres of music.
Knee
The knee is how quickly the compressor transitions from not compressing the signal to compressing it. A soft knee will sound smoother because the compression doesn’t begin as quickly, while a hard knee will sound more dramatic. “Bass guitar and vocals would sound better using a soft knee, but I would use a hard knee for any kind of percussive instrument, like the piano or kick drums,” says producer, engineer, and mixing artist Gus Berry.
Make-up gain or output gain
The level of the signal coming out of a compressor won’t be as high as it was when it went in because the compressor is actively turning down parts of the signal. Make-up gain is used to turn the overall level of the signal back up. “The way you do this is to play the material while bypassing and activating the compressor, adjusting the make-up gain to where they sound more or less the same level,” advises Rodocker.
The five main types of compressors.
In addition to what controls you set, the type of compressor you choose will determine the overall effect on the sound.
Tube compressor
Best for: Bass, drums, and vocals.
The tube compressor is one of the oldest types of compression, used by the Beatles and Motown. “They usually have slower attack and release times, and they have a specific sound that people often think of as ‘old school’ or vintage,” says Rodocker.
FET compressor
Best for: Aggressive material like drums, percussion, electric guitars, vocals.
An FET, or “Field Effect Transistor,” emulates the tube sound with transistor circuits, making it a fast and reliable compressor that produces a clean sound.
Parallel compressor
Best for: Percussion, electric bass, vocals, and live sound.
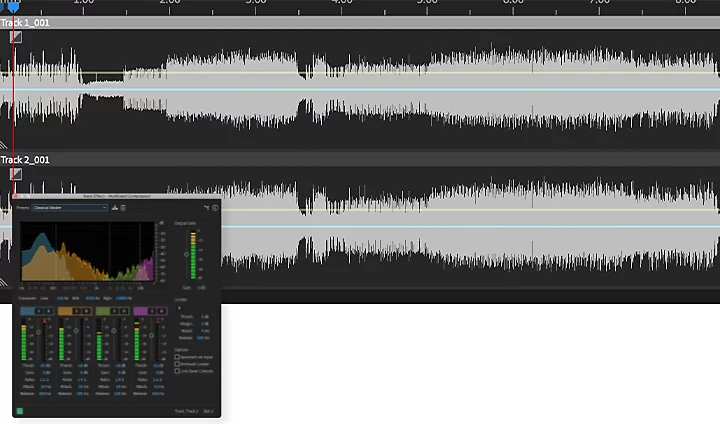
Parallel compression is achieved by mixing an unprocessed or lightly compressed signal with a heavily compressed version of the same signal. This reduces the dynamic range by bringing up the softest sounds.
Sidechain compressor
Best for: Bass guitar and kick drums in dance pop music.
In sidechain compression, the effect level of one instrument is controlled by the volume level of another instrument. When the kick drum sounds, the bass can be set to get more compressed so it can keep cutting through the mix, creating the pumping sound you hear in dance pop mixes.
Multiband compressor
Best for: Vocals, acoustic guitar, drums.
A multiband compressor allows you to split a track into different frequency ranges and compress them independently. For example, it can reduce the low end of a vocal when it’s too boomy and leave it alone when it sounds fine.
Pro tips for fine-tuning your audio.
Before you dive in, here are a few tips from the pros to help you get a good grasp on the basics of audio compression.
Compress with a purpose.
It sounds intuitive, but producers and mixing artists can’t stress it enough: “You don’t want to arbitrarily use compression. There needs to be a reason, because you don’t always need to use a compressor. Listen to the sound and figure out if there are any issues by asking yourself questions like, ‘Is there too much attack on this? Is the back part of the sound disappearing? Do I need to bring that up?’ You always want to go in with a plan for whatever you’re doing,” Rodocker says.
Experiment with subtle changes at the beginning of the mixing process.
It will help you really hear what each element is doing, and from there you can dial back to fine-tune it. “More subtle changes add up to a much bigger picture than one thing doing a huge amount of work,” Berry explains. “That’s where people tend to get stuck first. They’ll throw on one compressor and squash the sound immediately, expecting it to sound bigger and better.”
Combine different compressors to achieve your desired effect.
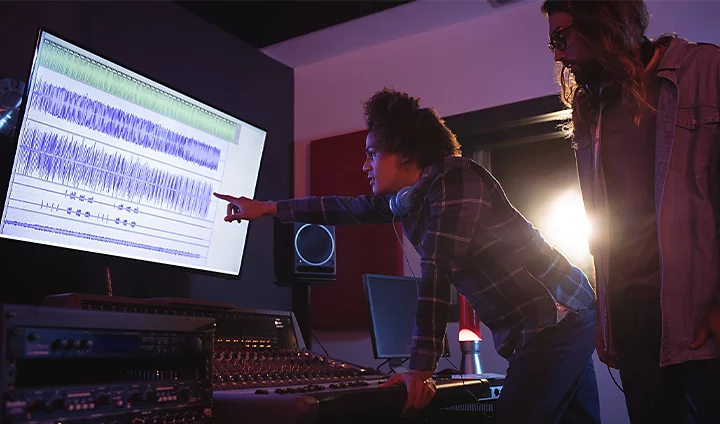
When you have a lot of dynamic elements to address during the mixing process, it can be helpful to combine two or three compressors to gently compress at different stages rather than apply excessive compression at one point. “It’s way more transparent and less noticeable to use several compressors — and still gets the same point across without really having to slam down on any one vocal or instrumental,” advises Berry.
Accelerate your editing with the right digital audio workstation (DAW).
DAWs like Adobe Audition allow you to add plugins, visually preview audio edits as you apply them, and repair and restore audio to achieve a polished mix with pristine sound. “DAWs make starting a project seamless. There are handy drop-down menus where you can choose things like your bit depth and sample rate, so you don’t have to type in exact numbers or specifications,” says Berry.
Whether you’re playing with different compressors or experimenting with new plugins, always keep one thing in mind: Audio compression is all about balance. As a tool that’s used primarily to reduce dynamic range, an audio compressor requires a careful approach to bring out the best in your mix. Start by getting a basic command of each control and then put them into practice using the five main types of compressors. You’ll be one step closer to finding your signature sound.
https://main--cc--adobecom.aem.page/cc-shared/fragments/seo-articles/do-more-audition-color-blade
