Photography
Enhance your outdoor photography with an ND filter.
Landscape photographers use neural density (ND) filters to capture outdoor scenes without overexposure. Learn to work with ND filters to up your open-air photo game.

Photography
Landscape photographers use neural density (ND) filters to capture outdoor scenes without overexposure. Learn to work with ND filters to up your open-air photo game.
ND filters are like powerful sunglasses for your camera, offering a cool, stylish shade when the light’s too bright. Dive into the differences between graduated and variable neutral density filters, circular and linear polarizers, clip-in, square and circular filters, step-up rings, and more. Plus, get pro tips on using NDs filters with mirrorless cameras, the best camera settings, and how to keep your quality filters in tiptop shape.
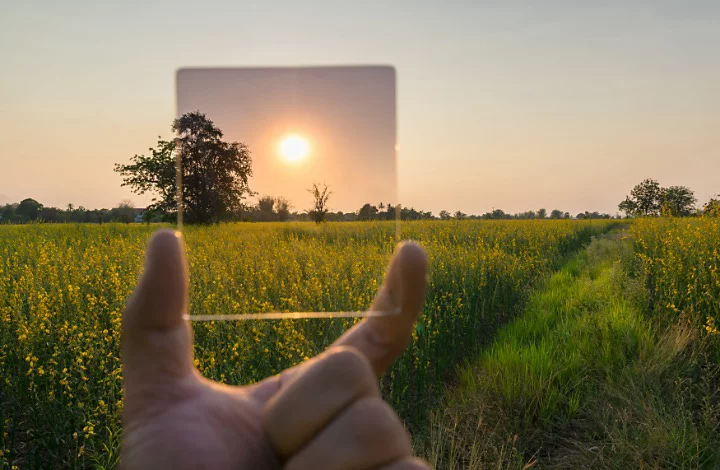
A neutral density filter, or ND filter, is a physical filter made of resin or glass that attaches to the front of your lens. They can be used on film or digital cameras and block out some of the light in your image. If certain areas are too bright for your desired camera settings, an ND filter may be the solution. Less light enters the lens, because the filter in front of it has a higher optical density.
“The way I like to describe ND filters to people who aren’t familiar is to say they’re basically like sunglasses,” explains photographer Francisco Joel Hernandez, who often uses an ND filter for his outdoor portrait photography. “And depending on how much darker you need your image to be, you choose a certain type.”

ND filters can serve multiple purposes. They filter out excessively bright light and enable the use of a longer exposure during broad daylight.
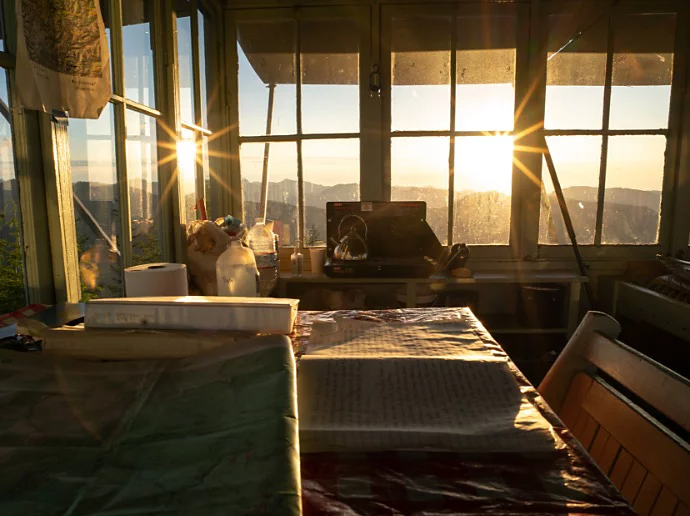
Neutral density filters are commonly used in landscape photography and nature photography because the bright sunlight can often interfere with certain photographic techniques. If you let less light into your photo, especially in images of the sky, that can help you retain more color and detail in those bright areas.

Image by Chris Sidla
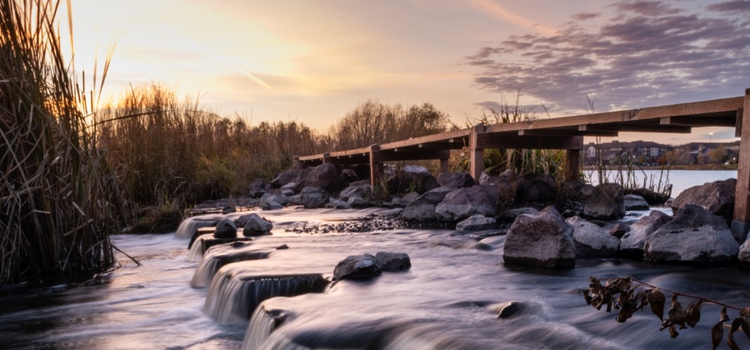
Because they reduce the amount of light that enters the image, ND filters can also be a great tool for creating daytime photos with motion blur. To achieve blur, you need to use a longer shutter speed or exposure time. A slower shutter speed means more light enters your lens, which causes your image to be brighter. This can be a problem when the sun is out. But with an ND filter, you can use a slow shutter speed without the image being too bright.
If you’ve ever seen a photo of a waterfall or a stream where the water looks silky smooth, that photo was taken with an ND filter and a longer shutter speed. “If I were to take a waterfall and shoot it with no ND filter, I’d have to shoot at a higher shutter speed to keep the lighting even,” says photographer Chris Sidla. “But with an ND filter, you can bring down your shutter speed and see a softening in the areas where there’s motion in your image.”

Image by Chris Sidla
Neutral density filters come in many different types and intensities, so you can find one that’s perfect for the look you want. Filters are named for their opacity or for the amount of “stops” of light by which it darkens your image. A 1-stop ND filter blocks only a small amount of light, while a 10-stop ND filter darkens your image significantly.
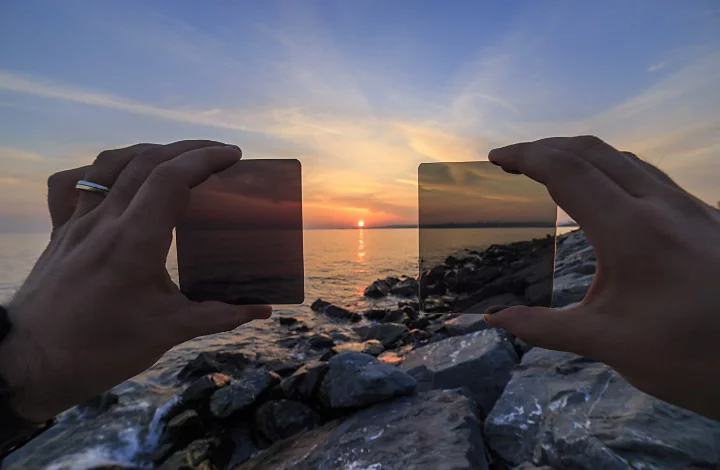
Normal or solid ND filters have the same amount of darkening across the entire filter. Graduated ND filters, also called GND filters, feature a varied amount of darkening across the filter. Some create a vignetting effect by being darker in the center and gradually getting lighter on the outside rim. These can lessen the reflection of the sun on water, for example.
Other GND filters are darker on one half and lighter on the other; this type of filter is great for outdoor photos that feature the sky. The darker top can help retain the color of a vibrant sunset while the unfiltered bottom helps bring out as much light as possible on the ground.

Most filters are round and screw directly onto your lens. However, square filters that are held in front of your lens by a metal frame can be a great option, especially for graduated filters that are half dark and half light. Square filters provide the option to slide the filter up and down to adjust how the gradient aligns with the horizon of your scene.
A variable ND filter is a filter that can be adjusted to block out different stops of light. This lets you go from two to eight stops of darkening without the purchase of several different filters.
Polarizing filters are a unique type of filter that polarizes light and therefore removes or lessens the appearance of glare and reflections. These can help enhance the color and detail in photos of glass, water, the sky, buildings, plants, and more. The two main types of polarizing filters are circular and linear, and each polarizes the light in different ways. You can also purchase filters that do the jobs of both a polarizer and an ND filter at once.
“One of the things that I didn’t know early on is that ND filters are sized specifically to the diameter of the lens itself,” says Sidla. “And the problem with that is that the landscape photographer could have three, four, or five lenses, and they don’t typically have the same diameters.” Step-up rings are essential tools for this reason. These are screw-on adapters that can help fit larger filters onto your smaller lenses.
High-quality ND filters are an investment, so it’s best to buy one that is sized to your largest camera lens, and then purchase step-up rings so you can use that same filter for your smaller lenses as well.
Another way to avoid the purchase of multiple filter sizes is to try a clip-in filter. “It’s a filter that doesn’t go on top of the lens, but actually goes in front of the camera’s sensor,” explains Hernandez. “It’s game changing. You buy this filter, put it in front of the sensor, and you can use any lens you want.”

Image by Chris Sidla
ND filters can help you create dramatic images when used well. If you find the correct exposure in-camera with an ND filter, you’ll get a higher image quality than you would if you adjusted your light settings in post-processing software.
“The major pro of ND filters is that you’re going to get more image information for your editing process by shooting more correctly for the light,” says Sidla. “You can make up for some of that in post, but typically, you’re going to get better results by having everything right in-camera.”
To get the most out of ND filters, experiment with your exposure settings to get it just right. Take some test shots and adjust as you go. Because the filter will alter the light in your image, remember that what you see in your camera’s viewfinder or live view might not be an accurate representation of your final image.

Images by Chris Sidla.

Mirrorless cameras often work better with ND filters than DSLRs do when it comes to focusing and seeing an accurate depiction of your image through the live view. “I always recommend that if you want to use an ND filter, it might benefit you to use a mirrorless camera,” says Hernandez.
ND filters have a direct relationship with ISO, shutter speed, and aperture. Filters allow you to use your chosen shutter speed and aperture in conditions that would normally result in an overexposed image. And they are a better alternative to ISO adjustments, which can introduce noise or grain into your image. In addition, ND filters can help you take portraits in bright conditions with a shallow depth of field and without overexposing your subject.
“Keep in mind that when it comes to filters, it’ll definitely affect your images if you get something cheap,” says Hernandez. “I had one shoot that was ruined because of a poorly made variable ND filter.” Invest in the best ND filters that your budget allows to avoid things like unintentional blur or color casts that you would need to edit out in post.
To protect your investment, treat your filters as carefully as you do your lenses. Use a protective filter holder and carry a microfiber cloth in your camera bag to keep dust and lint from getting trapped between your lens and filters.

Image by Chris Sidla
Rent a kit and practice everything you can do with filters. “Your typical starter filter kit might be screw-on filters, which are a 3-stop, 6-stop and a 10-stop filter,” says Sidla. “Then once you understand how the process works, you can see if you need a different, specific type of filter.”
With the right ND filter, there’s no need to wait until golden hour to take beautiful pictures outside. Explore what you can do when your camera wears the right shades. Then perfect the light and tone in your creatively exposed shots with the helpful tools and tutorials in Adobe Photoshop Lightroom.