Exploring light painting techniques.

With the right camera settings, photographers can turn moving lights into bright, dynamic images. Learn the basics of how to light paint so you can create glowing images using motion and longer exposure times.

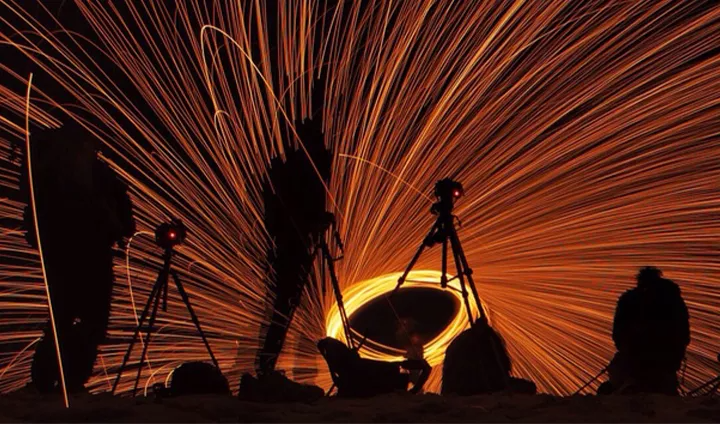
Person doing light painting photography at the beach

What is light painting?

Light painting is the art of creating photos by setting long exposure times on a camera and using a moving light source to “paint.”

A light painting photographer opens a camera’s shutter and keeps it open, as they draw in the air with a light source. The finished product is an image of that light source’s path: lines of light through darkness, creating a glowing image in the open lens during the long exposure time. “It’s long exposure photography,” says light painter Kris Foot. “You’re opening the shutter for a longer period of time and using either lights that are already there or controlling your own lights.”

Sometimes light painting photography takes advantage of preexisting light sources. It’s possible to open a shutter as stars and planets trace paths across the sky or as car headlights streak down a highway. Some of the most memorable types of light painting rely on light sources produced by the artist. Using a torch, illuminated tube or flame, artists can paint nearly anything with light. It’s just a matter of precision, patience and creativity.


The technical side of light painting.

Light paintings are long exposure photographs. To be a truly effective light painter, you need to understand how the camera works and how to control different parts of what photographers call the exposure triangle: shutter speed, aperture and ISO.

Multiple cameras pointing at a spiraling light at nighttime
  • Shutter speed is how long you leave the camera’s shutter open. In general, low-light photography favours longer shutter speeds to let in more light. Light painting is even more extreme than conventional nighttime shots. Lengthy exposure time is what allows for light painting to function — some light painters will leave their shutter open for over an hour just to get a single image.

  • Aperture measures how much light your camera lets in, and is often referred to as a camera’s f-stop. Light painting demands a narrow aperture. Narrow apertures usually have a high f-stop number and light painting often demands an f-stop in the 8 to 10 range.
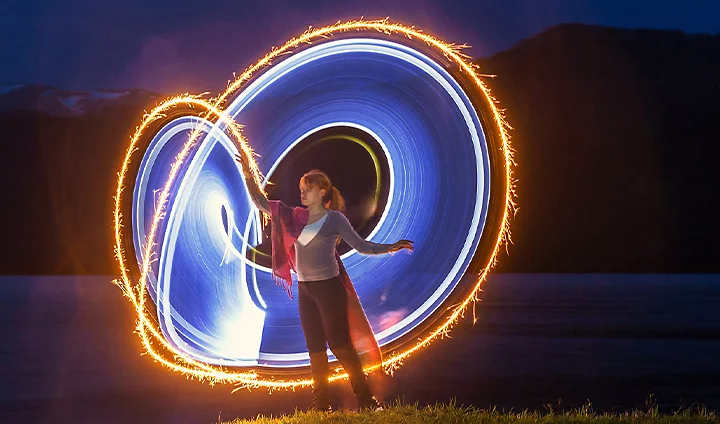
A person light painting with two light sources
  • ISO used to measure film sensitivity, but now it measures how sensitive a DSLR camera is to light. The higher the ISO, the more light a camera can pick up. Despite being all about light, light painting often happens at a fairly low sensitivity number, between ISO 100 to 250. You don’t want to set up your camera so it’s overly sensitive, otherwise you’ll get a saturated, blown-out image.
     

Camera presets are generally not made with light painting in mind. Successful light photographers have to learn how to shoot in manual mode and exert fine-grain control over their settings. “Learning how to shoot in manual is key,” says light painter Andrew Chin. “When you understand your exposure triangle, you will understand how the light is being affected and how each of your settings affects the end image.”


Setting up a light painting shoot.

Getting the shot you want involves more than just knowing your camera settings and exposure time. Light painting takes planning and practice. You must have an eye for ambient light and know how the environment is going to affect your shot.


It’s possible to do light painting in a dark indoor setting. However, many light painters want to juxtapose their illuminated images with the natural world or outdoor environment. If you’re going to shoot outside, you need to plan carefully. “Time of day is very key in your light painting,” says Chin. “You probably want to start shooting in the blue hour. That’s when it starts getting dark enough for you to start painting with light.”


Blue hour is the time just after sunset when there’s still some sunlight and the sky takes on a blue or purple hue. It’s a well-loved time for photographers because it offers the atmospherics of night photography, but with some natural light in the sky so details of the scene aren’t yet covered in darkness. Blue hour is a great time for light painting, provided you keep track of the ambient light.

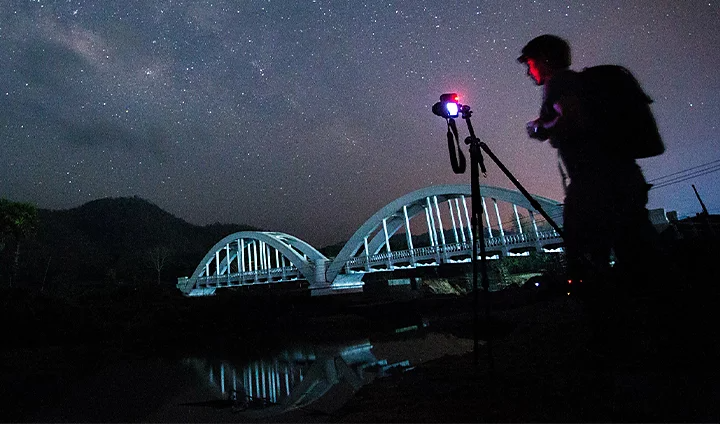
Photographer pointing their camera at the starlit sky

“Unlike photography where normally the light is consistent throughout your shoot, if you shoot at blue hour, that light changes five or ten minutes at a time” says Chin. Plan ahead, have a sense of how long remaining sunlight will last and time your shoot so that ambient light is more or less consistent during the time frame when you have your aperture open.


It’s also possible to wait until sunlight has faded from the sky entirely. Shooting in the dark of night usually means there’s less to keep track of, but blue hour will allow for more to be captured in your scene with your light painting.


Light painting tools.

Gear for light painters goes beyond photography tools and ventures into the realm of art supplies. Just like a painter needs brushes and a canvas, a light painter needs equipment that keeps the camera still and light sources that trace illumination through the dark.


  • Keep things steady with a tripod.
    A sturdy tripod is perhaps the single most important piece of equipment a light painting photographer can have. You’ll need to keep the camera set for long periods of time and that stillness depends on a reliable tripod that won’t shift on an uneven surface or sway in the wind. Make sure your camera is stable.        


  • Stay focused on painting with a remote shutter release.
    A remote shutter button is especially useful for a light painter who’s going to spend a lot of time in front of the camera making images with light. With a remote trigger, a painter doesn’t need to rush behind the camera and potentially put a blurry shadow of themselves in the frame. Instead, they can focus on painting.


  • Light sources.
    Just about anything can be used as a light source. Some companies do sell products specifically marketed as light painting brushes, but as long as you can turn something into a moving light source, it can be used to paint with light. Small torches on a string are a perfectly fine source of light. Generally you’ll need something to dim the light of the torch just a little bit, so taping a bit of parchment paper or a ping pong ball over the light source can often get you just the right amount of illumination, depending on how intense the bulb is. Glow sticks are also a great low-budget way to do light painting or light drawing. Experiment with different light sources, find out what makes the kind of light streaks you want and don’t limit yourself to just one source of light.
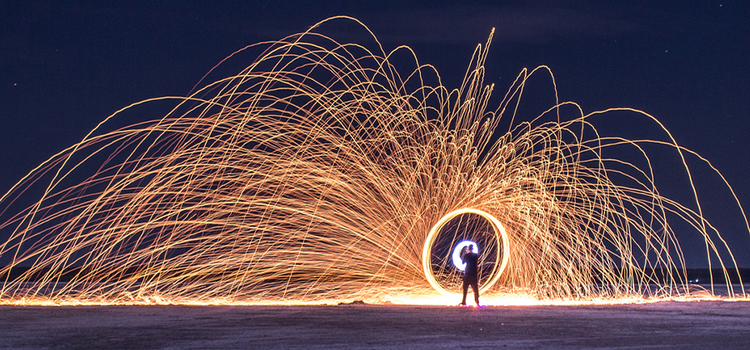
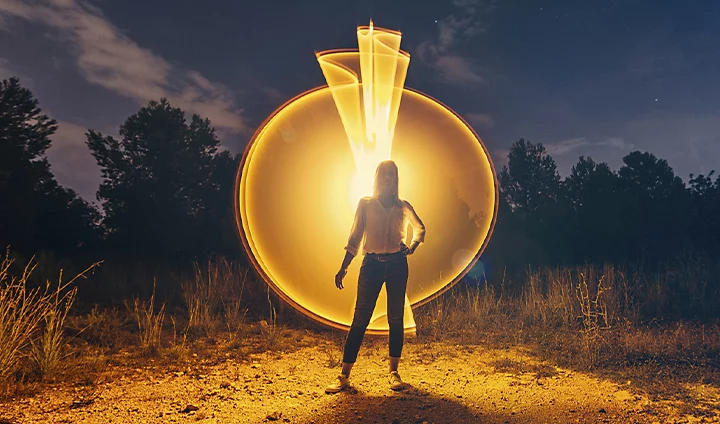
Person standing in front of a light painting

For advanced light painters, fire is also popular and spinning flaming steel wool for your shots can yield dramatic results. Be advised, painting with fire can be very dangerous, so follow all local laws and guidelines in your area.


  • Paint in the sky with drones.
    Light painters often use the dark of night as the backdrop for their work and few backdrops are more dramatic than the heavens themselves. Drones, when rigged with lights, can allow you to simulate shooting stars, put your own imaginary galaxy next to the Milky Way or write a message in the stars.

  • Improvised equipment.
    Light painters are artists and artists find inspiration everywhere. That includes being creative with their tools. “You can get a two-litre bottle, jab a light into it and wave it around,” says Foot. “You can make tools out of everything.” If something produces, focuses, refracts, reflects or otherwise plays with light, there’s a chance that you can use it to create light painting. Is there a piece of plastic sitting around your house that bends light in an interesting way? Try that in your art.


Express yourself with light.

Ultimately, the most important technique for light painting is self-expression. Light painting can mean drawing floating orbs of light in the air or sketching figures with light drawing. It’s emulating street art with light graffiti and enhancing fashion shoots with impossible images of glowing motion. Find the photographic techniques and light sources that work for you and create the images that inspire you.

Contributors

Do more with Adobe Photoshop.

Create beautiful images with Photoshop brushesContent-Aware FillPhoto effectsNeural FilterSky replacement and the many tools photographers rely on.

Explore the Photoshop family of apps.

You might also be interested in…

Ballet dancers performing on stage - Shutter speed photography | Adobe

Understanding shutter speed.

Discover how adjusting shutter speed can help you capture clean shots or motion-filled moments.

Japanese city at night - Night photography tips | Adobe

Night Photography.
Low light doesn’t have to equal low quality with these tips for successful nighttime photos.

Double-exposure of translucent woman with mountains behind her.

The world of double exposure photography.

Explore double exposure photography and learn how to create one yourself.

Stunning nature photograph of wildebeests stampeding into a river.

Tips for capturing nature photos of all kinds.

Explore the possibilities of nature photography, from animals in motion to sprawling landscapes.

Get Photoshop

Image editing and compositing.

7 days free, then 26,43 €/mo.