Get started with easy drawings.
Develop your drawing skills by following these simple drawing tips and exploring several step-by-step tutorials.
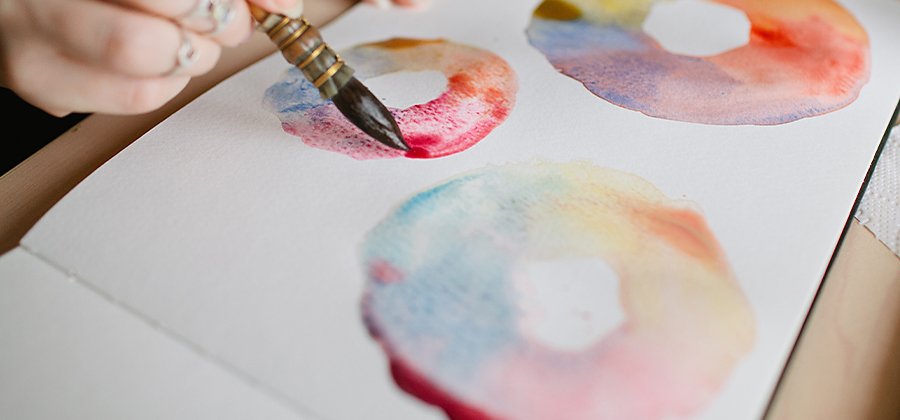
Find your drawing style.
From pencil drawings of superheroes to digital studies of dandelions, from a Pokemon doodle in a sketchbook to a manga-style watercolour, the key principles of drawing remain the same: Pay close attention to shapes and how they relate to each other in space, take your time and practice.
To represent a three-dimensional subject in two dimensions, you have to think about the whole form. “You’re not just drawing what you see in front of you. You’re drawing the other side as well,” says artist Lucas Elliott. In order to create the appearance of depth, you have to break the subject down into circles, rectangles and triangles and then mould those as you might a block of clay. As you refine your lines, try to imagine how the figure would look from every angle.
The more examples you have, the better you’ll understand the form you want to draw. “Look at references. The more you learn about a subject, the better,” says artist Kevin Jay Stanton. To find reference images, you can start with a search of Adobe Stock.

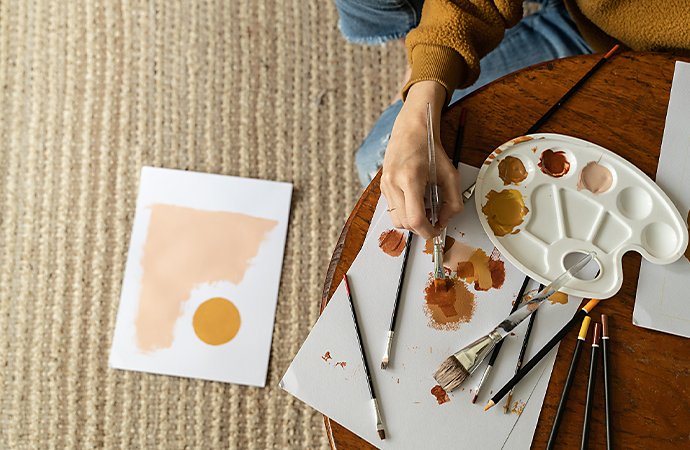
Set rules for yourself.
Limitations can help you to develop your skills. For example, as you fill your sketchbook, start with a limited colour palette to avoid getting distracted by all the possibilities. “Picking a colour that I love and picking two more colours that look nice with it really improved my colour sense,” says Stanton. He adds that you shouldn’t bind yourself to such a rule for too long. When it doesn’t serve you any more, start to break it.
Drawing is fun if you’re excited about what you’re drawing. If you’re interested in fruit, draw a still life of fruit in a bowl. If you’re interested in spaceships or cartoon characters, draw those. “Really pay attention to how they’re drawn,” says Elliott. “If you’re drawing from someone else’s drawing, focus on how they build their lines. If you’re drawing from real life, pay close attention to the objects and the space around them.”
For larger compositions, make a grid.
If you want to recreate a photo or draw a picture with several different elements, gridlines can help you to figure out where everything belongs. “If you have a photo or illustration that’s broken down into quadrants, you can start with one little section and get that section done first and then move on to the next one. Just make sure that you are still connecting it to the previous section so they still relate to one another,” says Elliott.
Practice with these easy drawing ideas.
Get practical advice from professional artists and follow these simple step-by-step guides. After you’ve had some practice, combine a few into a single picture.
How to draw a bird: Because birds come in all shapes, colours and sizes, start with reference photos of the type you want to draw. Then draw the basic shapes that make up the bird: an oval or teardrop shape for the body, a circle for the head, a triangle for the beak and maybe a thin rectangle for the tailfeathers. Don’t forget the feet if the bird is perched on something. Then it’s just a matter of adding layers of detail and using lines to suggest feathers. To add colour, try using the watercolour brushes in Adobe Fresco.
How to draw a dog: There are many different breeds and many variations within breeds, so study reference photos closely. Whether you’re drawing a cute dog or a fierce one, the first steps are the same: Get a sense of the shapes of all the different body parts and then try to capture those and their relationships to one another. Pay attention to the eyes, where much of a dog’s personality lies.
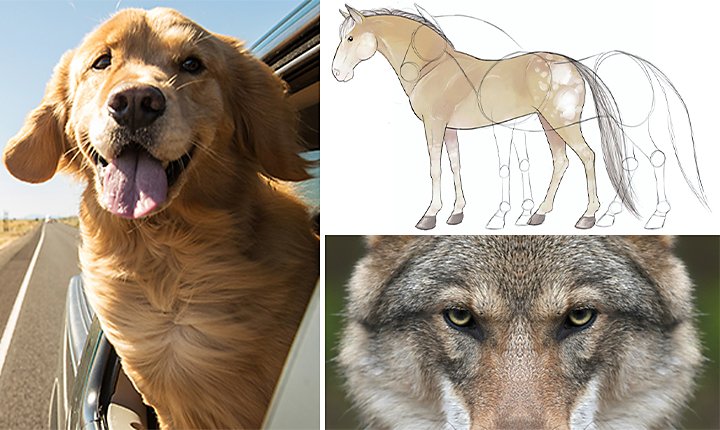
How to draw a wolf: Wolves are cool things to draw, but remember that wolves are more than just large dogs. Their wildness is apparent in their leaner bodies and longer legs and their predatory nature shows up in their eyes, which sit more on the front of their faces than dogs’ eyes. Their eye colour also tends to be a bit lighter.
How to draw a horse: Once you’ve looked at some reference photos, sketch the circles and curved lines that make up a horse’s torso. Begin the head with two circles connected by a line and gently curved triangles for the ears. Then it’s on to the legs, more circles connected by lines. Remember the front legs move differently from the back legs, so focus on horse anatomy to supplement this drawing guide.
How to draw a rose: Flowers can be a subject for easy doodles, but to really capture a rose, break the plant down into its basic parts. Then break those parts down into their basic shapes. Stems are cylindrical, petals are shaped like hearts or tears and leaves tend to be serrated. Create a layer of those basic shapes and then start with the centre of the flower and begin adding petals.
How to draw a face: To accurately capture the proportions and features of the human face is an important skill. Follow the steps in this easy drawing tutorial to learn how to divide the face into thirds, find the right places for each of the facial features and then make adjustments to capture the particular shapes of your subject.
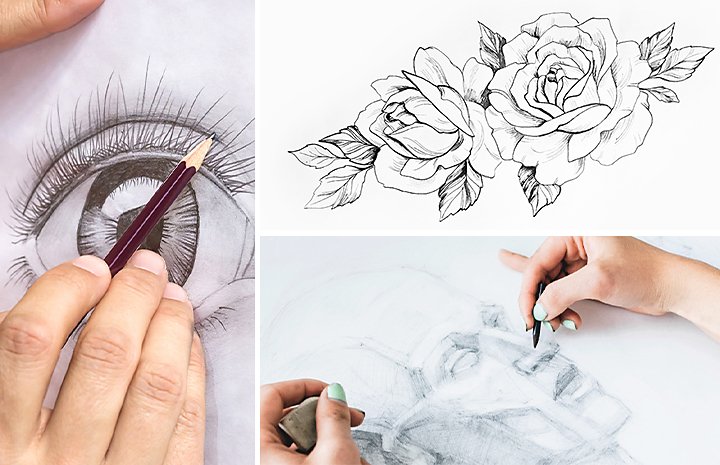
How to draw eyes: Because eyes convey so much emotion and personality, they’re a crucial aspect of any portrait. Get a quick anatomy lesson and follow the steps, from drawing the sphere of the eyeball to getting the lids and lashes right.
How to draw a nose: Figure out where the nose belongs on the face (the highest point of the bridge tends to sit right in the middle) and then think in terms of shapes. Begin with a triangle and adjust to fit the particular face. Learn to capture shadows to add depth to a nose with the final steps in this drawing lesson.
How to draw a mandala: Lower your heart rate and blood pressure as you create a beautiful mandala design. Begin with a circle and then add rings of U or V shapes around it and let yourself enter the flow.
Check out more tutorials on drawing everything from maps to fantastic creatures.
Refine your drawings with layers.
“Most art is taking a simple shape and then making it more complicated,” says Stanton. That’s why drawing digitally is easier and faster than with pencil or pen and paper. With Fresco, you can use layers to take your sketch from basic outline to fully realised portrait, easily hiding or removing lines and marks that you want to improve on. Find the right shapes on one layer, then lower that layer opacity to lighten your markings. Create a new layer, on which you can trace over your sketch and refine your subject without erasing old lines. Then you can add another layer and begin to draw even more detail and add colour.
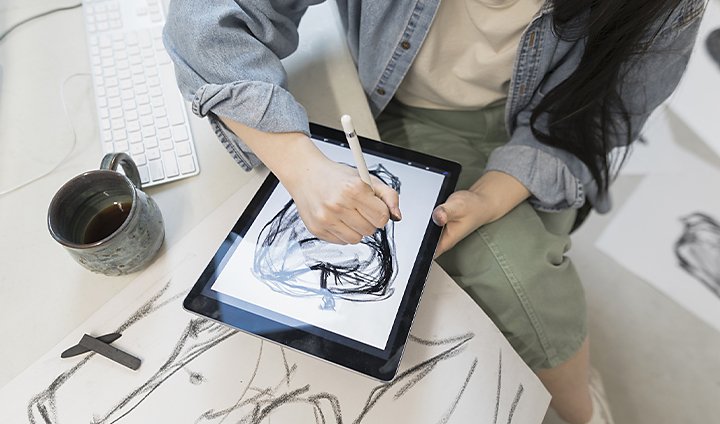
And don’t be too hard on yourself. To improve your drawing skills, you may fill journal after journal with sketches before you achieve the look or style you want. “Don’t be afraid of a bad drawing. It’s more important to practice than it is to have a polished piece at the end,” says Stanton.
Keep at it and you will get better. With practice, you’ll gain confidence, develop your own style and build your portfolio. These may be just the first steps on your way to a career in comic book art or children’s book illustration.
Contributors
You might also be interested in…
How to become a professional illustrator.
Get tips on portfolio creation and art presentation to help you kick off a new career.
Get tips on how to draw this challenging bit of human anatomy.
Get an introduction to the illustration style of Japanese comics.
Learn more about creating art and illustration with this versatile file type.


