Create a captivating visual story with video mixing.
Import, mix and edit multiple files into one seamless clip with Adobe Premiere Pro. Learn how layering techniques are integral to video mixing.

What is video mixing?
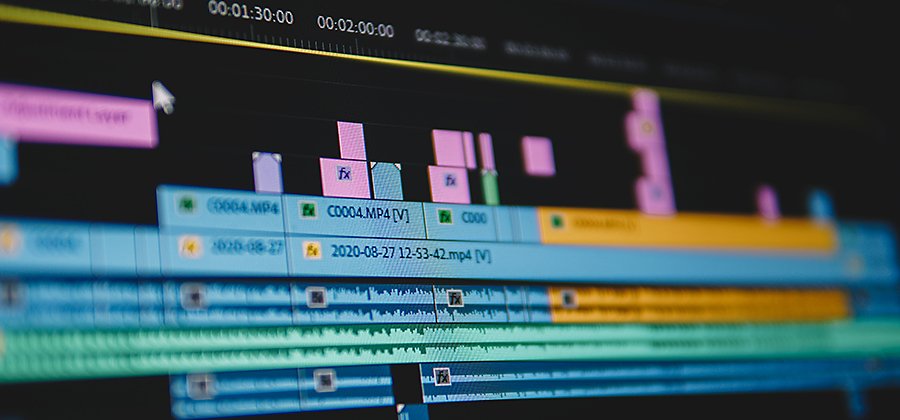
Similar to video editing, video mixing is the process of cutting different audio and video files together to create one video. With video mixing — often used for multiple-camera sequences — you can import your video production clips, then drag and drop sound into your project timeline in a way that creates the best storytelling for your project. During mixing, you can also sync audio and video together if they were recorded separately. You can even mix in other types of video and audio sequences such as dialogue, B-roll, sound effects and music before adding your sequence to the rest of your editing workflow.
Discover how video editing software like Adobe Premiere Pro can help you to edit and mix audio and video.
When to use video mixing.
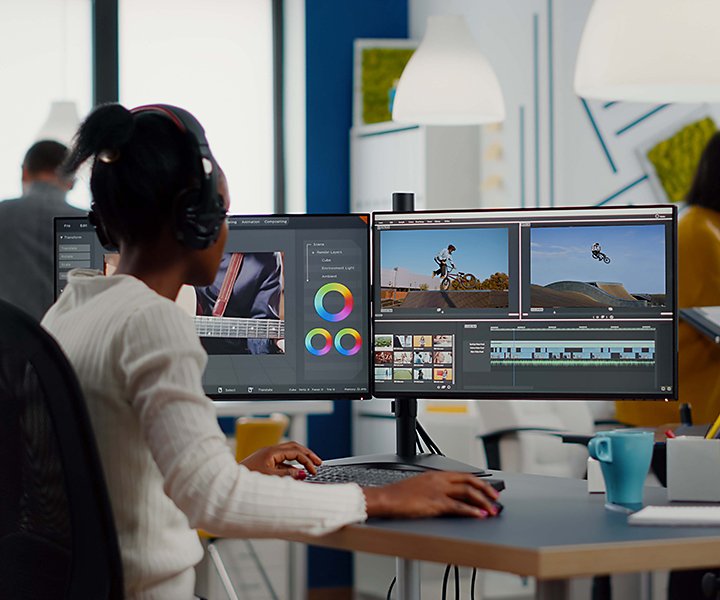
Video mixing synchronises audio and video together across many types of footage. For example, you can video mix interview-based videos or TV shows that have footage from two cameras (sometimes called the A cam and B cam) and audio that needs to be mixed. Also called multicam editing, this technique is for projects where more than one camera is on set.
“You can sync up An and B cam footage with audio into a multicam clip,” says editor Cody Liesinger. “So when you load that clip into your viewer, it’s all synced to the right audio. That’s multicam editing — and now it’s called video mixing.”
You can also use video mixing to edit videos together into sequences like a montage, unifying a series of clips and audio to create a single cohesive piece of storytelling.
Import and organise audio files.
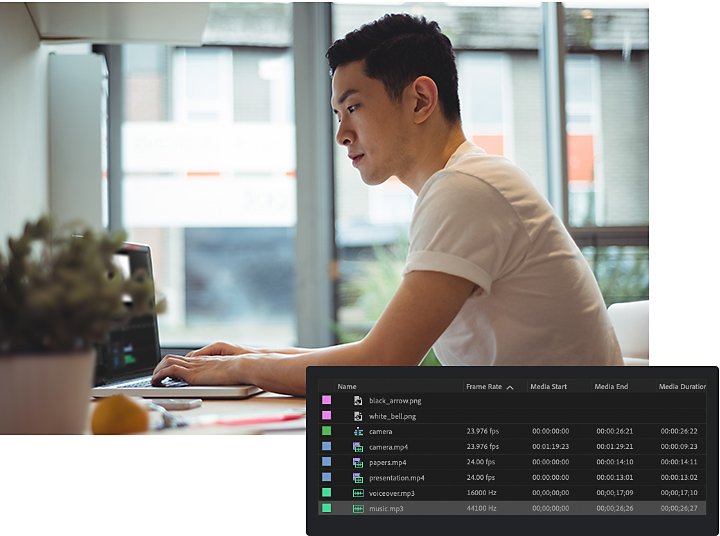
Before you mix your video, you need to add audio to your project. Premiere Pro offers a couple of different ways to add audio to a video clip and has a workspace that automatically opens all the necessary panels you’ll need to work with audio. Each clip has icons that represent audio or video in your timeline.

To bring in your content:
1. Select audio files and drag a clip or the full audio, into your timeline. (It will show up as a green waveform icon.)
2. Double-click the icon to view the waveform in the source monitor.
3. Make your audio editing selections, then drag those selections in as their own sub-clips.
Rearrange your clips.
Much like video files, you can move audio clips around in the timeline. You can use most of the same tools, such as Razor, to split an audio clip into separate segments and then move those individual segments around.
Aside from just rearranging them, you can also add, select and delete keyframes. A keyframe marks the point in time where you specify a value, such as audio volume. There are several audio effects and transitions you can add, like fade in, fade out and cross dissolve. You can work with keyframes either in the Timeline or Effect Controls panel.
When it comes to post-production, file organisation is essential for a team to work efficiently on video mixing. “Every place I go, I have to fight to templatise folders and unify naming conventions,” Liesinger says. “The less time you spend trying to find out where your files are, the more time you can spend making stuff. The editor’s job is to become intimately familiar with everything you have because it allows you to be fast and make choices within a broader context. And that’s all editing is — how well can you tell a story and how fast.”

How to mix videos.
Video editing is a skill that takes practice. While there are many different ways to combine clips, trial and error — and the experience that comes from it — will help your editing abilities grow.
For video mixing, start by annotating the timeline where you want the secondary audio to be added. Then you can drag and drop the audio and let Premiere Pro process the file.
In the Project panel or Timeline, you also can merge videos and audio in a group. Just hold down the Shift key, right-click and select Next, then rename your group. When mixing these two components of a video, an editor can tap into visual and auditory content to create a captivating story. Using the right tools for video mixing will lead to better storytelling.
“As far as video mixing goes, that’s just a fundamental aspect of being an editor,” says Liesinger. “Audio and video are meant to be together — and they’re meant to work in combination. You can leverage one above the other in a way that services your story and creates unexpected moments that help you to fluctuate pace.” Consider the pacing or rhythm of your video, along with the emotion, story, voiceover, sound and how you want the viewer’s eyes to move through your video.
Adding video effects and overlays.
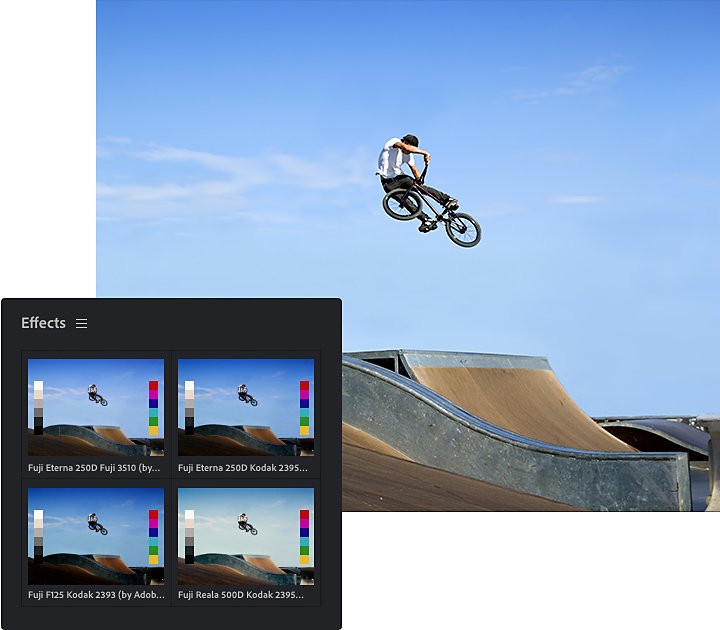
From experimenting with light leaks and lens flares to adjusting colour in your videos, visual effects can add a lot to your footage. You can add professional video effects easily with Premiere Pro. The most basic overlay effect you can use is opacity, which refers to how transparent something is. Other effects you can experiment with are making a VHS glitch, adding J cuts and L cuts, using faders or creating an overlay.

How to create a video overlay effect.
1. First, import your footage into Premiere Pro.
2. Add your footage to the timeline.
3. Go up to File › New › Adjustment Layer.
4. Take the newly created adjustment layer and put it above your footage on the timeline.
5. Go to Effects and choose any effect.
6. Take your effect and drag it onto the adjustment layer.
7. Go to Effect Controls and go down to the effect you chose. This is where you want to experiment.
8. To apply a blend, choose an option in the Blend Mode menu. With certain effects, blending can affect the strength of the effect.
You can use the blend modes to get exciting effects. Blend modes choose how a layer is going to be combined with another layer underneath. For example, if you select the Dark blend mode, it will only let through the pixels that make the underlying image darker.
Mix it up in Premiere Pro.
While correctly mixing audio and video clips is a balancing act, Premiere Pro makes it easy with the right features. You can add video, audio and graphics without worrying about formats — Premiere Pro can work with AVI, MPG, WAV, WMV and other popular audio and video formats.
One of the benefits of mixing or editing in Premiere Pro is that it’s a familiar-looking timeline-based video editor. You can trim clips, crop videos and rearrange scenes all in one place. Its intuitive controls let you get exactly the look, sound and feel you want.
The audio capabilities of Premiere Pro are fully dynamic and user-friendly, making it a powerful tool to remove background noise, improve clarity and enhance soundtracks. This video mixer works best with Adobe After Effects and is compatible with Adobe Creative Cloud if you need more special effects, sound effects or plug-ins. You can learn more about how to add effects with this tutorial.
Contributor
Do more with Adobe Premiere Pro.
Make visually stunning videos virtually anywhere — for film, TV and web.
You might also be interested in…
See how this technique can help bring a stylized and evocative effect to your work.
Get an overview of keyframe animation in Adobe After Effects, Animate and Character Animator.
Edit videos on your phone.
Use Adobe Premiere Rush to edit video clips and merge them into one video file for web or social.
Get Adobe Premiere Pro
Create flawless productions with the industry-leading video editing software.
7 days free, then A$32.99/mo incl. GST.


