![]()
Photography
Expert product photography tips.
Dive into the world of product photography, where the perfect shot could mean the difference between "just browsing" and "add to cart".
Photography
Dive into the world of product photography, where the perfect shot could mean the difference between "just browsing" and "add to cart".
Product photography might sound like taking pictures of stuff, but there is a whole art to it. It is essentially the commercial form of still-life photography. From getting those clean, crisp images that make your online shop look professional, to creating those cool lifestyle shots that show off your products in real life, there is a lot to learn. So, whether you’re aiming for those straightforward shots for your Etsy store or dreaming up a scene that tells a story, we’ve got the lowdown on making your products look their best.
Product photography is more than just taking pictures; it is about creating an image that makes the viewer stop and look. In the digital marketplace, where a picture can speak a thousand words, getting those clean, distraction-free images becomes crucial. It is these images, often set against a stark white background, that allow the product's details, colours, and design to take center stage. Such clarity and simplicity make it easier for customers to understand what they are purchasing, enhancing their online shopping experience.
Communication with your client before the shoot is crucial to aligning your creative vision with their commercial objectives. Understanding their needs—whether it's capturing the product from a certain angle or ensuring the brand's label is prominently displayed—is key to a successful shoot. This upfront planning ensures that every shot precisely targets the client's requirements, making each product image a powerful tool in the competitive online marketplace.
Choosing the right gear can make all the difference in product photography. “I almost always use my 50 mm lens with my DSLR camera,” notes product and food photographer Sarah Aagesen. “I’ll also bring a 20 mm for wider-angle shots and a macro lens in case there are small details I need to capture.” Having a variety of lenses means you’re ready for whatever the shoot throws your way.
With a stationary product photo, ditch the autofocus function on your camera. “If your subject’s not moving, there’s no reason to use autofocus. Place your camera on a tripod and use manual focus,” explains professional photographer Jason Deymonaz. Also, make sure that you use a shutter release cable, so you don’t unintentionally move the camera while taking a photo. If you’re taking multiple exposures from the same angle to composite later, this step can be particularly handy.
When it comes to displaying your products, every little detail counts. And as a product photographer, it is your responsibility to make the product look the best it possibly can. “I always have my cleaning kit with some glass cleaner, scissors and Goof Off to remove labels, fingerprints and dust,” says Deymonaz. This meticulous attention to detail ensures your product looks its absolute best right from the get-go, significantly reducing time spent on touch-ups later. And for those working with clothing or fabrics, remember, a smooth, wrinkle-free appearance is key to a professional look.
Now that your product is prepped and polished, it is time to focus on the scene. Opting for a simple, solid background — think classic white or deep black fabric or paper — helps your product stand out, minimising distractions and emphasising its features.
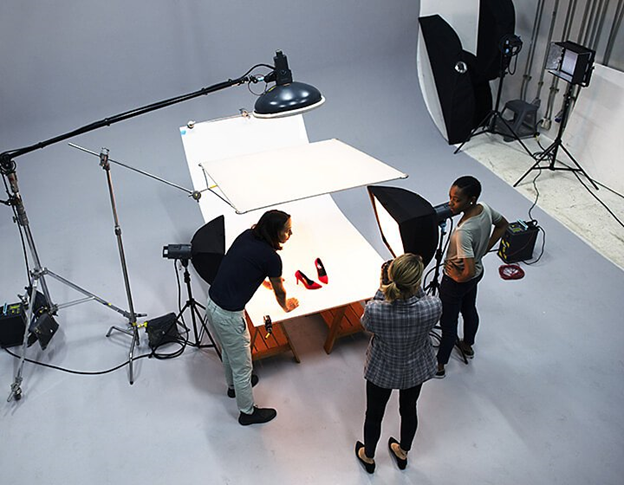
Lighting is crucial in product photography, and softboxes are your best friends here, offering a gentle, diffused light that softens shadows and highlights your product's best angles. For an even illumination, consider incorporating light tents — their wireframe structures draped in white fabric work wonders for creating an evenly lit, distraction-free environment.
“With product-only photos, I don’t recommend using natural light because it can change so quickly,” explains Aagesen. “You’re usually taking multiple shots from different angles and if you’re using light from a window, when it gets cloudy, you’re suddenly shooting in a totally different light.” Since natural lighting is changeable and difficult to replicate, photo studio lighting is often better for successful product photography.
Crafting the perfect product shot often means taking multiple exposures of the same shot. “I’ll take anywhere from three to ten different captures and composite them into one shot,” notes Deymonaz. This technique allows for highlighting several aspects of the product under the best possible light. Essential to this process are your lighting tools — strobes, reflectors, and other sources that offer flexibility and control. And for those intricate details or products requiring a narrow focus, focus stacking becomes invaluable, ensuring every part of your product is crisply captured.
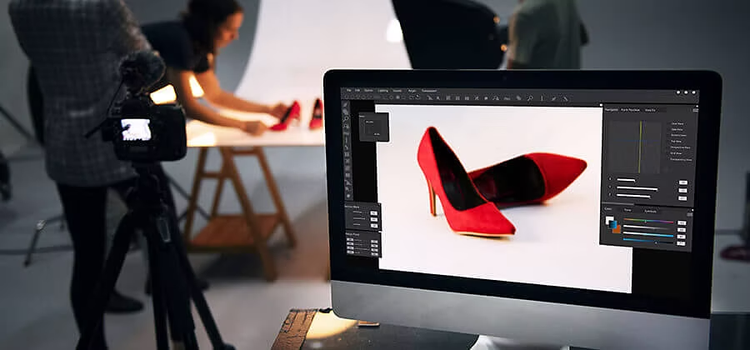
Editing is where good photos transform into great ones, and every photographer has their own process. “I always start editing by first adjusting any brightness and exposure issues,” says Aagesen. “I’ll then adjust the white balance, make sure the colours are just right and then I’ll edit the contrast, highlights and shadows.”
Turning a good shot into a great one often lies in the details of post-production. Whether it's balancing exposure, removing distractions, or precisely editing out imperfections, Photoshop’s extensive toolkit is equipped to handle it all. To help your photos stand out, check out these popular post-processing tutorials:
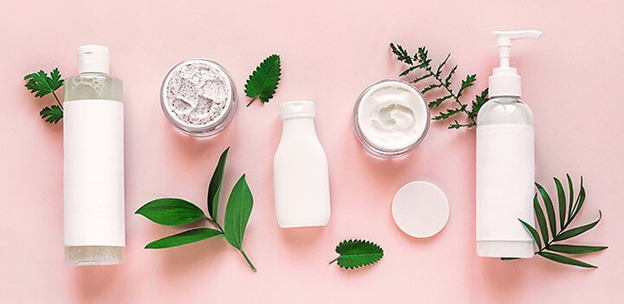
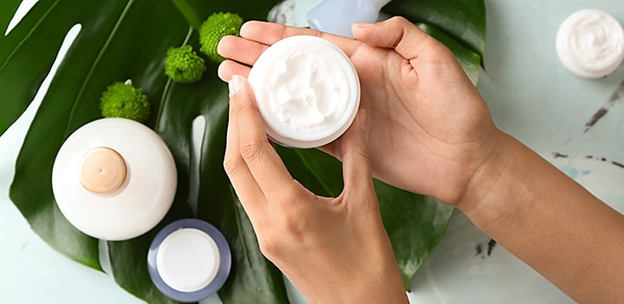
Lifestyle photography breathes life into your products, inviting viewers to imagine how these items could fit into their own lives. Unlike straightforward product shots, lifestyle images tell a story, creating a scene where your product isn't just present; it's actively enhancing the moment. While different from product-only images, many of the same rules apply for lifestyle photos.
When you introduce models into your lifestyle shots, remember, that they are there to complement your product, not overshadow it.” Aagesen explains: “They’re just supporting characters and the product is the star. You don’t need to show the model’s face in every photo.” Try taking close-ups of your product in someone’s hand to keep the focus away from the model and remember to try different poses to keep it looking natural.
A well-thought-out shot list is your roadmap to a successful lifestyle shoot, guiding you to capture all necessary angles and moments. However, the magic often happens in those spontaneous, unscripted shots that arise naturally during the session. Embrace these opportunities to let your creative flair shine, adding depth and diversity to your portfolio.
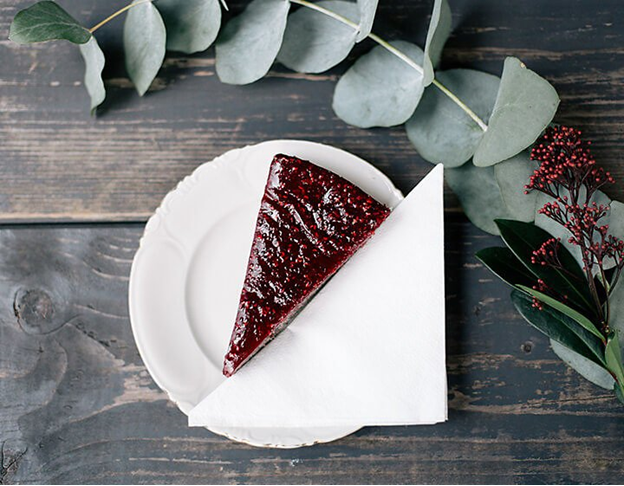
While natural light is not great for product-only shots, it’s often perfect for lifestyle photos. It can evenly and naturally light your scene without much effort on your part. “But be careful shooting in direct sun, since it can create harsh shadows, especially if your product is reflective or shiny,” notes Aagesen. If it is a particularly bright day, try shooting in the shade and use reflectors to gently direct light where it's needed most.
Captured a glare on your product or an unexpected element in the background? No worries. Adobe Photoshop offers a suite of tools to polish those lifestyle product shots to perfection.
Nailing the perfect product shot can seem daunting, but with these product photography tips and Adobe Photoshop at your disposal, transforming challenging captures into eye-catching masterpieces is within reach. Adobe Photoshop acts as your ultimate editing companion, empowering you to not just adjust but revolutionise your images. It is about taking those photographs and elevating them from ordinary to extraordinary, ensuring they capture and hold attention, compelling viewers to act. With the ability to fine-tune details, correct colours, and perfect compositions, Photoshop equips you to turn every product photo into an unforgettable visual story.
And once you have crafted those perfect images, dive into our community of talented Australian photographers on Adobe’s forums. Share your work, exchange insights, and draw inspiration as we collectively celebrate the art of product photography with Adobe.
Contributors

Based on your location, we think you may prefer the United States website, where you'll get regional content, offerings, and pricing.