How to draw a butterfly.
Follow this step-by-step drawing tutorial and learn how to transform simple shapes into a beautiful butterfly.
The butterfly effect.
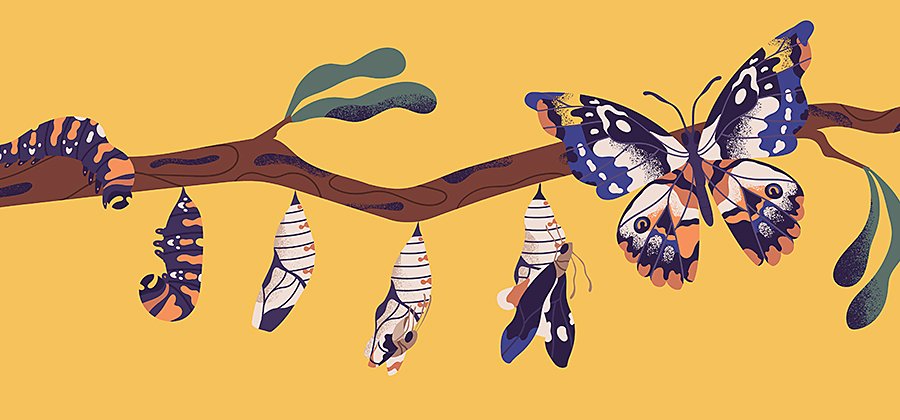
With bright colors, delicate wings, and whimsical movements, butterflies capture the imagination. In both detailed naturalist drawings and bright and bold Lisa Frank stickers, butterflies are everywhere. “But typically, simple ‘clip art’ butterflies are not what butterflies actually look like. That’s what they look like when pinned to a board,” explains illustrator Kevin Jay Stanton.
There’s more to the recognizable butterfly shape than two big wings. They can be a challenge to draw, but with reference photos and the right tools, you can transform simple curved lines into dynamic butterfly wings.
Get in a butterfly frame of mind.
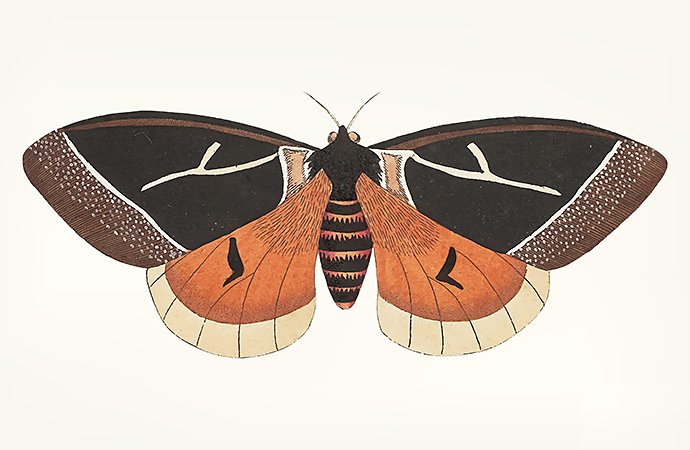
Before you jump in and draw a butterfly, you have to understand what they look like. “Analyzing your reference photo is going to be your number one job with any kind of naturalist illustration,” explains illustrator and comic artist Jonathan Case. “Any time you’re drawing an animal that you’re not familiar with, you really need to understand the geometry of that creature.”
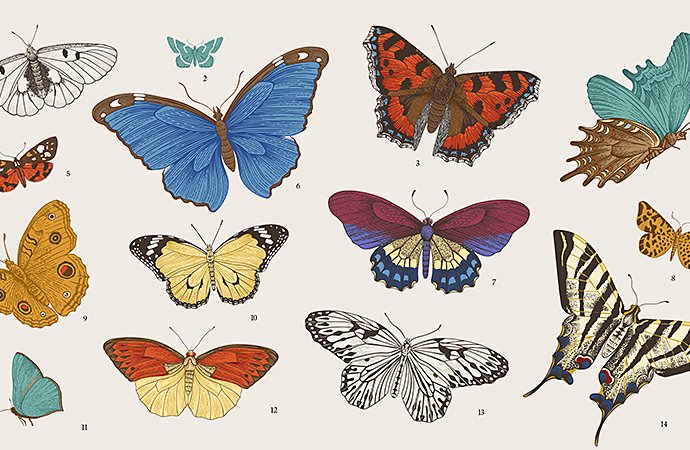
But not all butterflies look the same. Whether you sketch the simple Cabbage White butterfly, the whimsical Great Windmill butterfly, or the iconic Monarch butterfly, every species has its own markings, colors, and shapes to consider. Take time to do some research before you sketch. Explore different species and images of that species to use as reference photos.
Draw butterflies with this simple tutorial.
Plan your drawing.
This is the time to think about the composition of your drawing and consider the angle you’ll want to take on the butterfly. Will you draw it from overhead, with its wings stretched out? Is it fluttering in flight or perched delicately on a flower petal? Think about the background of your composition as well and draw in some basic shapes to represent the flowers, plants, or objects your butterfly will interact with. Before you jump in, use your reference photos to plan your perspective.
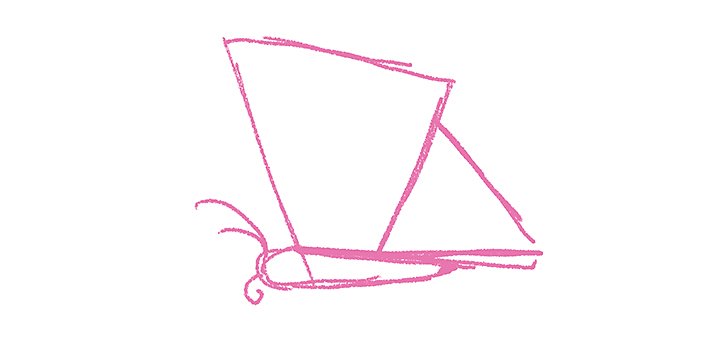
Image by Kevin Jay Stanton
Start with the wings.
Sketch in the general shapes of the butterfly’s wings. Closely observe the foreshortened effects in the photos you reference. While it might not be immediately evident, butterflies actually have two sets of wings, with the top wings overlapping the bottom ones. The upper wings are often more triangular in shape while the lower wings are more rounded, but this varies between species. Block in the basic shapes of the wings and use this layer as an underdrawing to help you refine the details as you work.
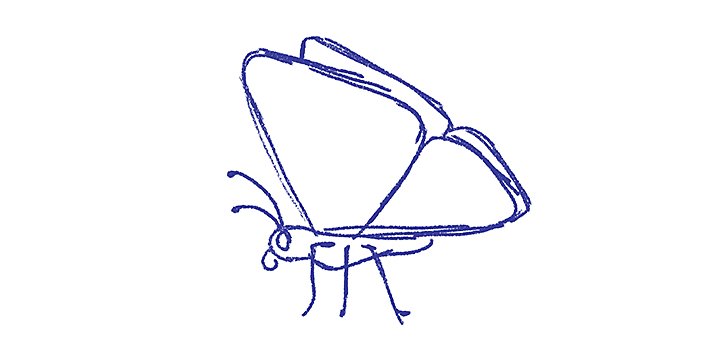
Image by Kevin Jay Stanton
Sketch the butterfly’s body.
When you have the wings drawn in, sketch out the shapes of the butterfly’s head and body. “Compared to the wings, the body is very small,” notes Stanton. Observe your photos again to get the shapes and angles of the thorax and abdomen just right. This is also the time to sketch in the antennae and any facial features you want to include. “Unlike moths, butterflies generally have very thin antennae. And they have a really thin proboscis that curls out from their mouths,” adds Stanton.
Butterflies also have six legs, with three on each side of their bodies. Consider the positioning of the butterfly against its landscape or background. If it’s perched on a flower, you probably need to draw its legs. But if it’s fluttering through the air, legs might not be necessary for a stylized sketch.
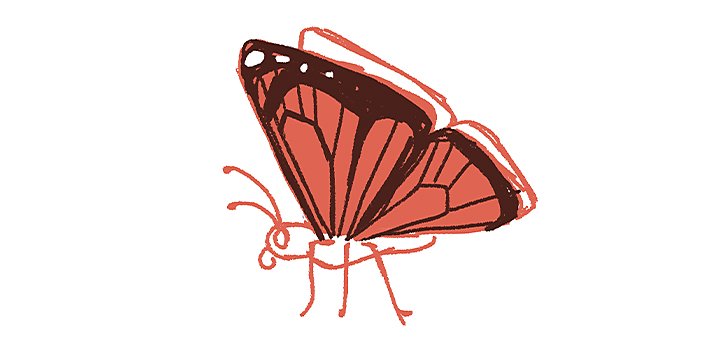
Image by Kevin Jay Stanton
Add detail to the wings.
“Now we get to the really fun part, which is adding the marks on the butterfly’s wings,” says Case. “Most people fudge this part because it’s challenging to get the geometry of the butterfly exactly right.” If you’re drawing a real species of butterfly instead of an imagined species you’ve dreamed up, take a moment to analyze the patterns on its wings.
If your butterfly appears more polka-dotted, sketch in small circles to help you plan the pattern you want to create. If your butterfly has differently colored sections across its wings, count those areas first. Monarch butterflies, for example, have about ten veined sections on their lower wings that fit together like pieces of a stained glass window. To make sure you don’t leave anything out, use your references to guide you while you sketch out the shapes of each section.
Refine your lines.
When you’re satisfied with your sketch, go back in and refine your drawing. Adjust the thickness of the veins and the dots around the edges of the wings, and add texture to the body, head, and antennae. If something feels off in your sketch, don’t be afraid to use your eraser and draw it again. Or, if you’re using digital tools like Adobe Fresco, just create a new layer in your file and turn off the layer underneath. This lets you redraw certain sections without losing any previous work.
Layer in some different colors.
Now’s the time to get colorful. Butterflies are known for their bright, distinctive shades, so don’t be afraid to add bold hues to your drawing. Take your time with this step, and add color to your butterfly and your background thoughtfully. Remember, you can always go back and rework your digital paints if you’re not totally satisfied.
Find inspiration in beautiful butterflies.
With their bright colors and delicate flutter, it’s no wonder that butterflies inspire artists everywhere. For a few ideas to get you going, see how these creators on Behance have made butterfly drawings their own.
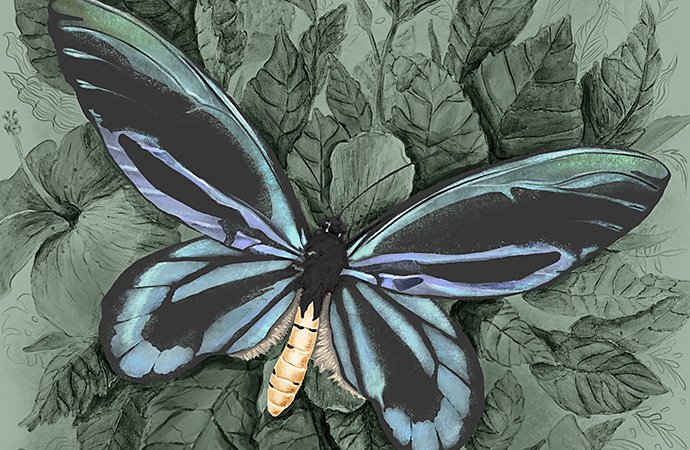
Image by Sarah Arvizu.
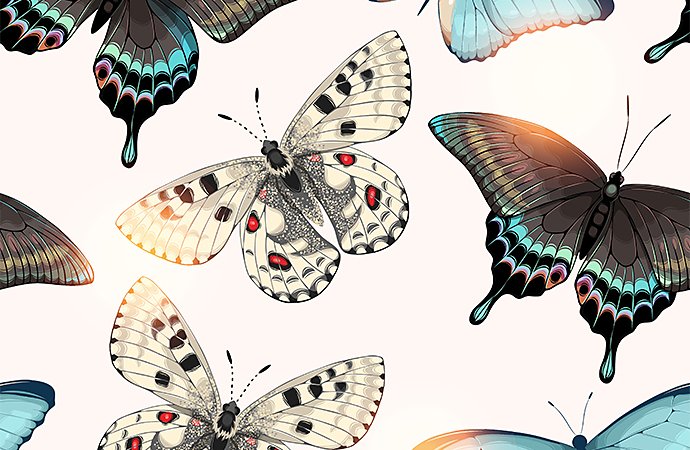
Go further with Adobe Fresco.
Use digital drawing tools and artistic brushes in Adobe Fresco to put a new spin on your butterfly art. Create multiple layers to build up your drawing and apply effects to specific, isolated sections. And with digital oil paint and watercolour brushes that blend and mix like the real thing, you can achieve natural effects without the mess and expense of physical paints. Whether you create a simple butterfly drawing or a detailed oil painting, now you’re ready to flap your wings and take flight.
Contributors
You might also be interested in…
Take your skills to the next level with drawing exercises and advice from professional illustrators.
How to become a professional illustrator.
Get tips on portfolio creation and art presentation to help you kick off a new career.
How to draw a rose.
Improve rose drawings by learning about plant anatomy in this step-by-step guide.
How to draw birds of any feather.
Learn the basics of drawing birds digitally with this step-by-step tutorial.
